Calsense
7 CS3000 Quick Start Guide
3. In be pane on the left, select the Station Group to set a schedule for and press SELECT.
4. Use ←↑→ to navigate through the screen and +/– to change values. The various settings are as
follows:
Start time – The time when the irrigation starts
Mow day – A day when irrigation is skipped to allow for maintenance
Stop time – The time when irrigation will stop, even if there is time remaining
Days to water – The days irrigation will run
5. Press NEXT to move to the next schedule and repeat step 4 to set the schedule.
6. When done, press BACK to return to the Main Menu.
Adjusting Individual Stations
1. From the Main Menu, navigate to Scheduled Irrigation and press SELECT. The Scheduled
Irrigation menu displays.
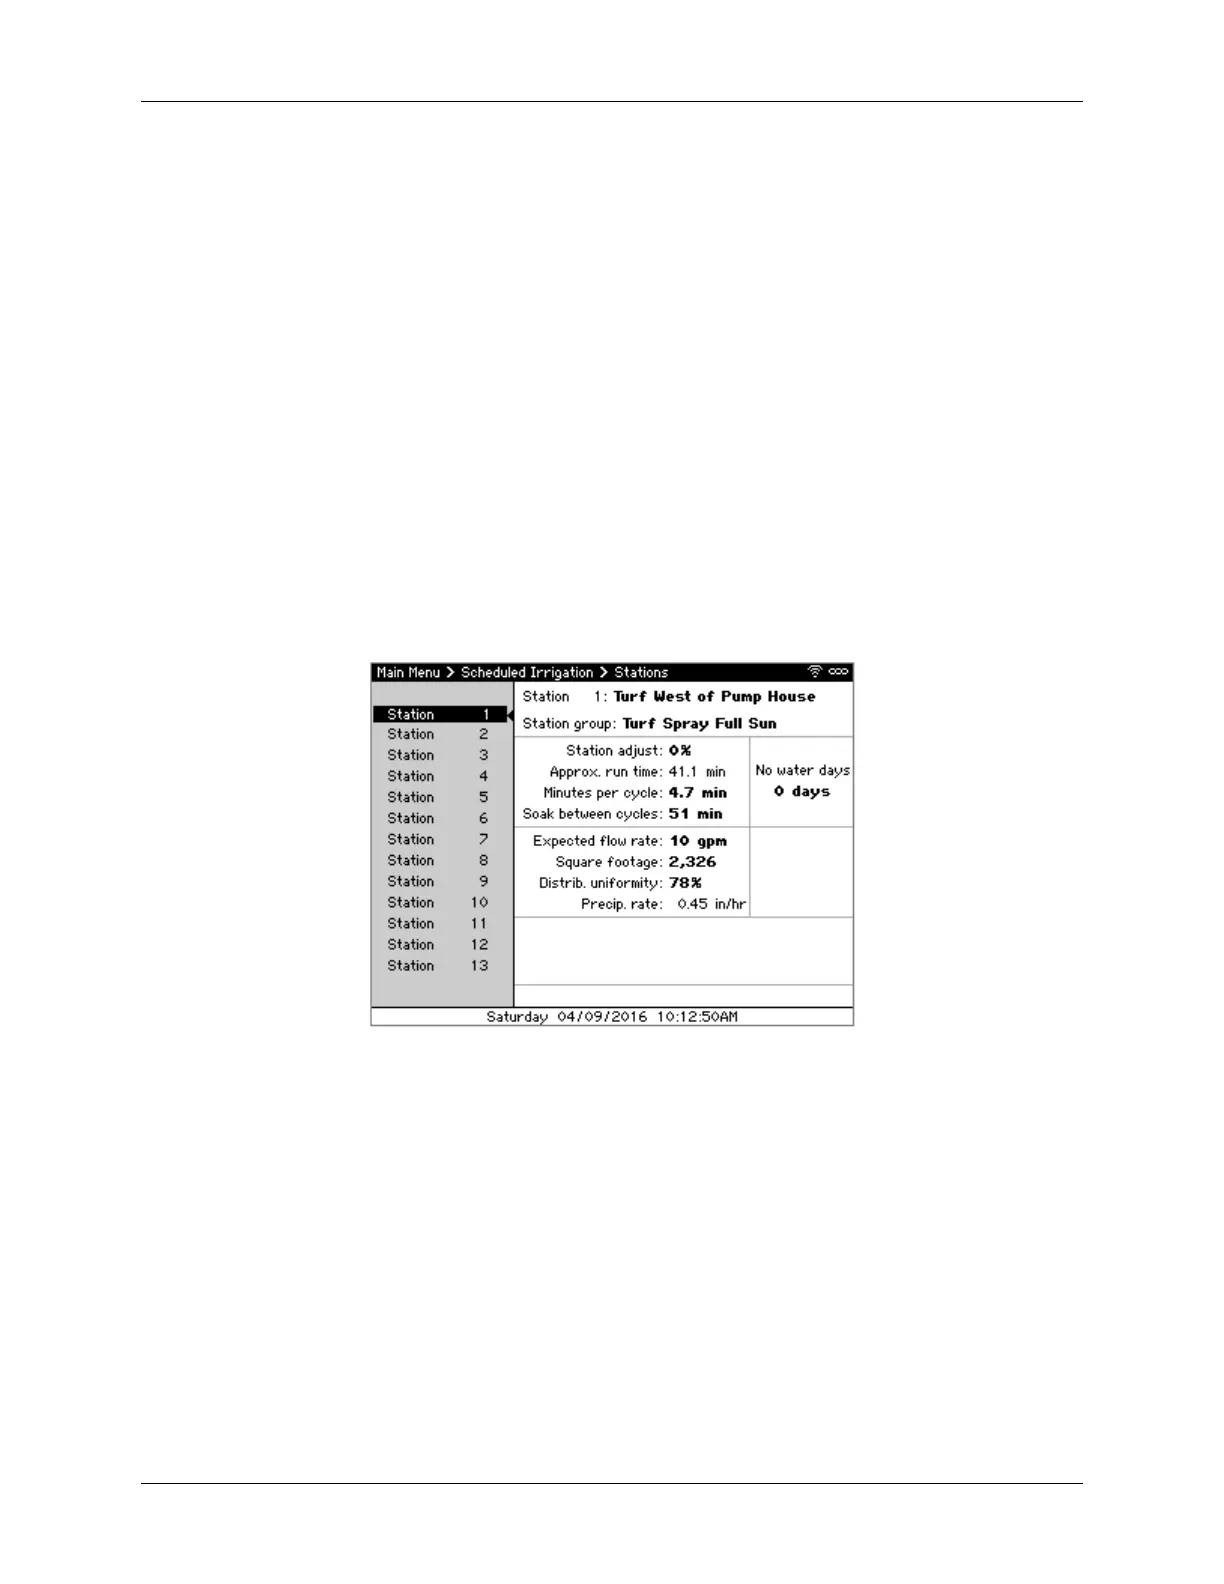
2. Navigate to and select Stations. The Stations screen displays (Figure 8). The pane on the left
displays the stations attached to this controller while the right shows the settings for each.
Figure 8 - Stations screen
1. Press SELECT to enter the right side to adjust the schedule.
2. Use ←↑→↓ to navigate through the screen and +/– to change values, setting the following
values:
Expected flow rate – The expected rate at which this station flows
Square footage – The square footage, used for budgetary purposes
Distrib. uniformity – The distribution uniformity or application efficiency of the zone
3. Press NEXT to move to the next station and repeat step 2 to set the individual station’s settings.
4. Once done, press BACK to return to the Main Menu.

 Loading...