6
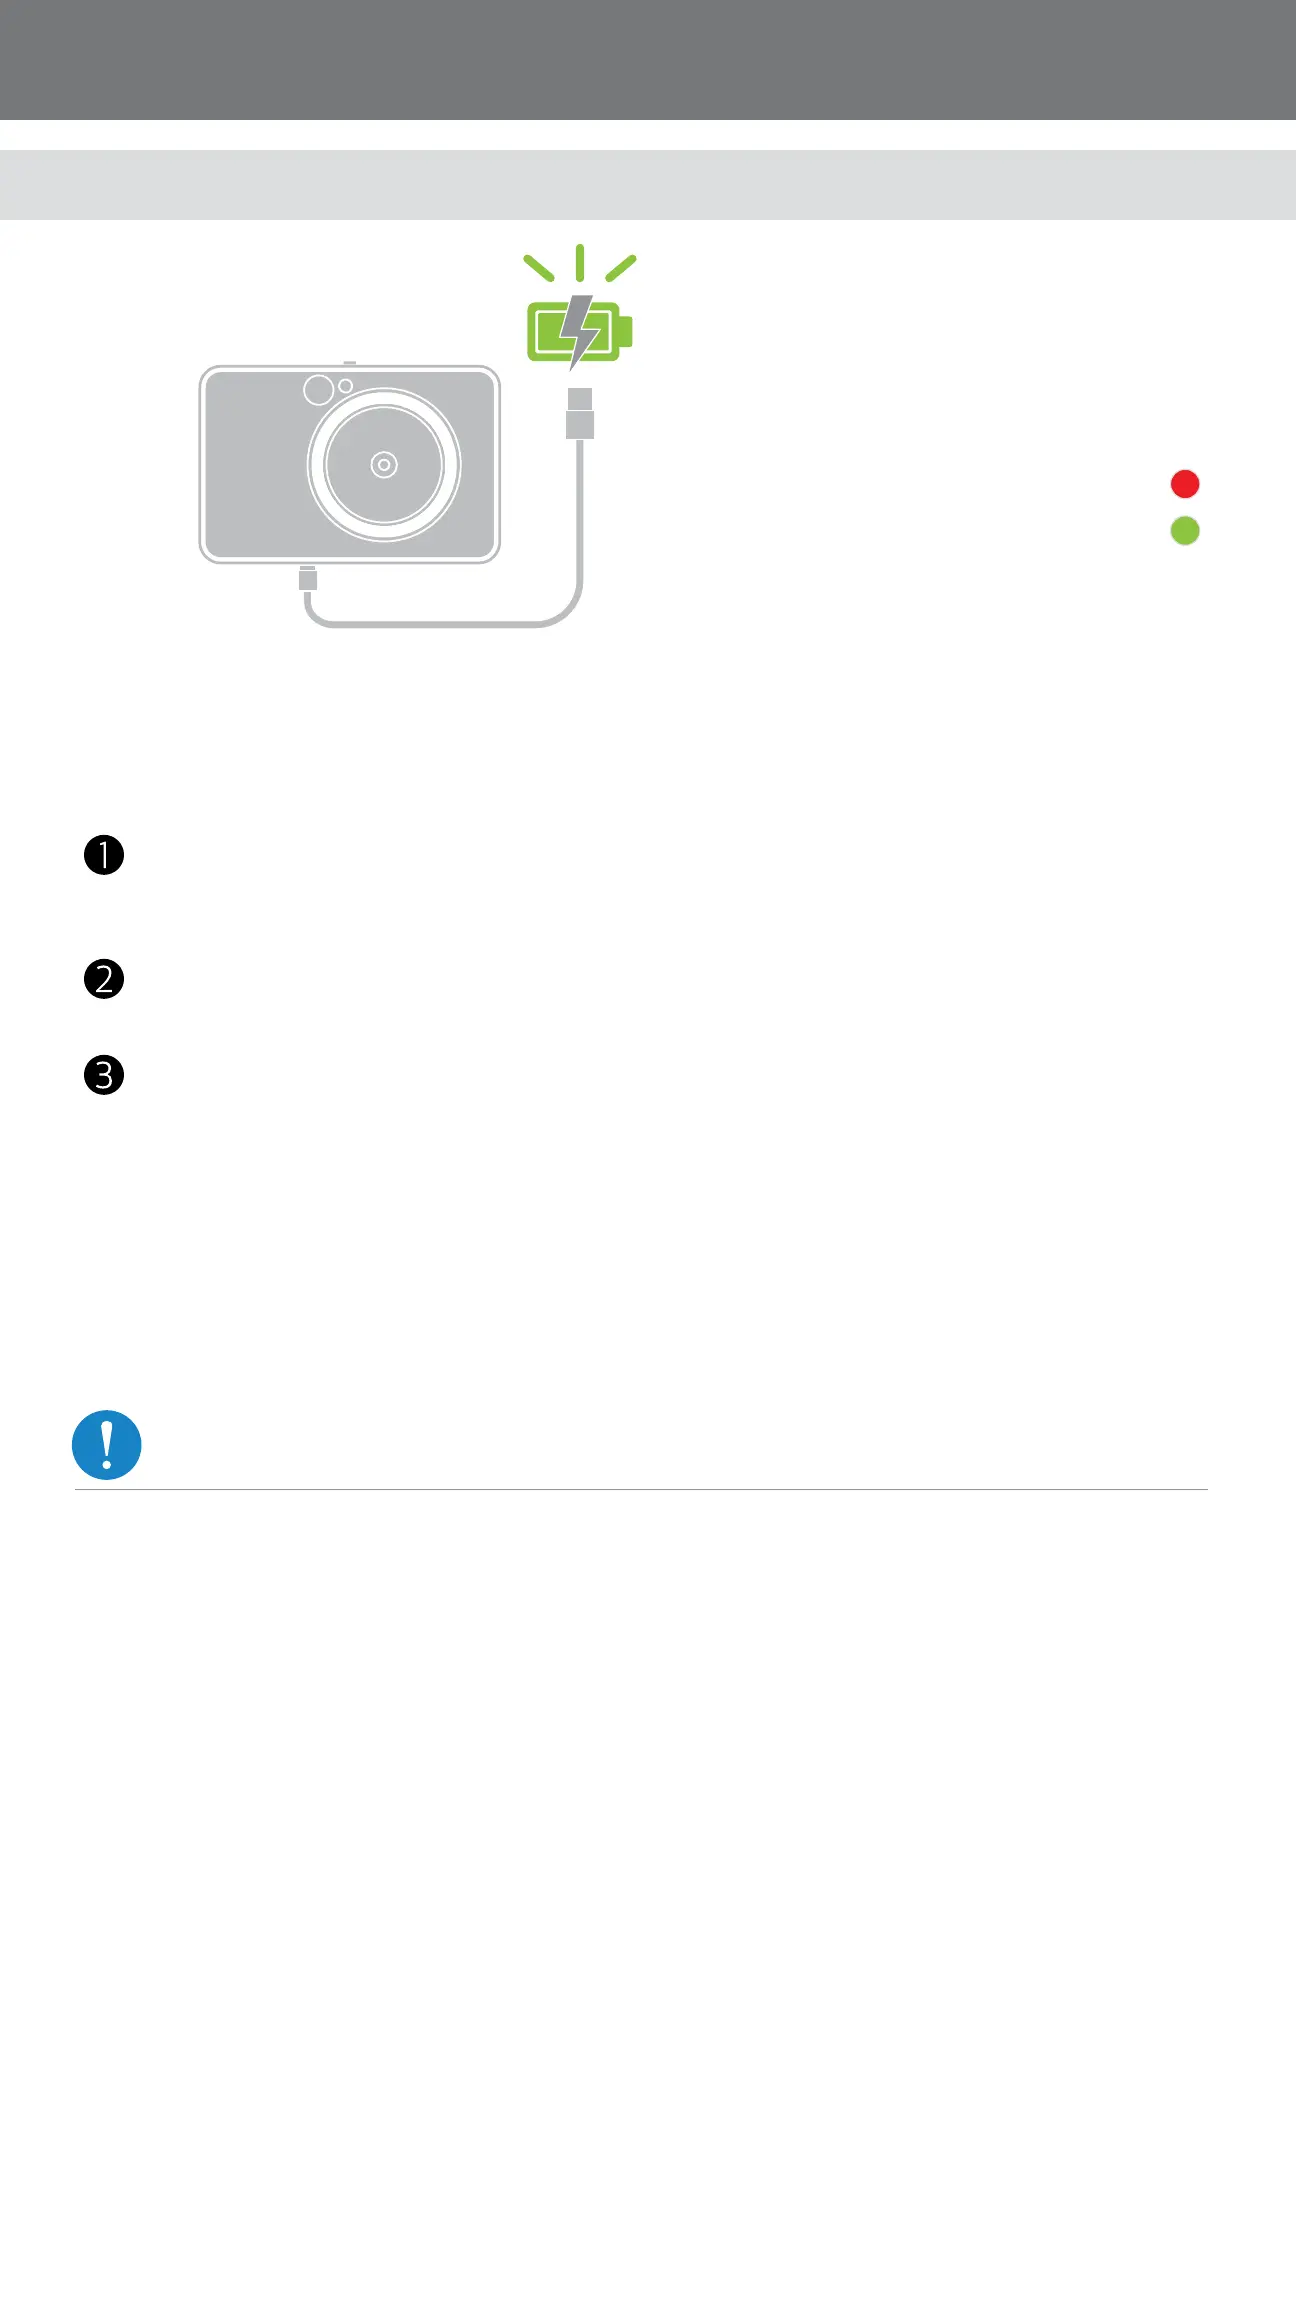
The device has a built-in battery. Please fully charge the device via the USB cable provided
before using.
Insert the smaller end of the supplied USB cable into the device and other end into a
chargeable USB adapter.
The charging LED light will turn red to indicate charging.
Once fully charged, the charging LED will turn green.
− Operating time may vary depending on the battery status, operational status
and environment conditions.
* Make sure to fully-charge your IVY CLIQ product(s) at least once every three (3) months.
If the product is not charged/used for an extended period of time, you may not be able to
charge the built-in battery and the product may no longer power on.
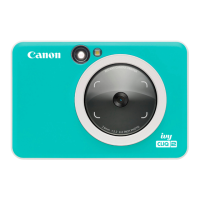
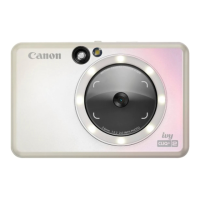
CHARGING
SETUP
Charging status LED
Charging: Red
Fully Charged: Green
ABOUT USB CABLE
HANDLE THE USB CABLE WITH CARE WHILE CHARGING
• Do not place any heavy objects on top of the cable.
• Do not place the USB cable near heat.
• Do not scratch, damage, twist or pull hard on the cable.
• Do not plug or unplug the cable with wet hands.
• Avoid too high/too low temperature or humid conditions.
• Please unplug the USB cable from power source after charging.
• Please use the supplied USB cable for charging.
NOTE
 Loading...