9
Shooting
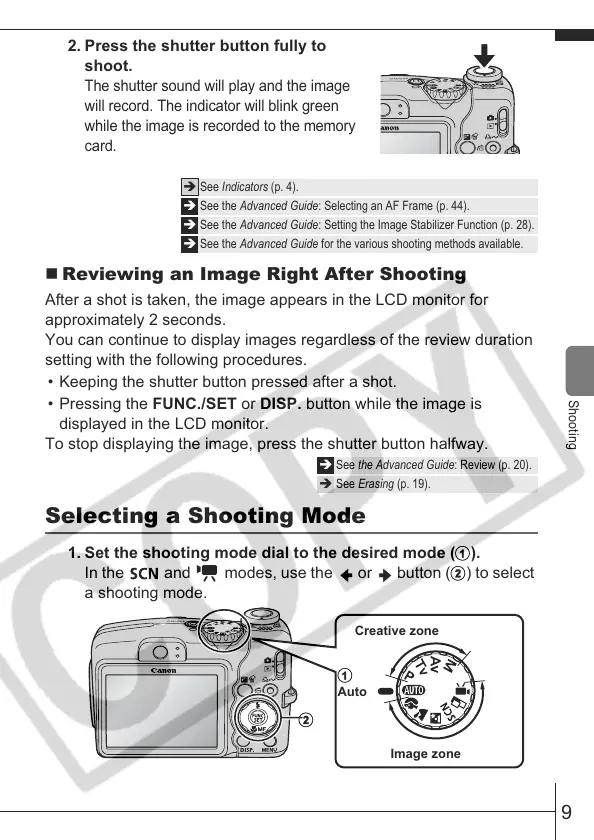
2. Press the shutter button fully to
shoot.
The shutter sound will play and the image
will record. The indicator will blink green
while the image is recorded to the memory
card.
Reviewing an Image Right After Shooting
After a shot is taken, the image appears in the LCD monitor for
approximately 2 seconds.
You can continue to display images regardless of the review duration
setting with the following procedures.
• Keeping the shutter button pressed after a shot.
• Pressing the FUNC./SET or DISP. button while the image is
displayed in the LCD monitor.
To stop displaying the image, press the shutter button halfway.
Selecting a Shooting Mode
1. Set the shooting mode dial to the desired mode (
).
In the and modes, use the or button (
) to select
a shooting mode.
Î See Indicators (p. 4).
Î See the Advanced Guide: Selecting an AF Frame (p. 44).
Î See the Advanced Guide: Setting the Image Stabilizer Function (p. 28).
Î See the Advanced Guide for the various shooting methods available.
Î See the Advanced Guide: Review (p. 20).
Î See Erasing (p. 19).
Creative zone
Image zone
Auto
 Loading...