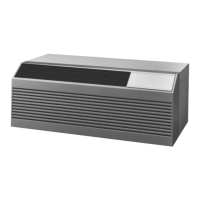
• DISASSEMBLE UNIT
TOOLS REQUIRED include: a low-pressure tank with
wand and/or spray bottle, a coil cleaner (Calgon,
Hydrobalance, etc.), a vacuum cleaner, percolator
brush, standard spray bottle, rubber gloves, safety
glasses, 5/16-in. nut driver, and a standard Phillips-
head screw driver.
1. If Dont panel has not been removed, remove panel
as shown in Figure 2.
2. Remove screws (two each side) fastening chassis
to sleeve.
For units with lateral duct accessory remove
four screws fastening chassis to sleeve, and two
screws on top of duct adapter. See Figure 24.
Chassis weighs between 118 and 138 lbs. For per-
sonal protection, seek help when lifting the unit.
3. Slide out chassis. Lift by holding the unit
basepan.
4. Remove aluminum top panel (one screw each
side). See Figure 25. On lel}-hand side, remove the
screw closest to the partition.
5. Remove the air discharge grille (two screws). See
Figure 26.
6. Remove the top cover (one screw). See Figure 27.
TOP PANEL
SCREW
FIGURE 25 -- ALUMINUM TOP PANEL
SCREWS DUCT
ADAPTER
EXTENSION
FIGURE 24 -- REMOVING CHASSIS WITH
DUCT ADAPTER FROM SLEEVE
FIGURE 26 -- REMOVING AIR
DISCHARGE GRILLE
h'
FIGURE 27 -- TOP COVER SCREW
15
O m

 Loading...