52S
SERIES
INTERNAL PARTS
• INTERNAL PARTS should be cleaned at least once
each year.
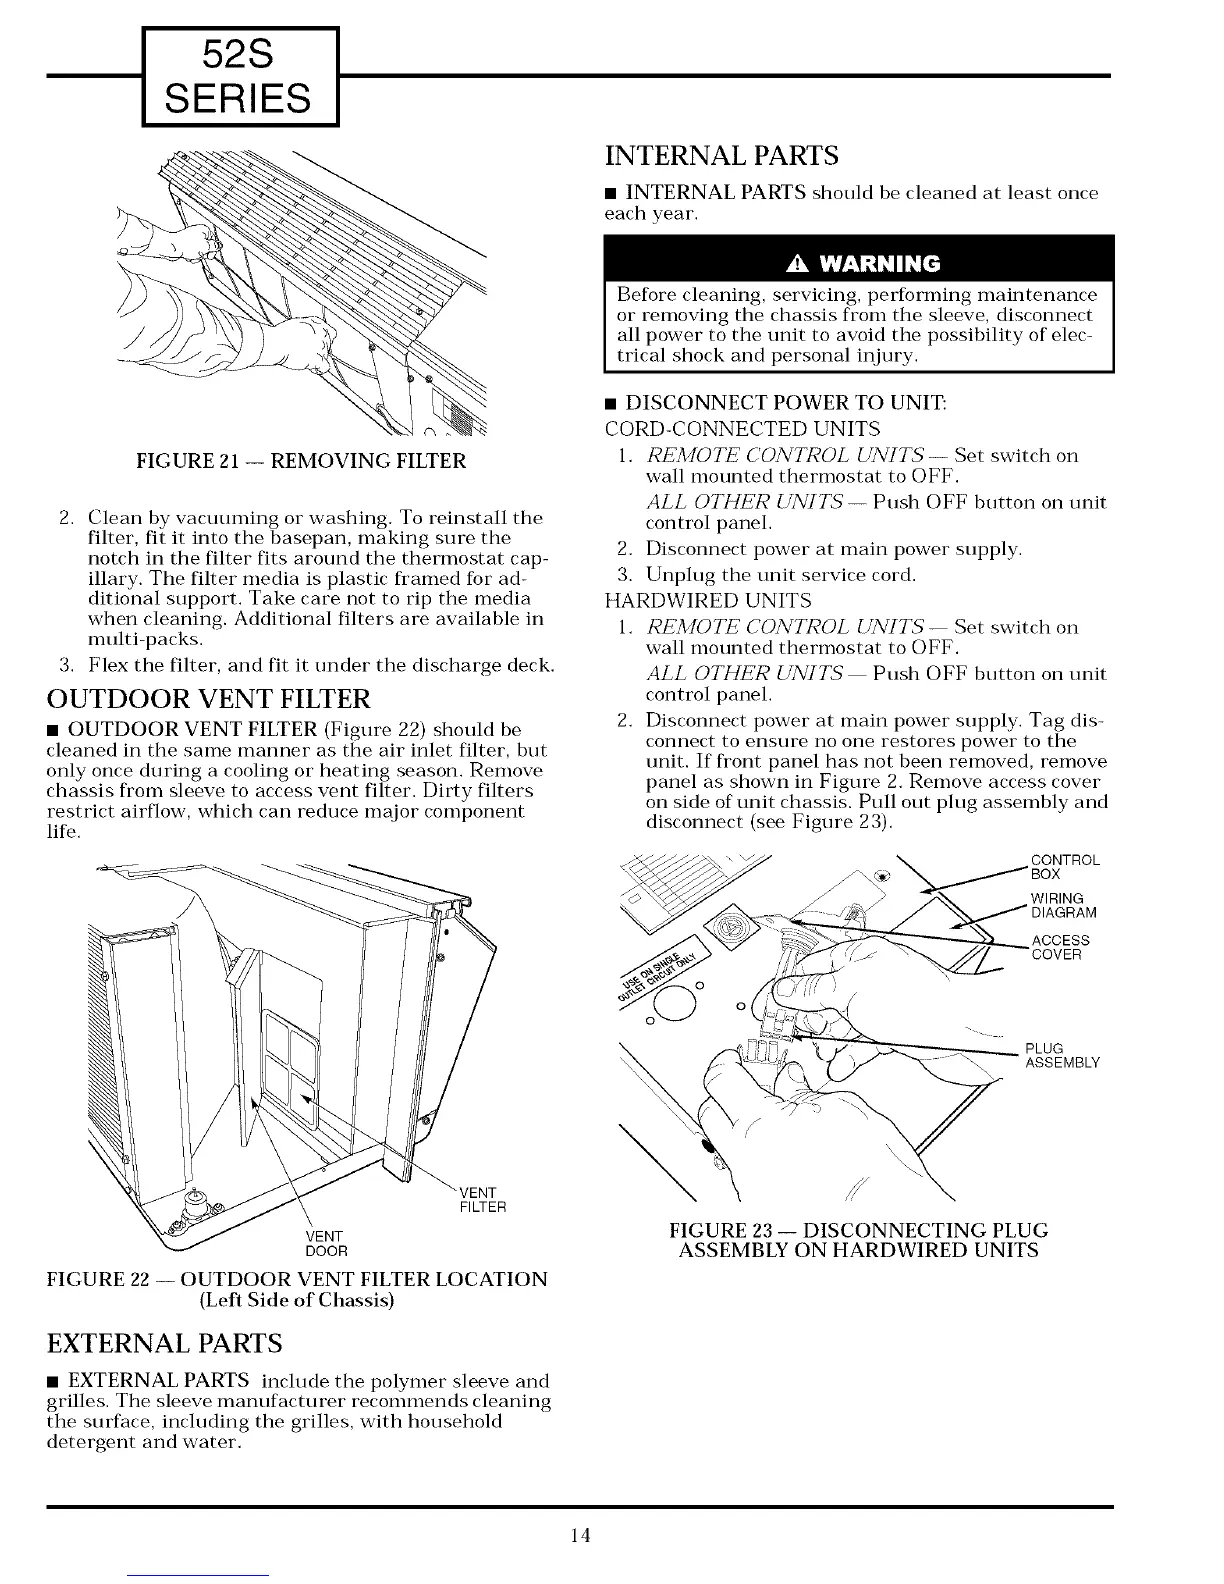
FIGURE 21 -- REMOVING FILTER
2. Clean by vacuuming or washing. To reinstall the
filter, fit it into the basepan, making sure the
notch in the filter fits around the thermostat cap-
illary. The filter media is plastic framed for ad-
ditional support. Take care not to rip the media
when cleaning. Additional filters are available in
nmlti-packs.
3. Flex the filter, and fit it under the discharge deck.
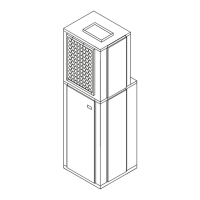
OUTDOOR VENT FILTER
• OUTDOOR VENT FILTER (Figure 22) should be
cleaned in the same manner as the air inlet filter, but
only once during a cooling or heating season. Remove
chassis from sleeve to access vent filter. Dirty filters
restrict airflow, which can reduce major component
life.
Before cleaning, servicing, performing maintenance
or removing the chassis from the sleeve, disconnect
all power to the unit to avoid the possibility of elec-
trical shock and personal injury.
• DISCONNECT POWER TO UNIT:
CORD-CONNECTED UNITS
1. REMOTE CONTROL UNITS-- Set switch on
wall mounted thermostat to OFF.
ALL OTHER UNITS- Push OFF button on unit
control panel.
2. Disconnect power at main power supply.
3. Unplug the unit service cord.
HARDWIRED UNITS
1. REMOTE CONTROL UNITS'-- Set switch on
wall mounted thermostat to OFF.
ALL OTHER UNITS' Push OFF button on unit
control panel.
2. Disconnect power at main power supply. Tag dis-
connect to ensure no one restores power to the
unit. If front panel has not been removed, remove
panel as shown in Figure 2. Remove access cover
on side of unit chassis. Pull out plug assembly and
disconnect (see Figure 23).
CONTROL
WIRING
ACCESS
PLUG
ASSEMBLY
FILTER
VENT
DOOR
FIGURE 22 -- OUTDOOR VENT FILTER LOCATION
(Left Side of Chassis)
EXTERNAL PARTS
• EXTERNAL PARTS include the polymer sleeve and
grilles. The sleeve manufacturer recommends cleaning
the surface, including the grilles, with household
detergent and water.
\ '%
FIGURE 23 -- DISCONNECTING PLUG
ASSEMBLY ON HARDWIRED UNITS
14
 Loading...