This discussion assumes that system is pressurized with either all
refrigerant or a mixture of nitrogen and refrigerant.
If system has been operating for some time, make first check for
a leak visually. Since refrigerant carries a small quantity of oil,
traces of oil at any joint or connection is an indication that
refrigerant is leaking at that point.
A simple and inexpensive method of testing for leaks is to use soap
bubbles. Any solution of water and soap may be used. Soap
solution is applied to all joints and connections in system. A small
pinhole leak is located by tracing bubbles in soap solution around
leak.
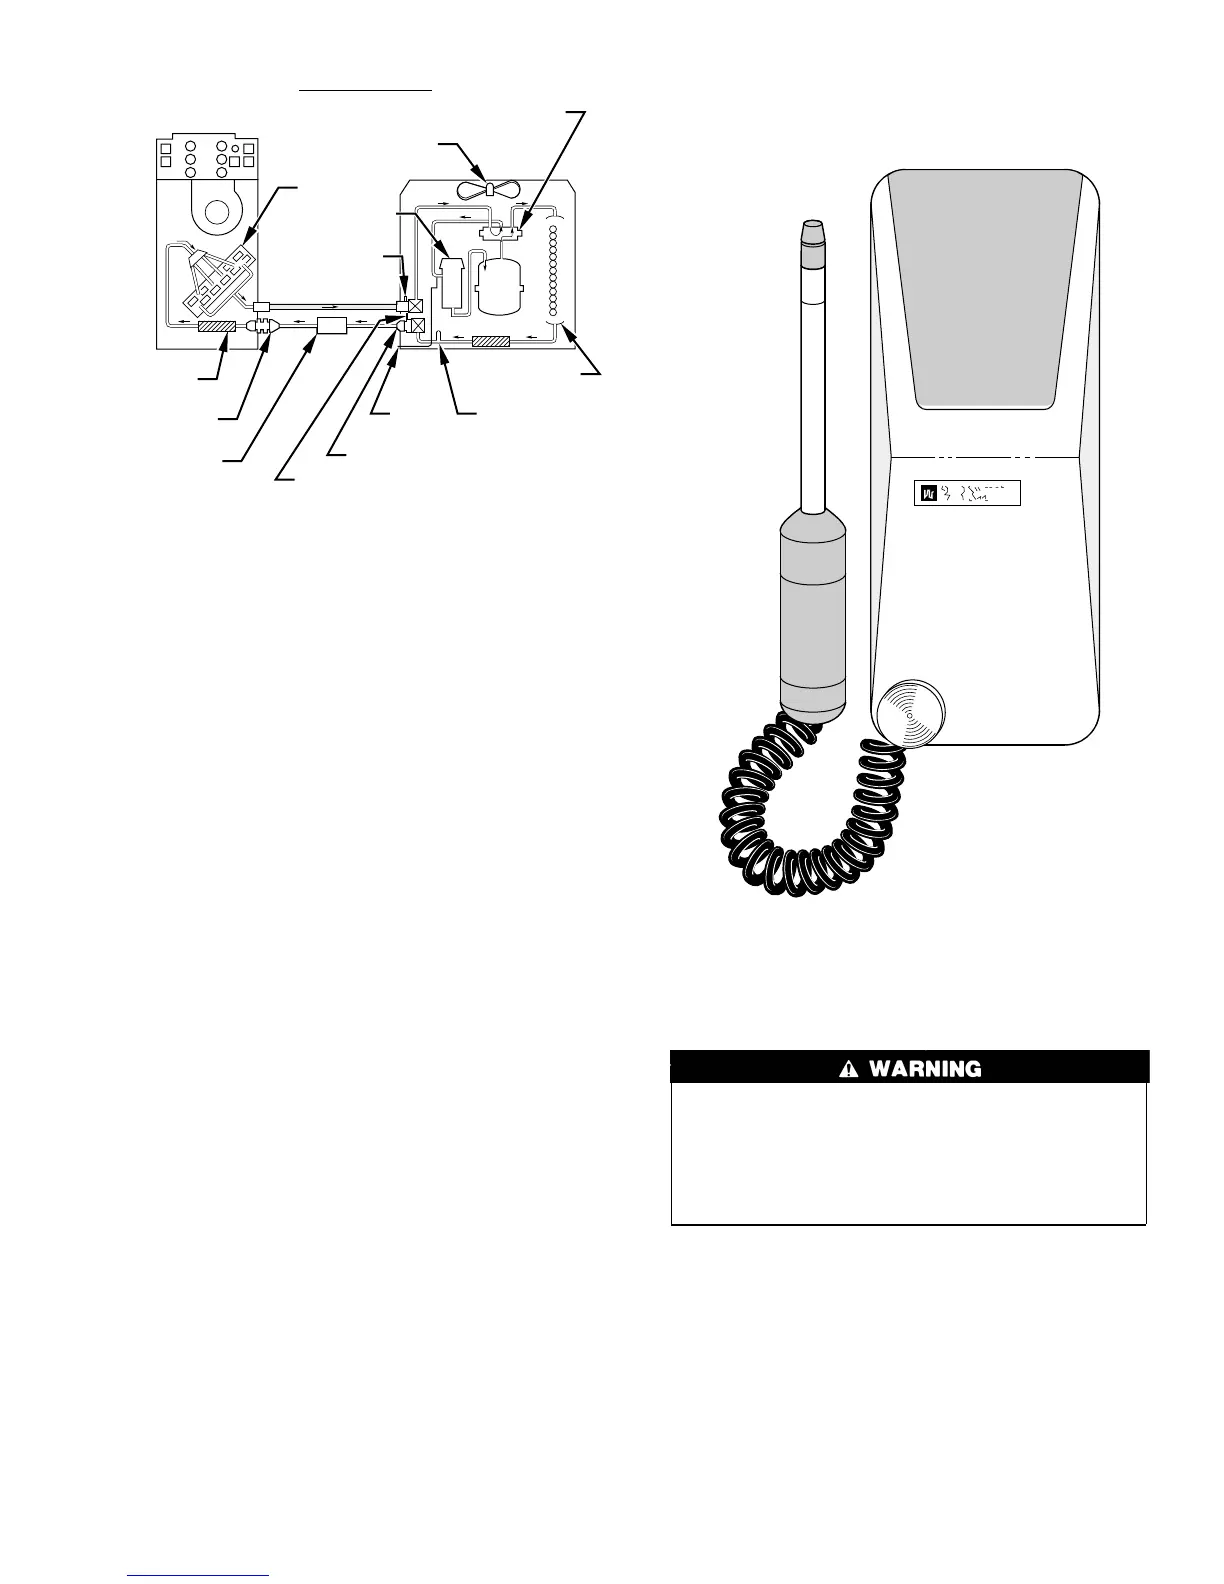
Use electronic leak detector to check for leaks. This unquestion-
ably is the most efficient and easiest method for checking leaks.
There are various types of electronic leak detectors. Generally
speaking, they are all portable, and most are lightweight, consist-
ing of a box with several switches and a probe or sniffer. Detector
is turned on and probe is passed around all fittings and connections
in system. Leak is detected by either a movement of a pointer on
detector dial, by a buzzing sound, or a light.
In all instances, when a leak is found, system charge must be bled
down and leak repaired before final charging and operation. After
leak testing or leak is repaired, evacuate system, and recharge with
correct refrigerant charge.
Step 3—Brazing
When brazing is required in the refrigeration system, certain basics
should be remembered. The following are a few of the basic rules.
1. Clean joints make the best joints. To clean:
a. Remove all oxidation from surfaces to a shiny finish before
brazing.
b. Remove all flux residue with brush and water while
material is still hot.
2. Use ″sil-fos″ or ″phos-copper″ for copper-to-copper only. No
flux is required.
3. Silver solder is used on copper-to-brass, copper-to-steel, or
copper-to-copper. Flux is required when using silver solder.
4. Fluxes should be used carefully. Avoid excessive application
and do not allow fluxes to enter into the system.
5. Proper brazing temperature of copper is when it is heated to a
dull red color.
This section of brazing is not intended to teach a technician how to
braze. There are books and classes which teach and refine brazing
techniques. The basic points above are listed only as a reminder.
Step 4—Service Valves
Never attempt to make repairs to existing service valves. Unit
operates under high pressure. Damaged seats and o-rings
should not be replaced. Replacement of entire service valve is
required. Tampering with damaged valves can cause personal
injury or death. Service valve must be replaced by properly
trained service technician.
Service valves provide a means for holding original factory charge
in outdoor unit prior to hookup to indoor coil. They also contain
gage ports for measuring system pressures and provide shutoff
convenience for certain types of repairs. (See Fig. 46.)
Two types of service valves are used in outdoor residential
equipment. The first type is a front-seating valve, which has a
service port that contains a Schrader fitting. The service port is
always pressurized after the valve is moved off the front-seat
position.
The second type is a combination front-seating/back-seating valve,
which has a metal-to-metal seat in both the open and closed
positions. When it is fully back-seated, the service port is not
Fig. 44—Heat Pump Refrigerant-Flow Diagrams
A88400
COOLING CYCLE
INDOOR COIL
OUTDOOR FAN
REVERSING VALVE
(ENERGIZED)
ACCUMULATOR
OUTDOOR
COIL
LIQUID LINE
PRESSURE SWITCH
(BYPASSING)
COMP
STRAINER
STRAINER
SUCTION
SERVICE
PORT
SUCTION SERVICE
PORT AT SERVICE
VALVE (CLG CYCLE)
(METERING)
INDOOR
FAN
LIQUID LINE SERVICE PORT
AT SERVICE VALVE (CLG CYCLE)
HEAT PUMP
ACCESSORY
FILTER DRIER
(DUAL FLOW)
Fig. 45—Leak Detector
A88401
39
 Loading...