We recommend that you have the following tools and parts readily available for installing a NIM:
• Number 2 Phillips or a 3/16-inch flat-blade screwdriver
• NIM
• Cables
• Your own ESD-prevention equipment or the disposable grounding wrist strap included with all upgrade
kits, FRUs, and spares
• Antistatic mat or surface, or static shielding bag
If you need additional equipment, contact a Cisco service representative for ordering information.
For information about electrostatic discharge prevention, see the “Electrostatic Discharge Prevention” section
on page 7-15.
Removing a NIM
Procedure
Step 1 Attach an ESD wrist strap between you and an unpainted chassis surface.
Step 2 Stop the NIM so that there is no traffic running through the NIM when it is removed, using the following
steps:
Removing a NIM while traffic is flowing through the ports may cause system disruption.
Note
a) At the router# prompt, enter hw-module subslot 0/3 stop and press Enter.
b) At the router# prompt, enter end and press Enter.
Step 3 Disconnect all the cables from the NIM.
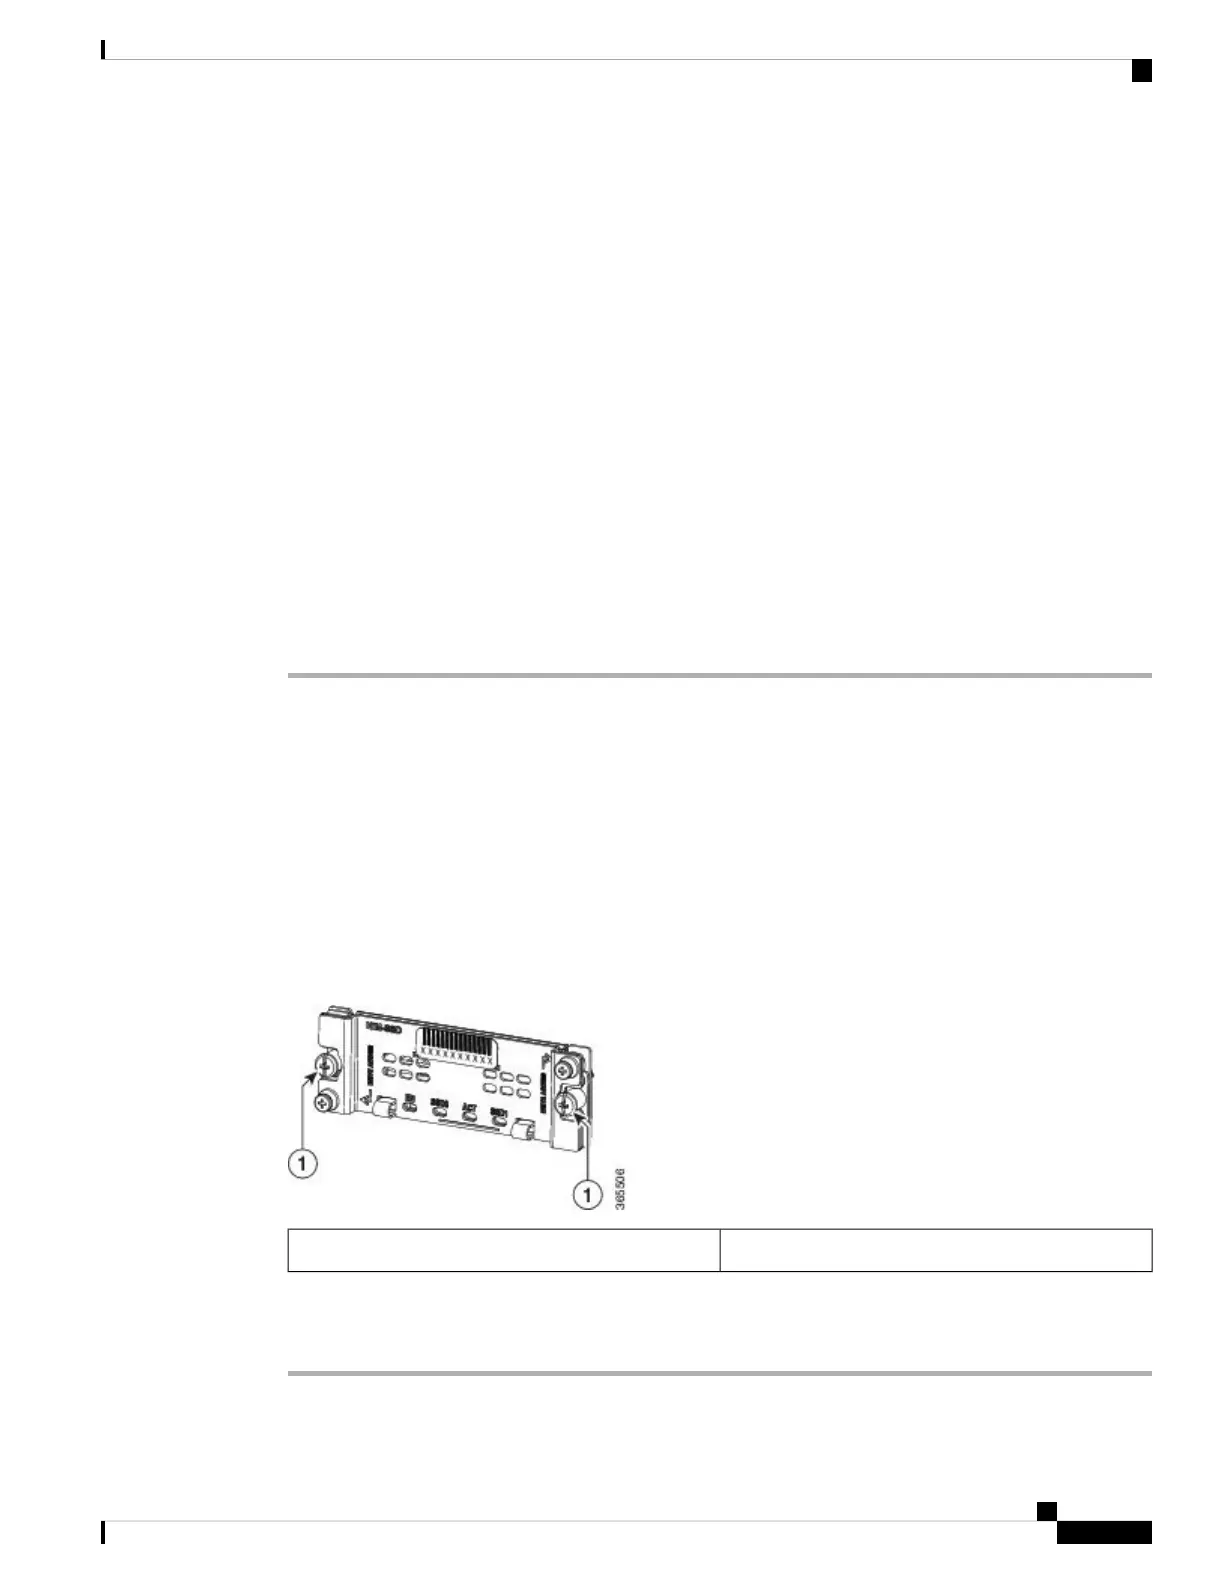
Step 4 Unscrew the captive installation screws on either side of the NIM.
Figure 18: Captive Installation Screws Location
Captive screws on the NIM1
Step 5 Pull out the NIM out of the chassis.
Step 6 Place the NIM in an antistatic bag to protect it from electrostatic discharge (ESD) damage.
Removing and Replacing FRUs
21
Removing and Replacing FRUs
Removing a NIM

 Loading...