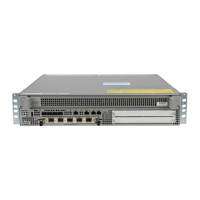
Figure 3: Access Panel Screws
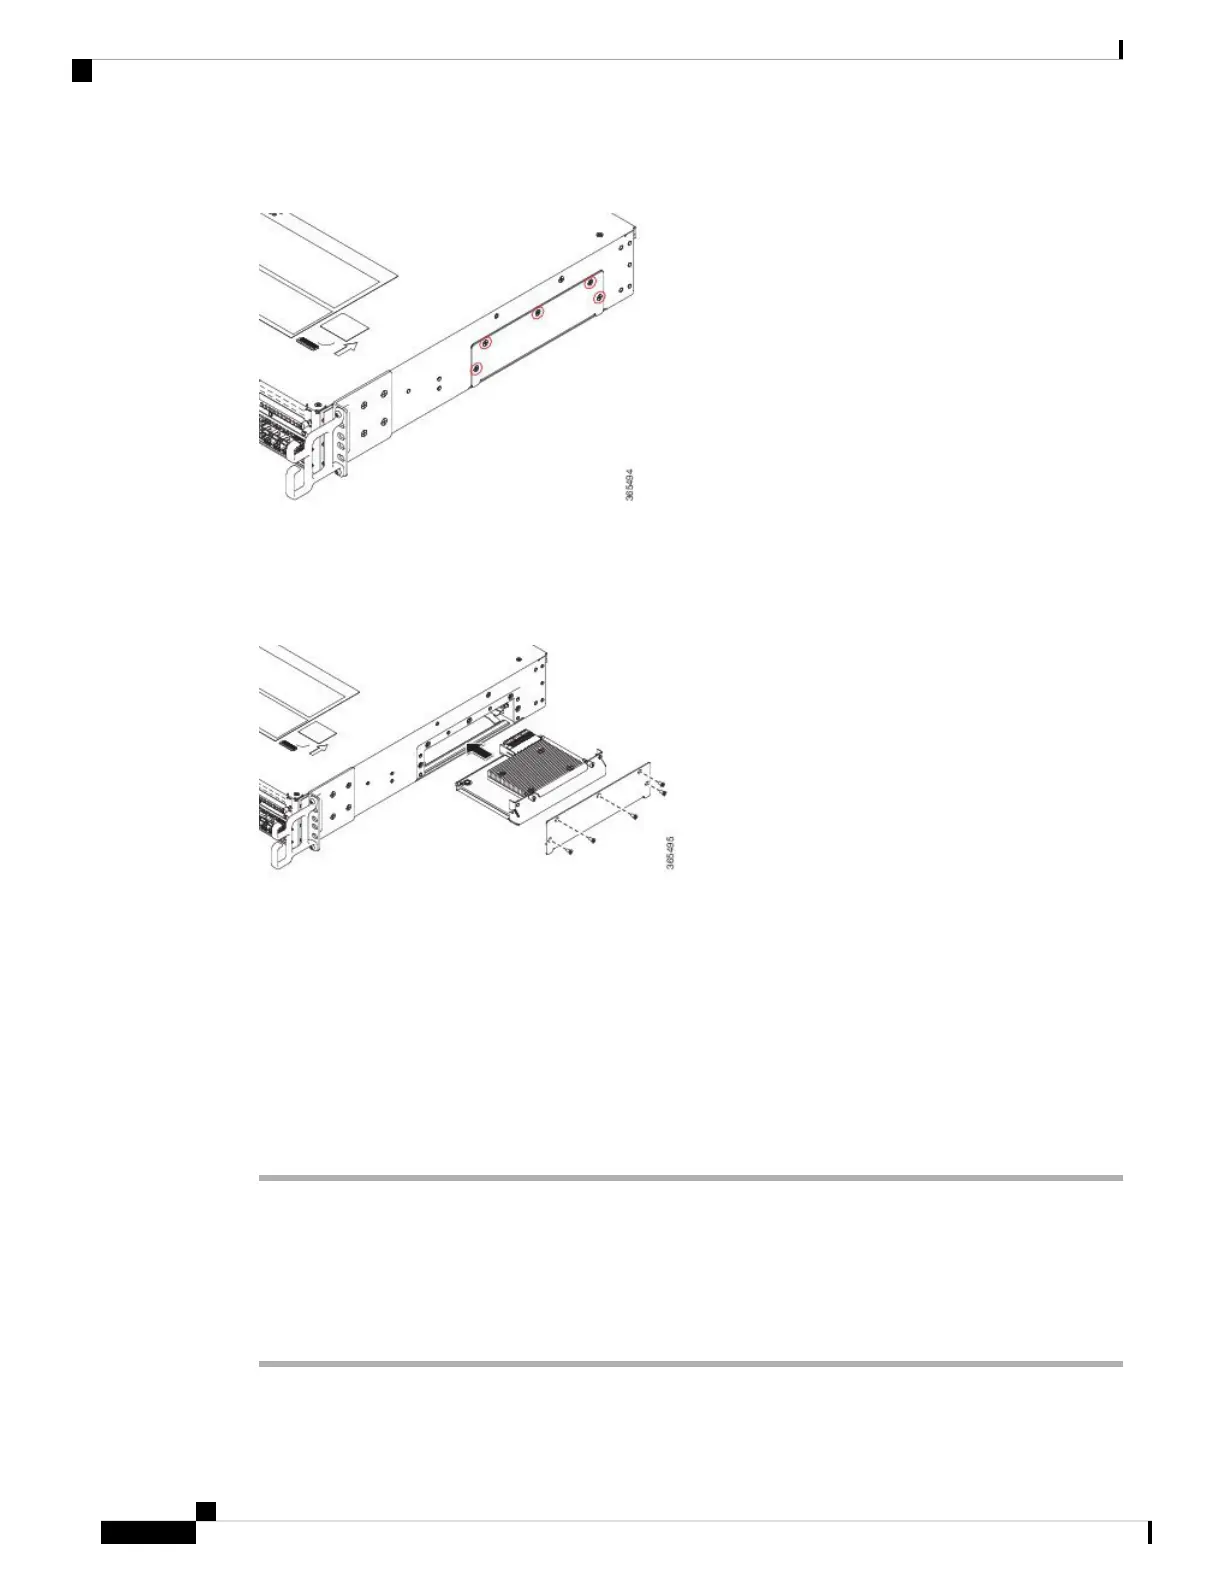
Step 4 Align the crypto module with the guide rails and carefully slide the crypto module into the slot until it is fully
seated.
Figure 4: Installing the Crypto Module
Step 5 Tighten the captive installation screws on the crypto module.
Step 6 Replace the access panel and screws.
Step 7 Install the chassis in the rack.
Step 8 Power up the router by plugging in the power supplies and placing the chassis power switch to the On position.
Step 9 Use the show platform hardware crypto-device 0 status command to verify successful installation:
Router# show platform hardware crypto-device 0 status
Encryption processor is functional
Removing AC Power Supplies
Procedure
Step 1 Ensure that the chassis power switch is in the Standby position.
Removing and Replacing FRUs
4
Removing and Replacing FRUs
Removing AC Power Supplies

 Loading...