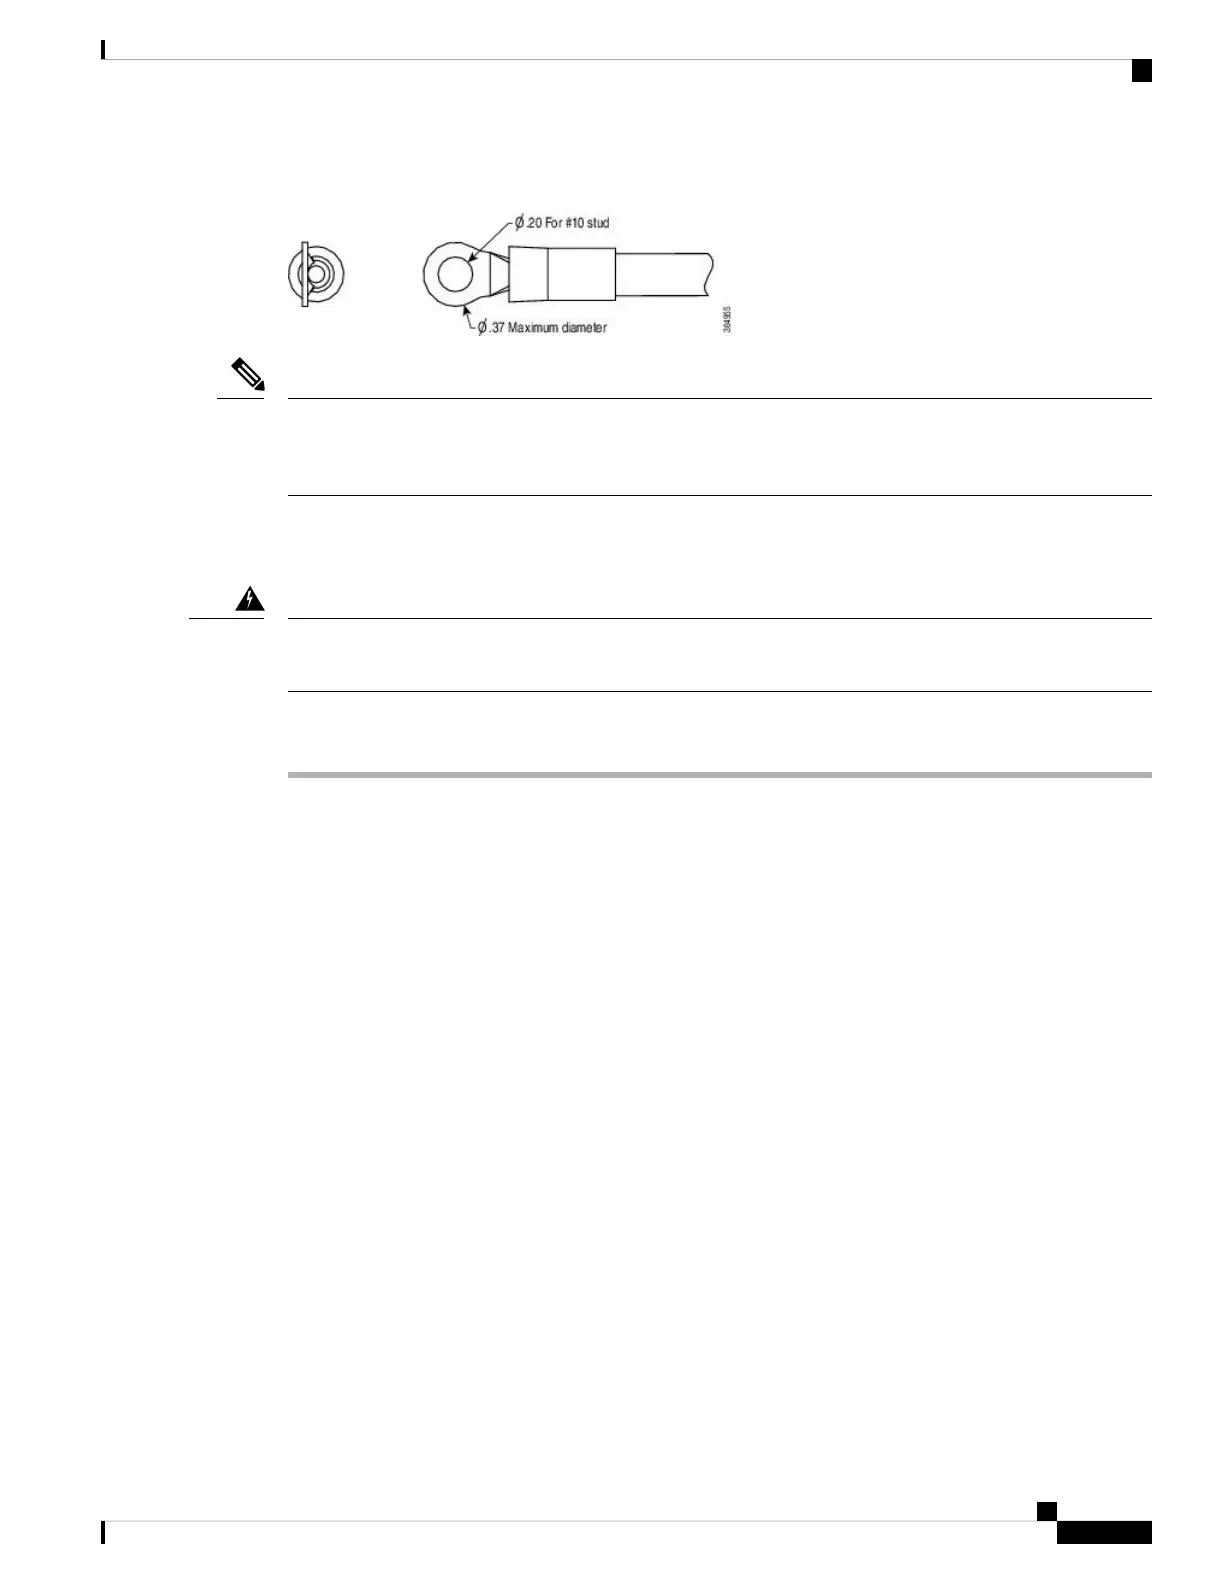
Figure 5: DC Input Power Cable Lug
To avoid hazardous conditions, all components in the area where DC input power is accessible must be
properly insulated. Therefore, before installing the DC cable lugs, be sure to insulate the lugs according to
the manufacturer's instructions.
Note
Wiring the DC Input Power Source
To reduce risk of electric shock, when installing or replacing the unit, the ground connection must always be
made first and disconnected last.
Warning
Procedure
Step 1 Turn off the circuit breaker from the power source.
Step 2 Ensure that the chassis power switch is in the Standby position.
It is not required to place the power switch in the Standby position if you want to hot-swap a single
power supply.
Note
Step 3 Remove the plastic cover from the terminal block.
Before you continue to install the terminal block ground wires, stop and perform Step 4.
Caution
Step 4 To prevent any contact with metal lead on the ground wire and the plastic cover, you must wrap the positive
and negative lead cables with sleeving. Insulate the lug with shrink sleeving for each lead wire if using
non-insulated crimp terminals. Sleeving is not required for insulated terminals.
Removing and Replacing FRUs
7
Removing and Replacing FRUs
Wiring the DC Input Power Source

 Loading...