The security slot can accommodate a lock up to 20 mm wide. Compatible laptop cable locks include the
Kensington laptop cable lock and laptop cable locks from other manufacturers that can fit into the security
slot on the back of the phone.
Procedure
Step 1
Wrap the looped end of the cable lock and wrap it around object to which you want to secure your phone.
Step 2
Pass the lock through the looped end of the cable.
Step 3
Unlock the cable lock.
There are two kinds of cable locks: keyed and combination. Depending on the type of lock you have,
unlock it by using the key or the correct combination.
Note
Step 4
Press and hold the locking button to align the locking teeth.
Step 5
Insert the cable lock into the lock slot of your phone and release the locking button.
Step 6
Lock the cable lock.
For keyed locks, turn the key 90 degrees in the clockwise direction and pull the key out of the lock.
For combination locks, rotate the lock 90 degrees and then scramble the combination.
Note
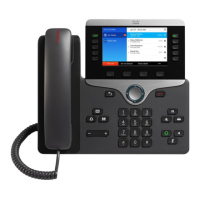
Cisco IP Phone 8811, 8841, 8845, 8851, 8851NR, 8861, and 8865 User Guide for Cisco Unified Communications Manager
11.0
31
Phone Setup
Secure the Phone with a Cable Lock
REVIEW DRAFT - CISCO CONFIDENTIAL
 Loading...