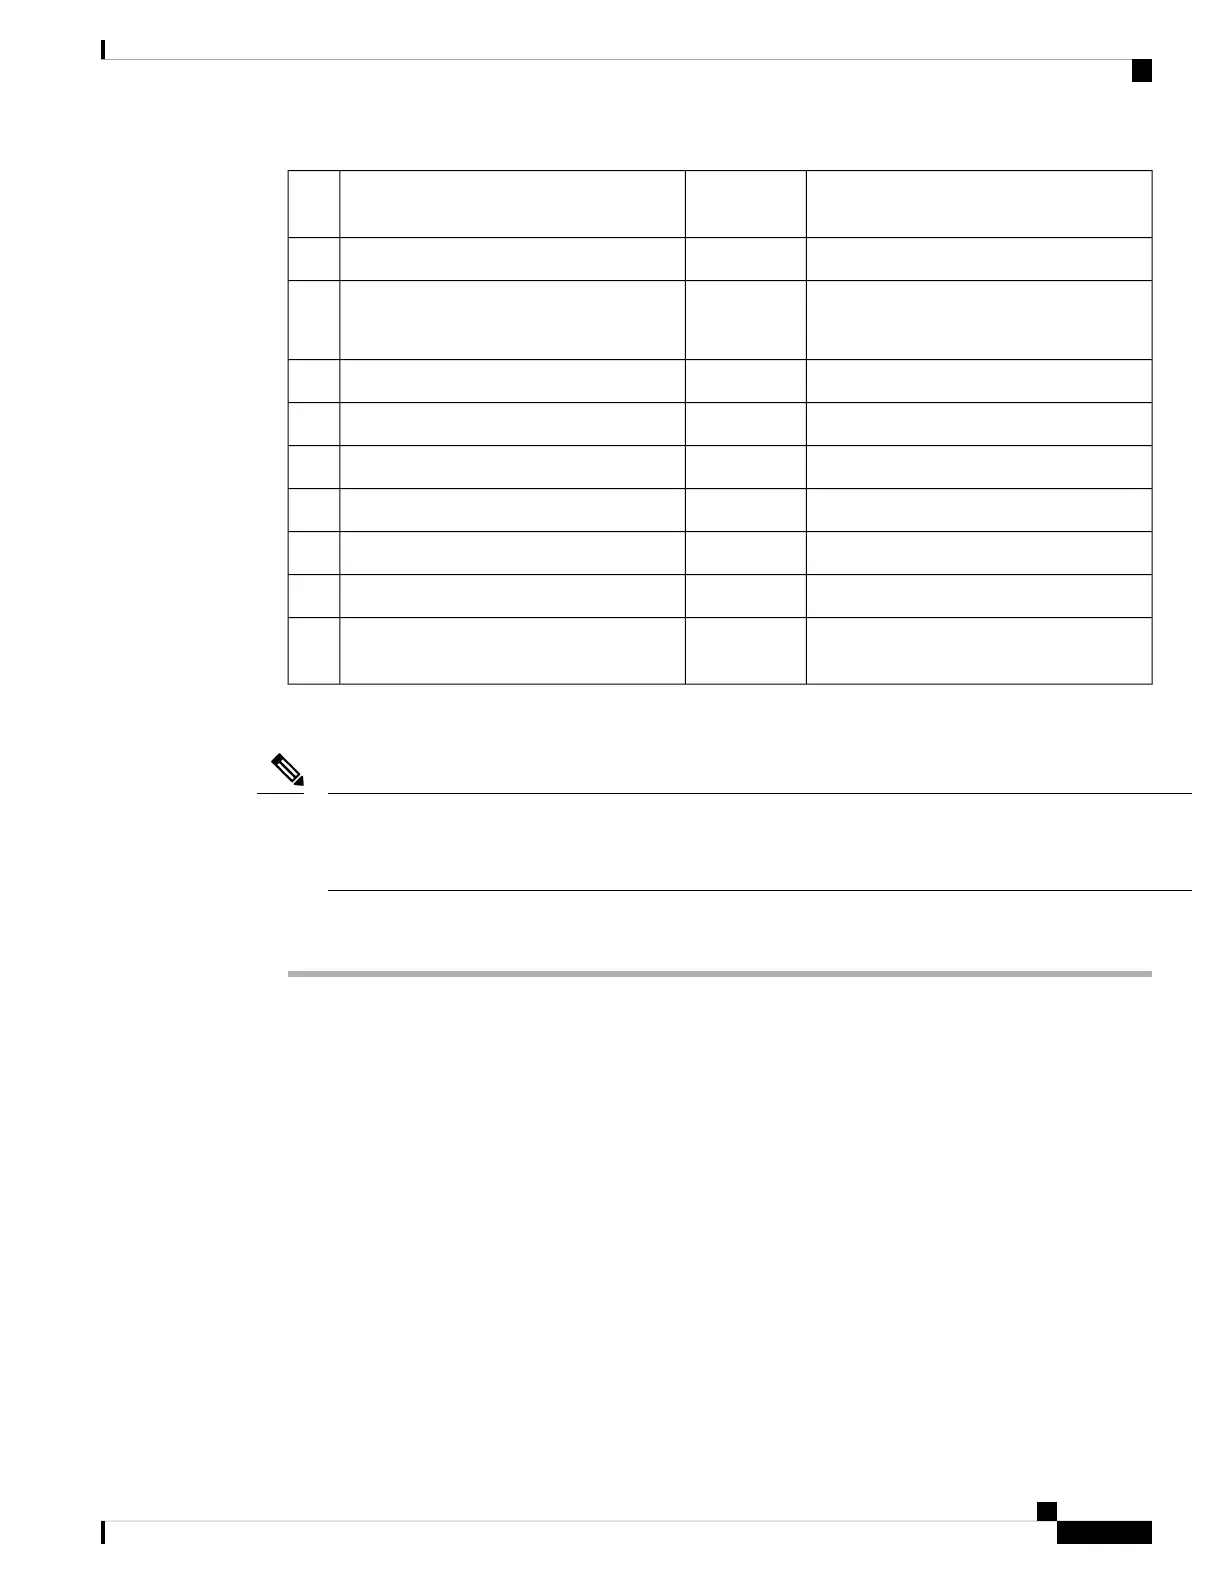
Tightening ValuesQuantityMounting Bracket KitItem
#
Snug, hand tight4M4 X 10mm screw with washer1
—1AIR-AP-BRACKET-2
Not included in this kit.
2
—1Access point bracket plate3
—2M8 x40 Hex bolts4
—1Mounting arm5
—2M8 washer (external-tooth)6
5.6 lb-ft to 5.9 lb-ft (7.6 Nm to 8.0 Nm)2M8 flanged lock nut7
—1Pole or wall mounting flange8
—2Hose clamp 2.5" to 5" (63.5 to 127mm)
diameter
9
Before you begin
The pole or mast must be rigid enough to hold the weight of an access point along with the associated forces
produced by wind loads. In addition, the mast must be structurally strong enough to withstand the clamping
force of the hose clamps.
Note
Procedure
Step 1 Determine the mounting location for the access point on the pole or mast.
Step 2 Position and mount the pole mounting flange onto the pole or mast using the hose clamps provided in the kit.
The hose clamps should pass through the slots on the free mounting flange bracket.
Step 3 Tighten the hose clamps and set screws until the flange is fully secure on the mast.
Adjust the flange to its final position. Then, use a slotted screwdriver to tighten the screws on the hose clamps.
Step 4 Attach the AIR-AP-BRACKET-2 to the access point bracket using four M4 screws through the holes in the
bracket.
Snugly hand tighten the M4 four screws included in the mounting kit.
Step 5 Assemble the mounting arm to connect the pole mounting flange and the access point bracket.
Hand tighten all screws and nuts. See Figure 22: Exploded View of the Pole Mounting Articulating Bracket
Hose Clamp Assembly, on page 24.
Step 6 Attach the access point to the AIR-AP-BRACKET-2.
Cisco Catalyst Wireless 9166D1 Wi-Fi 6E Access Point Hardware Installation Guide
25
Installation Overview
Mounting on a Pole or Mast Using Articulating Bracket
 Loading...