Filter Maintenance
WARNING: Do not remove the filter
cage. It is there to help prevent your
fingers from getting into the blower
wheel.
Cleaning
Your filter should be cleaned often to
maintain peak vac performance.
NOTE: This filter is a two stage filter made
of high quality paper designed to stop
very small particles of dust. Handle the fil-
ter carefully when removing to clean or
installing it. Creases in the filter pleats
may occur from installation but creases
wilt not affect the performance of the filter.
Removal
To remove the filter for cleaning or
replacement, remove filter nut from the
screw on the filter cage, remove filter plate
and lift off filter.
IMPORTANT: To avoid damage to the
blower wheel and motor, always reinstall
the filter before using the vac for pick-up.
IMPORTANT: After cleaning, check the
filter for tears or small holes. Do not use a
filter with holes or tears in it. Even a small
hole can cause a lot of dust to come out of
Tool Vac Maintenance
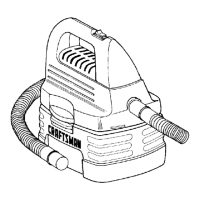
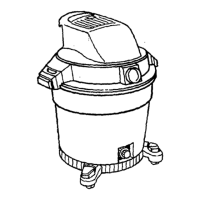
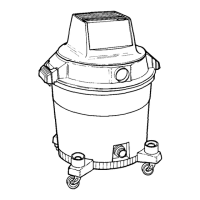
To keep your vac looking its best, clean
the outside with a cloth dampened with
warm water and mild soap.
To clean the drum:
1. Dump debris out.
2. Wash drum thoroughly.
3.Wipe out with dry cloth.
your vac. Replace it immediately.
Dry Filter
NOTE: For best results of cleaning due to
accumulated dust, clean the filter in an
open area. Cleaning SHOULD be done
outdoors and not in the living quarters.
1.Some removal of dry debris can be
accomplished without removing the fit-
ter from the vac by slapping your hand
on top of the lid while the vac is turned
off.
2. After filter removal from vac, remove the
dry debris by gently tapping the filter
against the inside wall of your dust
drum and the debris will loosen and fall.
Installation
To ensure a proper seal, clean the lid area
where the filter will seat. Slide the new fit-
ter over the filter cage. Replace filter plate
then run filter nut down threads, finger
tight only. Do not overtighten as this wilt
cause deformation or cracks in the filter.
Refer to "Filter Assembly" section of this
owner's manual.
WARNING: To assure product
SAFETY and RELIABILITY, repairs
and adjustment should be per-
formed by Sears Service Centers,
always using Sears replacement
parts.
 Loading...

