£t
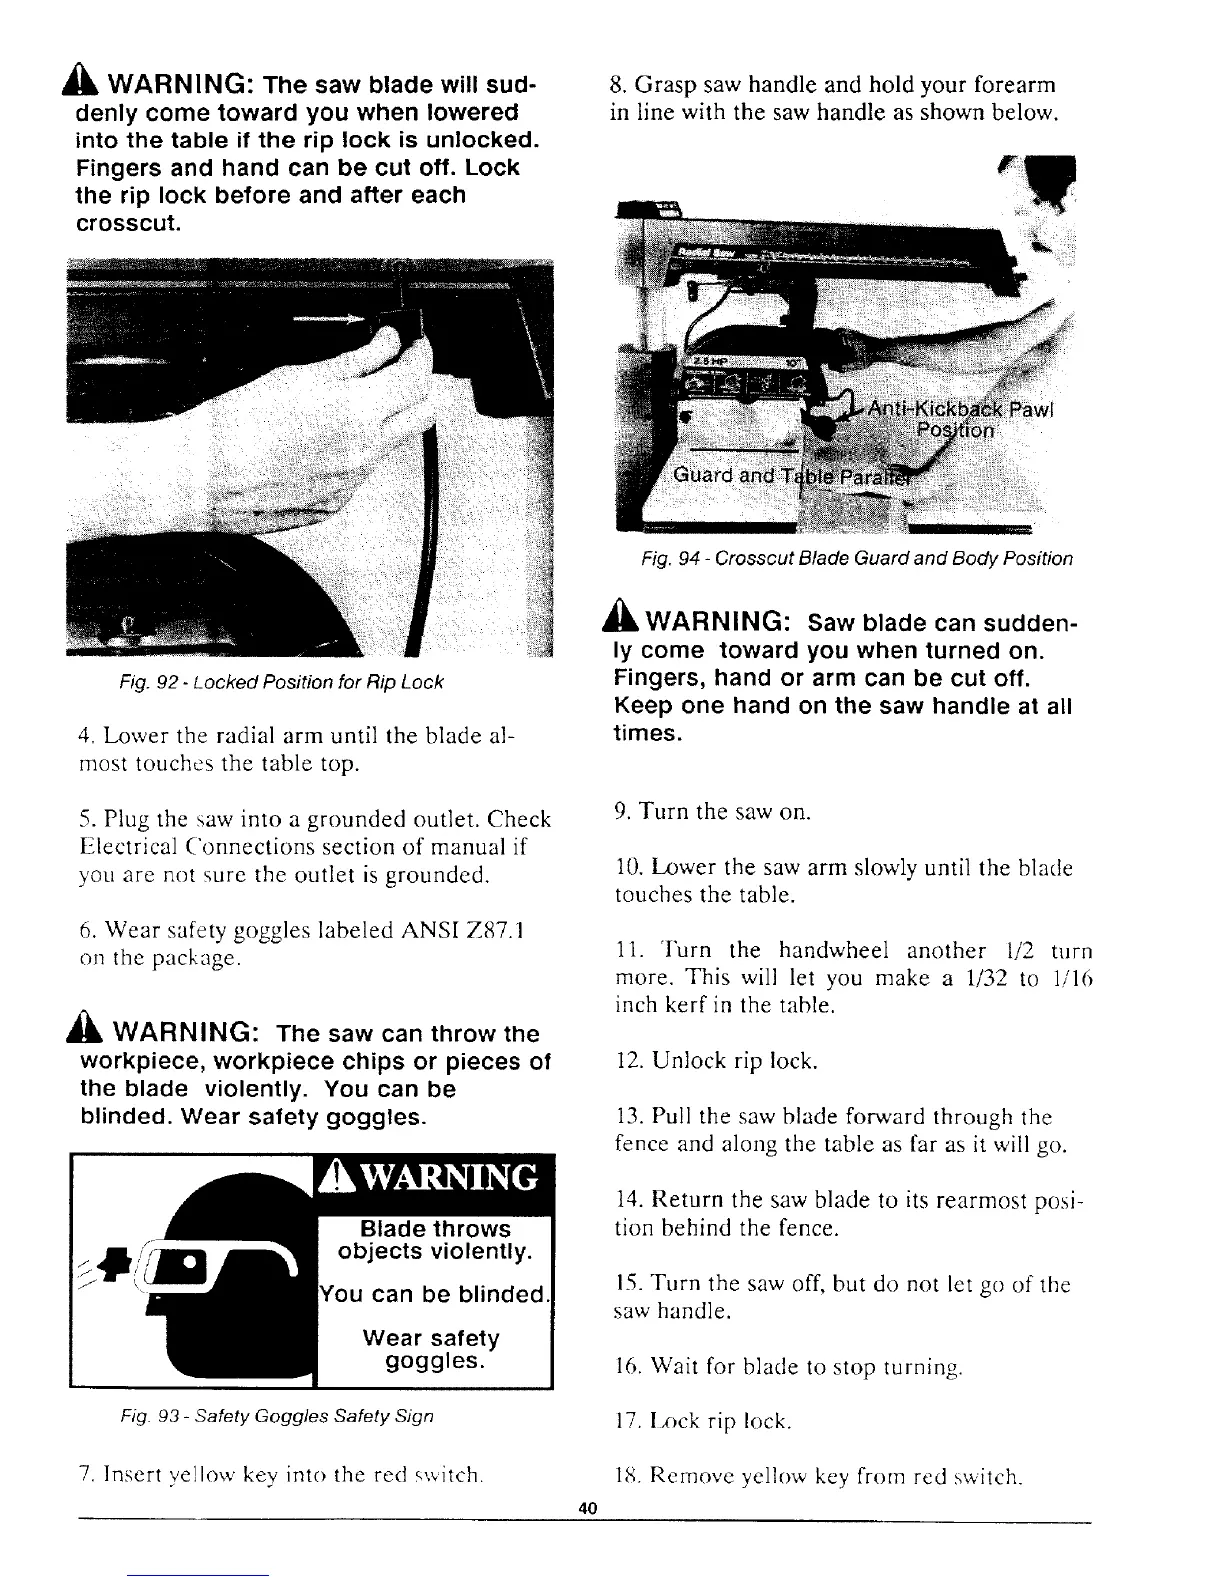
A WARNING: The saw blade will sud-
denly come toward you when lowered
into the table if the rip lock is unlocked.
Fingers and hand can be cut off. Lock
the rip lock before and after each
crosscut.
Fig. 92 - Locked Position for Rip Lock
4, Lower the radial arm until the blade al-
most touches the table top.
5. Plug the saw into a grounded outlet. Check
Electrical Connections section of manual if
you are not sure the outlet is grounded.
6. Wear safety goggles labeled ANSI Z87.1
on the package.
£t
AI& WARNING: The saw can throw the
workpiece, workpiece chips or pieces of
the blade violently. You can be
blinded. Wear safety goggles.
can be blinded.
Wear safety
goggles.
Fig 93 - Safety Goggles Safety Sign
7. Insert yellow key' into the red switch.
8. Grasp saw handle and hold your forearm
in line with the saw handle as shown below.
Fig. 94 - Crosscut Blade Guard and Body Position
£k
II&WARNING: Saw blade can sudden-
ly come toward you when turned on.
Fingers, hand or arm can be cut off.
Keep one hand on the saw handle at all
times.
4O
9. Turn the saw on.
10. lower the saw arm slowly until the blade
touches the table.
11. Turn the handwheel another 1/2 turn
more. This will let you make a 1/32 to 1/16
inch kerf in the table.
12. Unlock rip lock.
13. Pull the saw blade forward through the
fence and along the table as far as it will go.
14. Return the saw blade to its rearmost posi-
tion behind the fence.
15. Turn the saw off, but do not let go of the
saw handle.
16. Wait for blade to stop turning.
17. Ix)ck rip lock.
1,8. Remove yellow key from red switch.
 Loading...