 Loading...
Do you have a question about the Craftsman 113.248510 and is the answer not in the manual?
| Model Number | 113.248510 |
|---|---|
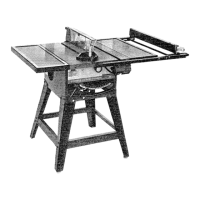
| Type | Table Saw |
| Blade Diameter | 10 inches |
| Motor | Induction |
| Voltage | 120V |
Steps and warnings to follow before operating the band saw.
Procedures for safely installing and moving the band saw.
Daily inspection and safety checks before using the band saw.
Definitions of common woodworking terms used in the manual.
Guidelines for motor maintenance and preventing damage.
Recommendations for extension cord wire gauge based on length.
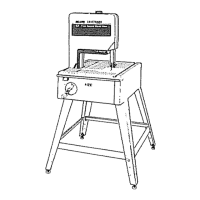
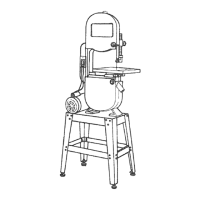
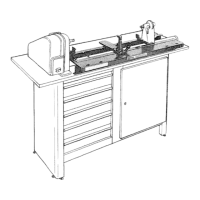
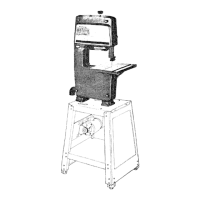
Details on specifications for different band saw models.
Instructions for unboxing and verifying all parts are present.
Steps to attach and adjust the leveling feet for stability.
Instructions for assembling the leg stand for the band saw.
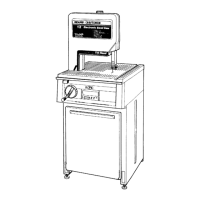
Guide for assembling the cabinet for model 113.248510.
Step-by-step guide for mounting the motor assembly.
Wiring instructions for connecting the motor to the power supply.
Guidance on choosing appropriate blade speeds for different tasks.
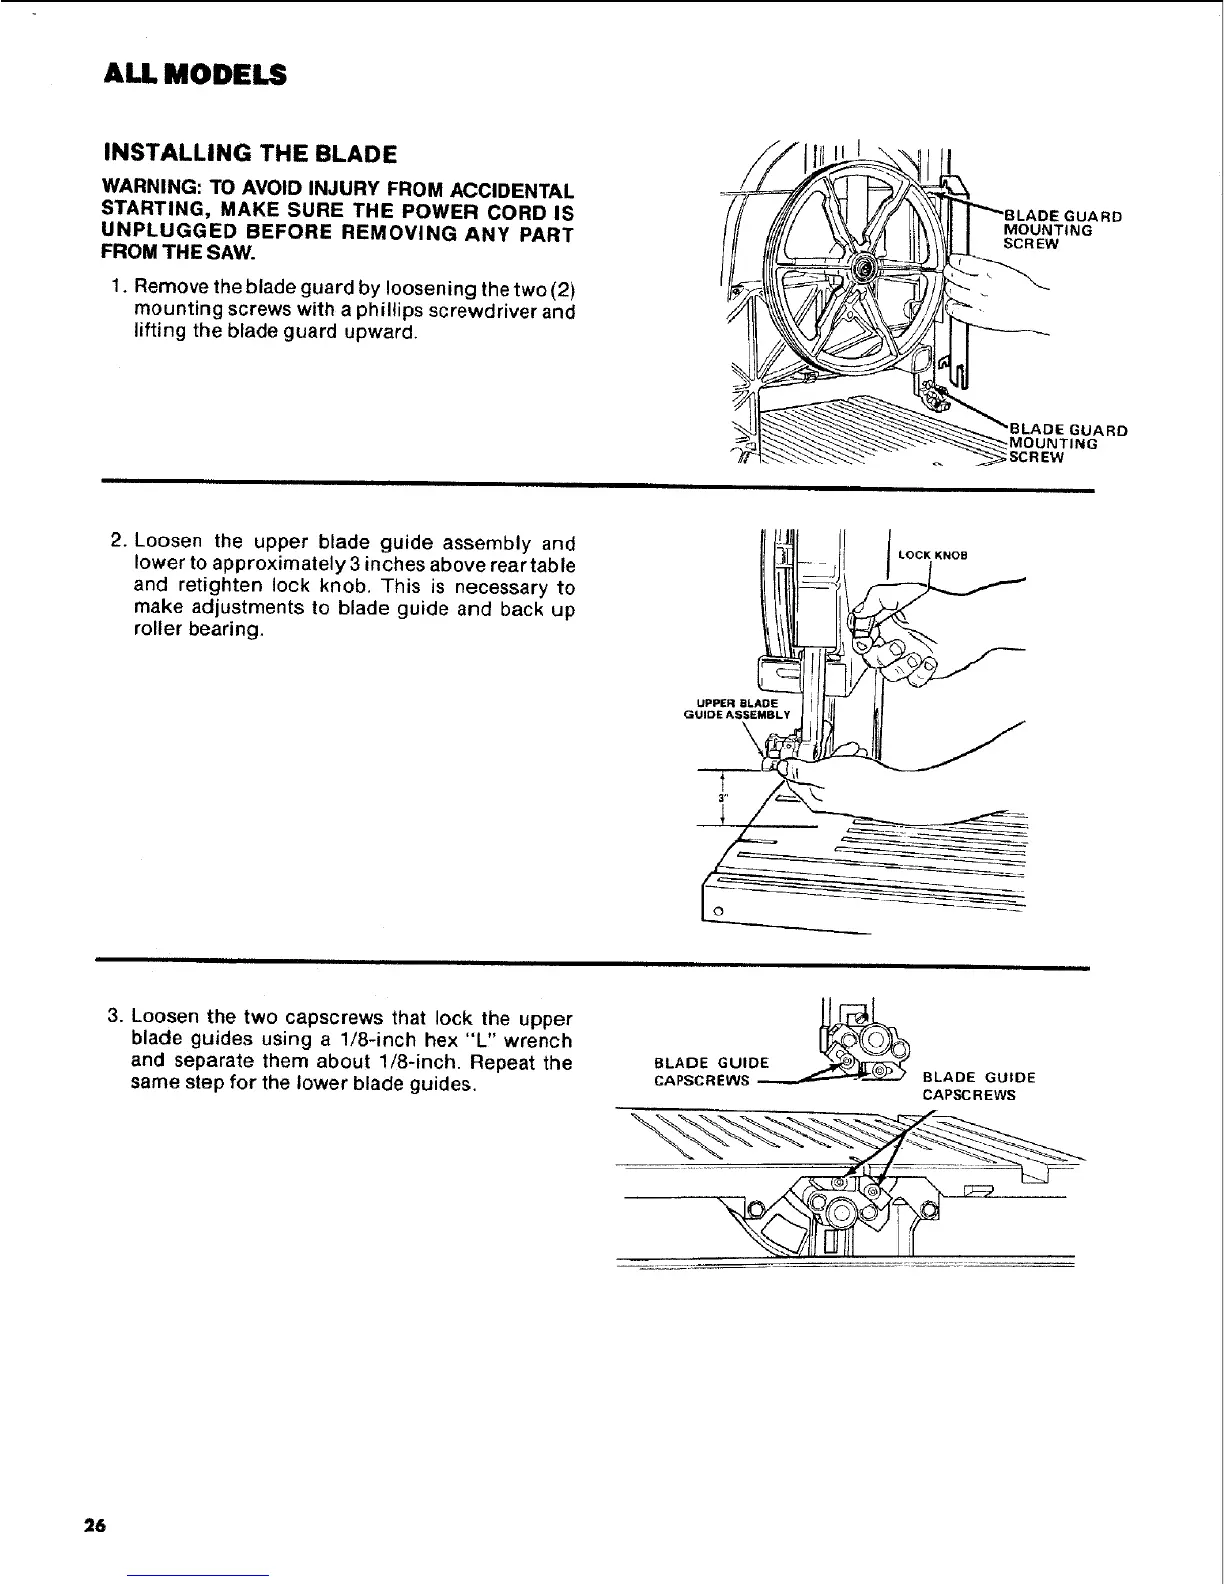
Instructions for safely installing the saw blade.
Steps to align the blade and guides for specific models.
Instructions for attaching and setting up the front table.
Procedure to ensure the blade is square to the table for accuracy.
Procedures for accurately adjusting the front table height.
Overview of control panel features and their functions.
Fundamental techniques for operating the band saw.
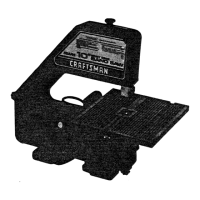
Guide for installing the sanding attachment and belt.
Routine maintenance tasks for the band saw.
Diagnosing and resolving motor-related problems.
Troubleshooting common issues with electronic components.
Information on obtaining service and ordering repair parts.