5
ENGLISH
SAVE THESE INSTRUCTIONS FOR
FUTURE USE
COMPONENTS (FIG. A)
Motor
Be sure your power supply agrees with the nameplate
marking. Voltage decrease of more than 10% will cause loss
of power and overheating. These tools are factory tested; if
this tool does not operate, check powersupply.
Intended Use
The CMEW020 is a 6" (152 mm), variable-speed bench
jointer intended for jointing and planing wood with a
designed cutting capacity of 6" (152 mm) wide and 1/8"
(3mm) deep. Unit includes a 10 Amp, 120Volt motor with
a variable speed range of 6000 to 11000RPM, and a cutting
speed range of 12000 to 22000CPM, a dust chute, a center-
mounted fence, a two-knife cutterhead, a cutterhead guard
and lock, wrenches, and pushblocks.
DO NOT use under wet conditions or in presence of
flammable liquids orgases.
DO NOT let children come into contact with the tool.
Supervision is required when inexperienced operators use
thistool.
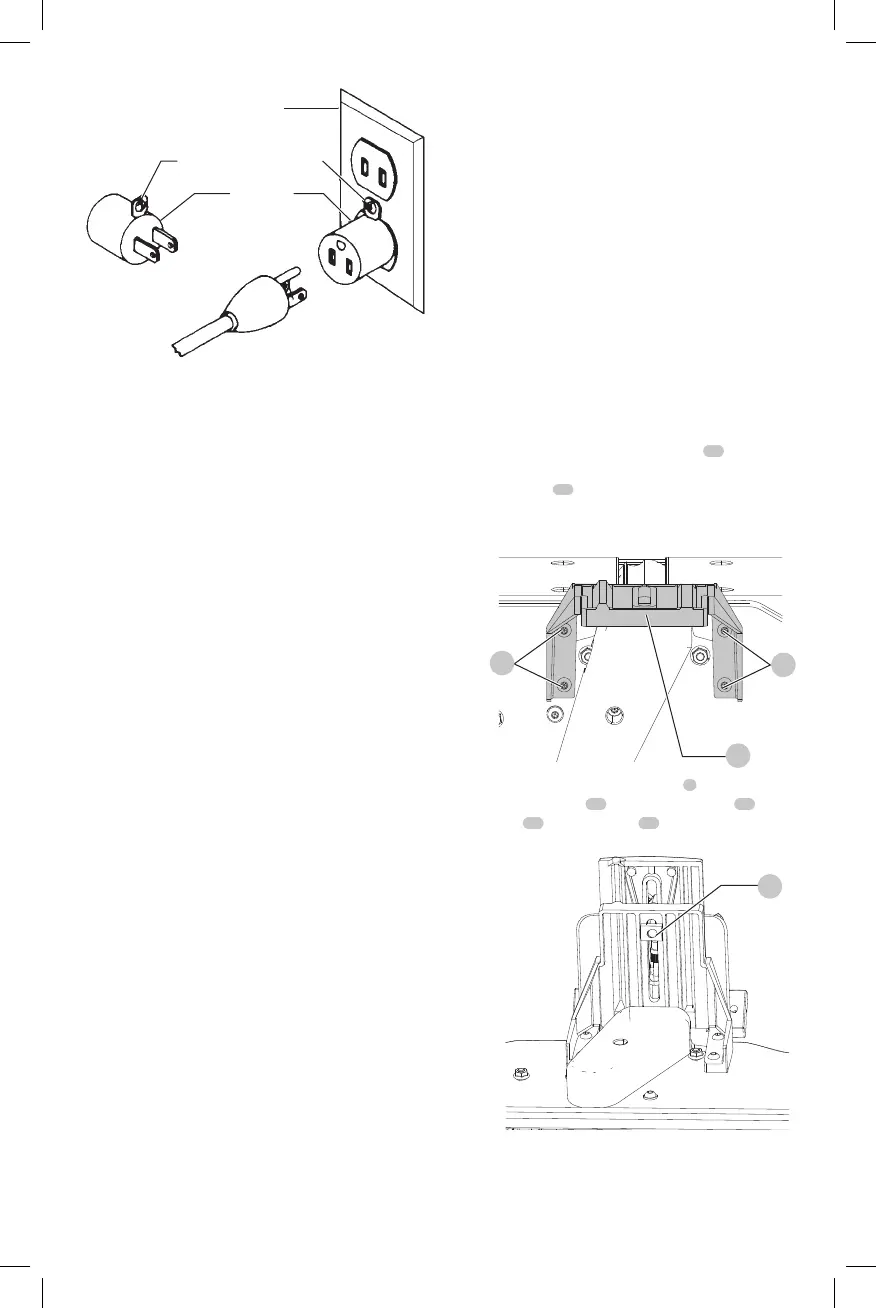
GROUNDED OUTLET BOX
GROUNDING MEANS
ADAPTER
Fig. C
NOTE: In Canada, the use of a temporary adapter is not
permitted by the Canadian ElectricCode.
DANGER: In all cases, make certain that the
receptacle in question is properly grounded. If
you are not sure, have a qualified electrician
check thereceptacle.
ASSEMBLY AND ADJUSTMENTS
WARNING: To reduce the risk of serious personal
injury, turn unit off and disconnect it from
power source before making any adjustments or
removing/installing attachments or accessories.
An accidental start-up can causeinjury.
Unpacking and Cleaning
Carefully unpack the machine and all loose items from the
shipping container(s). Remove the rust-preventative oil
from unpainted surfaces using a soft cloth moistened with
mineral spirits, paint thinner or denatured alcohol.
NOTICE: Do not use highly volatile solvents such as
gasoline, naphtha, acetone or lacquer thinner for
cleaning your machine.
After cleaning, cover the unpainted surfaces with a good
quality household floor pastewax.
Assembly Tools Required
Two hex wrenches (supplied)
Assembly Time Estimate
Assembly for this machine takes approximately 1hour.
Fence (Fig. D–J)
1. Assemble the fence mounting bracket
11
to the
jointer base using the four M6 x 1 mm x 16 mm button
headscrews
12
.
Fig.D
12
12
11
2. Assemble the fence sliding bracket
3
to fence
mounting bracket
11
using the lockhandle
19
, M8 flat
washer
13
and special nut
14
.
Fig.E
14

 Loading...