3-Series Control Systems Crestron CP3 & CP3N
24 • 3-Series Control Systems: CP3 & CP3N Operations Guide – DOC. 7316C
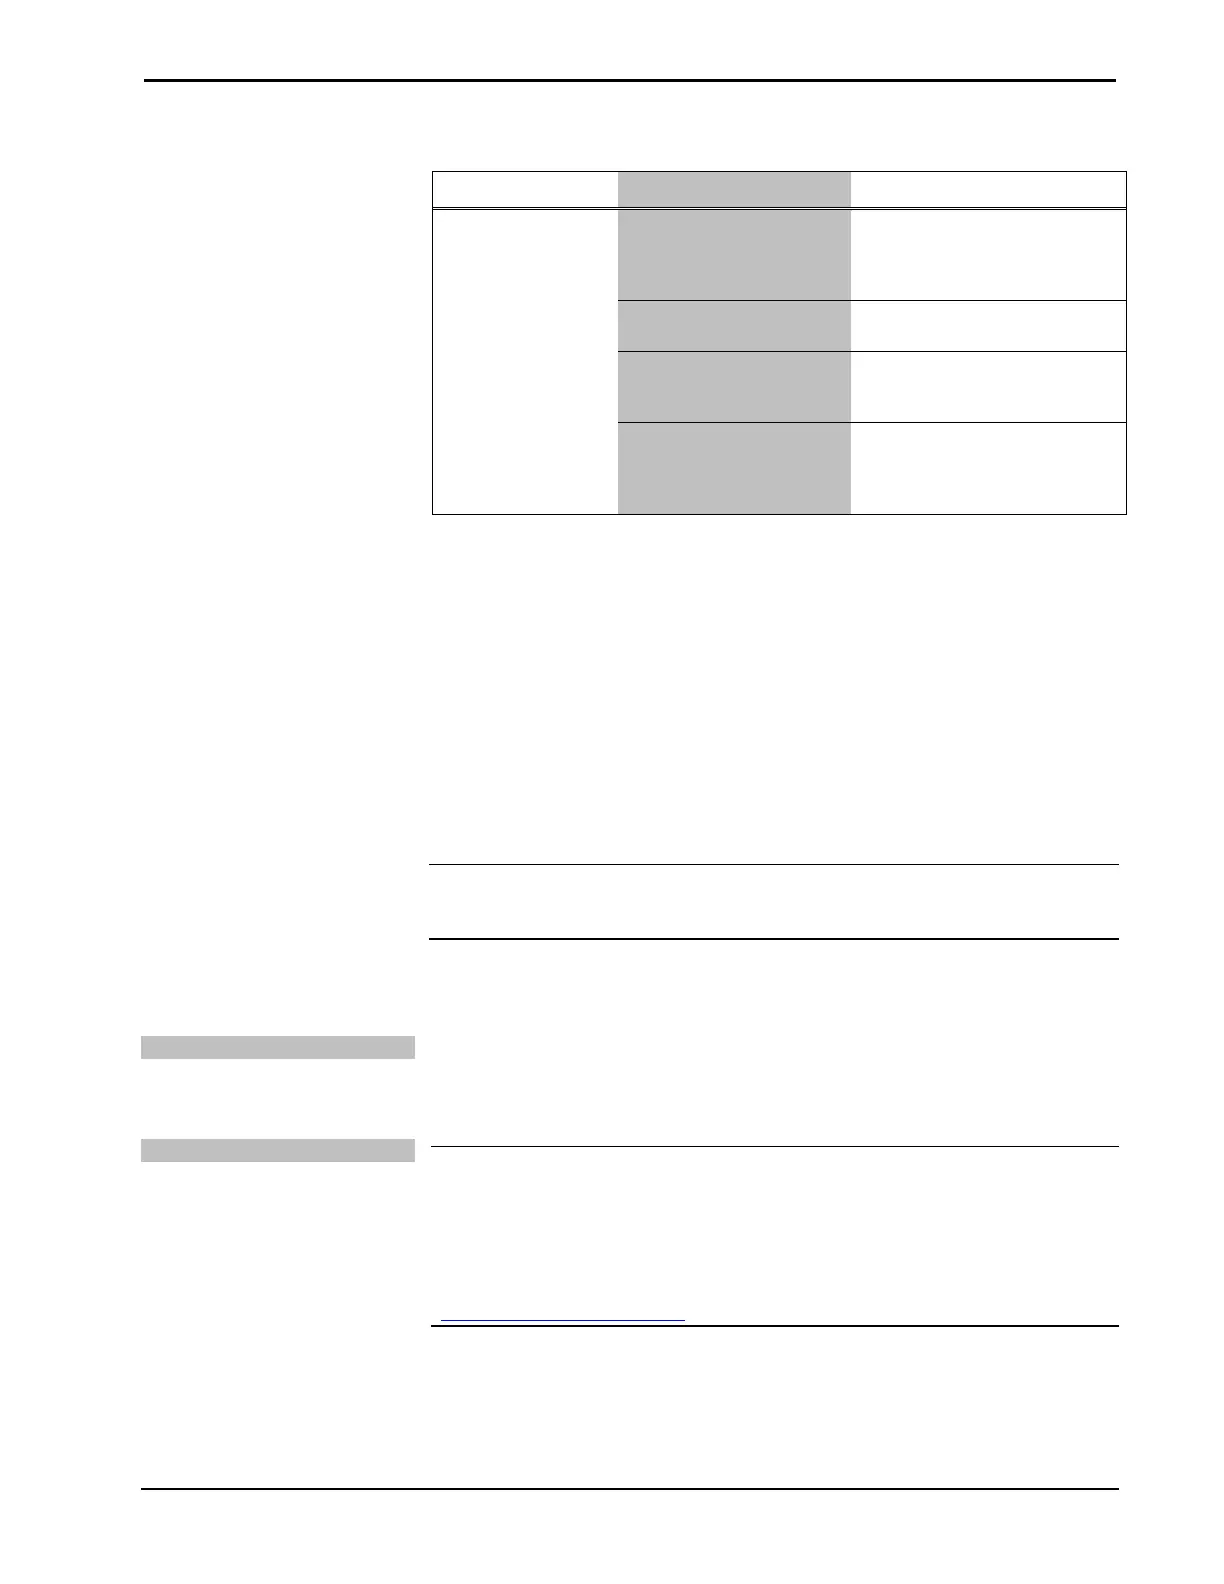
CP3 Troubleshooting (Continued)
TROUBLE POSSIBLE CAUSE(S) CORRECTIVE ACTION
A/V system device
does not respond.
IRP2 or serial port not
placed properly.
Verify placement of IRP2
(hold phosphor card under
IRP2 while pressing button)
and tighten serial cables.
Used wrong IR/serial
port.
Verify that proper IR or serial
port is defined.
Serial cable not wired
correctly.
Verify that serial cable is
wired correctly for RS-232,
422, 485.
Device is not receiving
sufficient power.
User the Crestron Power
Calculator to help calculate
how much power is needed
for the system.
Network Analyzer
To assist with troubleshooting, the unit contains Crestron’s patent-pending network
analyzer to continuously monitor the integrity of the Cresnet network for wiring
faults and marginal system performance or other network errors. For more
information on how to use the network analyzer, refer to the Crestron Toolbox help
file and use the index to search for “Network Analyzer.”
Battery Replacement
A Lithium battery is used to power the system clock within the 3-Series integrated
dual bus control system. Under normal conditions, it lasts for approximately 10
years. In the event that the clock fails, only an authorized technician should replace
it. Refer to caution statement below.
CAUTION: Danger of explosion if battery is incorrectly replaced.
Replace only with the same or equivalent type recommended by the manufacturer.
Dispose of used batteries according to the manufacturer's instructions.
Check Network Wiring
Use the Right Wire
To ensure optimum performance over the full range of the installation topology, use
Crestron Certified Wire only. Failure to do so may incur additional charges if
support is required to identify performance deficiencies because of using improper
Calculate Power
CAUTION: Use only Crestron power supplies for Crestron equipment. Failure to
do so could cause equipment damage or void the Crestron warranty.
CAUTION: Provide sufficient power to the system. Insufficient power can lead to
unpredictable results or damage to the equipment. Use the Crestron Power
Calculator to help calculate how much power is needed for the system
(
www.crestron.com/calculators).
When calculating the length of wire for a particular Cresnet run, the wire gauge and
the Cresnet power usage of each network unit to be connected must be taken into
consideration. Use Crestron Certified Wire only. If Cresnet units are to be daisy
chained on the run, the Cresnet power usage of each network unit to be daisy

 Loading...