Operation
Configuration
Each amplifier channel has its own gain control on the rear of the
amplifier that can be adjusted to balance the sound between inputs or
to accommodate different audio sources.
To configure a channel, a test signal must be sent to the amplifier while
a flat screwdriver (not included) is used to adjust the amplifier's gain
control (turn the gain control knob clockwise to increase the gain or
counterclockwise to reduce the gain).
WARNING: This amplifier is capable of delivering high power to the
loudspeakers. Please use caution and adequate ear protection if
listening to content at high volume levels, as continued exposure to
high sound pressure levels can cause permanent hearing impairment or
loss.
1. Set the source's output signal level to maximum.
2. Set the amplifier's gain to the lowest setting (full counterclockwise).
3. Apply power to the amplifier.
4. Increase the amplifier's gain control until the desired volume level is
reached in the audio playback zone.
NOTE: If clipping is exhibited in the playback audio, check the gain
levels at the amplifier first. If the clipping is not remedied by
adjusting the gain at the amplifier, troubleshoot at any other gain
stage earlier in the audio chain.
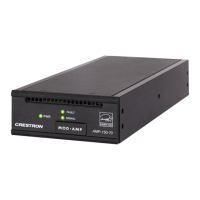
Observe the LED Indicators
The LEDs on the front panel provide the following information:
LED Indicator Color Meaning
PWR White The amplifier is operating normally.
Red The amplifier has entered Standby
(Power Saver) mode.
FAULT Red There is a fault (overcurrent, thermal)
or limiting on the indicated channel.
SIGNAL White An audio signal is present on the
indicated channel.
RED There is a clipping on the indicated
channel.
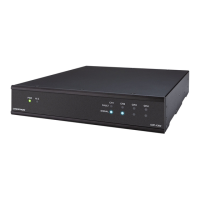
AMP-X75
QuickStart
X-Series Amplifier,75 W
13
 Loading...