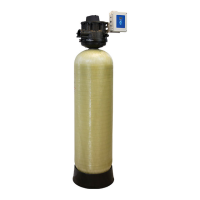
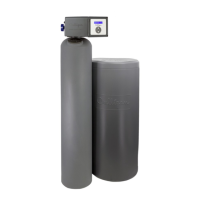
54 Culligan® CSM Series Softeners
54 Cat. No. 01016370
Final Start-up
Pressurize the Media Tank
1. Slowly open the manual inlet isolation valve about 1/3 open and allow the media tank to slowly fill with water
to the top access opening. Some flow to the drain may occur since the pilot valve is not yet pressurized. Then
close the manual inlet isolation valve.
2. Replace the top access opening and secure it closed.
3. Make sure the position dial on the pilot valve is in the H (Home) position. If it is not in the H (Home) position,
rotate the position dial by hand to the H (Home) position. Rotate the dial only in the direction indicated on the
position dial.
4. Slowly open the manual inlet isolation valve about 1/3 open and allow media tank to pressurize.
5. Check the media tank and piping for leaks. If leaks occur shut the system down and depressurize the unit, fol-
lowing the instructions on page 65 for depressurization procedures. Once the filter has been depressurized
and the media tank has been drained, disconnect the piping at the source of the leak and apply either Teflon
tape or sealant paste on the piping threads.
6. Re-pressurize the system, per steps 1 through 4 above.
7. Open the manual inlet isolation valve completely. Re-tighten hand-hole or manhole covers that utilize a nut and
bolt type attachment, since these fasteners may loosen when the media tank is pressurized.
Bleeding the Air from the System
At start-up, it is desirable to bleed air from the controller pilot valve tubing by loosening the tubing nut (brass fittings) or
disconnecting the tubing from the fitting (push-in fittings) at the Brunermatic valve diaphragm caps, while under pressure.
When water squirts from the fitting, tighten or reconnect the tubing to the fitting. DO NOT excessively tighten the nuts on
the brass fittings.
Bleed the valves in the following sequence:
1. Insure the position dial is in the H (Home) position. Bleed valves 2, 5, 6 and 17.
2. Manually rotate the position dial to position #1. Bleed valves 1 and 4.
3. Manually rotate the position dial back to the H (Home) position.
Initial Backwash of the System
1. Manually rotate the position dial to the #1 position. Backwash the media for 10 minutes or until the drain water
is clear.
2. After the backwash is complete, manually rotate the position dial back to the H (Home) position.
 Loading...

