6 Operation
Installer and user reference guide
7
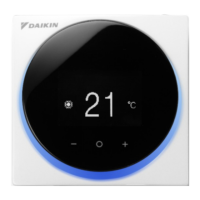
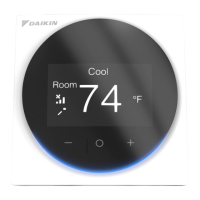
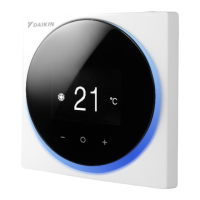
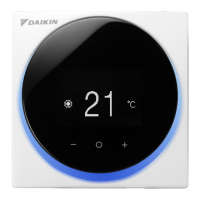
BRC1H519W+K+S
Wired remote controller
4P513689-1A – 2018.03
When … then …
… the system is turned ON … the home screen displays the
regular temperature setpoint.
… the system is turned OFF, and
Setback is disabled
… the home screen displays the
regular temperature setpoint.
… the system is turned OFF, and
Setback is enabled
… the home screen displays the
Setback temperature setpoint.
For information about Setback, see "15.5.11Setback"on page30.
6.2.2 To set the setpoint
Prerequisite: The active operation mode is either 'Cooling',
'Heating', or 'Auto'.
1 In the home screen, use and to adjust the setpoint.
Result: The indoor unit changes its temperature setpoint.
6.3 Date and time
Set the date and time for the indoor units connected to the controller.
6.3.1 About date and time
Depending on daylight saving time settings, the date and time menu
has the following daylight saving time indicators:
Summer time
Winter time
For more information, see "Indoor unit field settings" on page 18
(remote controller settings) and "15.5.7Date and time" on page30
(app settings).
6.3.2 To set date and time
1 Navigate to the date and time menu.
2 Press to activate .
Result: The fields become editable.
3 Set the date and time. Set with and . Confirm with .
Cycle through the menu until all fields are set correctly.
Result: You set the date and the time.
INFORMATION
Confirming the value in a field will automatically bring you
to the next field. To finish making settings and leave the
menu, navigate to and confirm the value in the last field.
6.4 Airflow
6.4.1 Airflow direction
The airflow direction is the direction in which the indoor unit blows its
air.
About airflow direction
The following airflow directions can be set:
Direction Screen
Fixed position. The indoor unit
blows air in 1 of 5 fixed positions.
Swing. The indoor unit alternates
between the 5 positions.
Auto. The indoor unit adjusts its
airflow direction according to
movement sensed by a
movement sensor.
INFORMATION
▪ Depending on the type of indoor unit, and/or on system
layout and organisation, Auto airflow direction may not
be available.
▪ For some types of indoor unit, you cannot set the
airflow direction.
Automatic airflow control
In the following operating conditions, the airflow direction of the
indoor units is controlled automatically:
▪ When the room temperature is higher than the controller's setpoint
for Heating operation (including Auto operation).
▪ When the indoor units run in Heating operation mode, and the
Defrost function is active.
▪ When the indoor units run in Continuous operation, and the airflow
direction is Horizontal.
To set the airflow direction
1 Navigate to the airflow direction menu.
2 Use and to adjust the airflow direction.