9 | Finishing the indoor unit installation
Installer reference guide
45
CVXM20+FVXM25~50A2V1B
Split system air conditioners
4P625991-1 – 2020.06
9 Finishing the indoor unit installation
9.1 To finish the indoor unit installation
1 After the drain piping, refrigerant piping and the electrical wiring are finished.
Wrap the refrigerant pipes and the interconnection cable with insulation tape.
Overlap at least half the width of the tape with each turn.
a Interconnection cable
b Gas pipe
c Gas pipe insulation
d Insulation tape
e Liquid pipe
f Liquid pipe insulation
2 Pass the pipes through the wall hole and seal the gaps with putty.
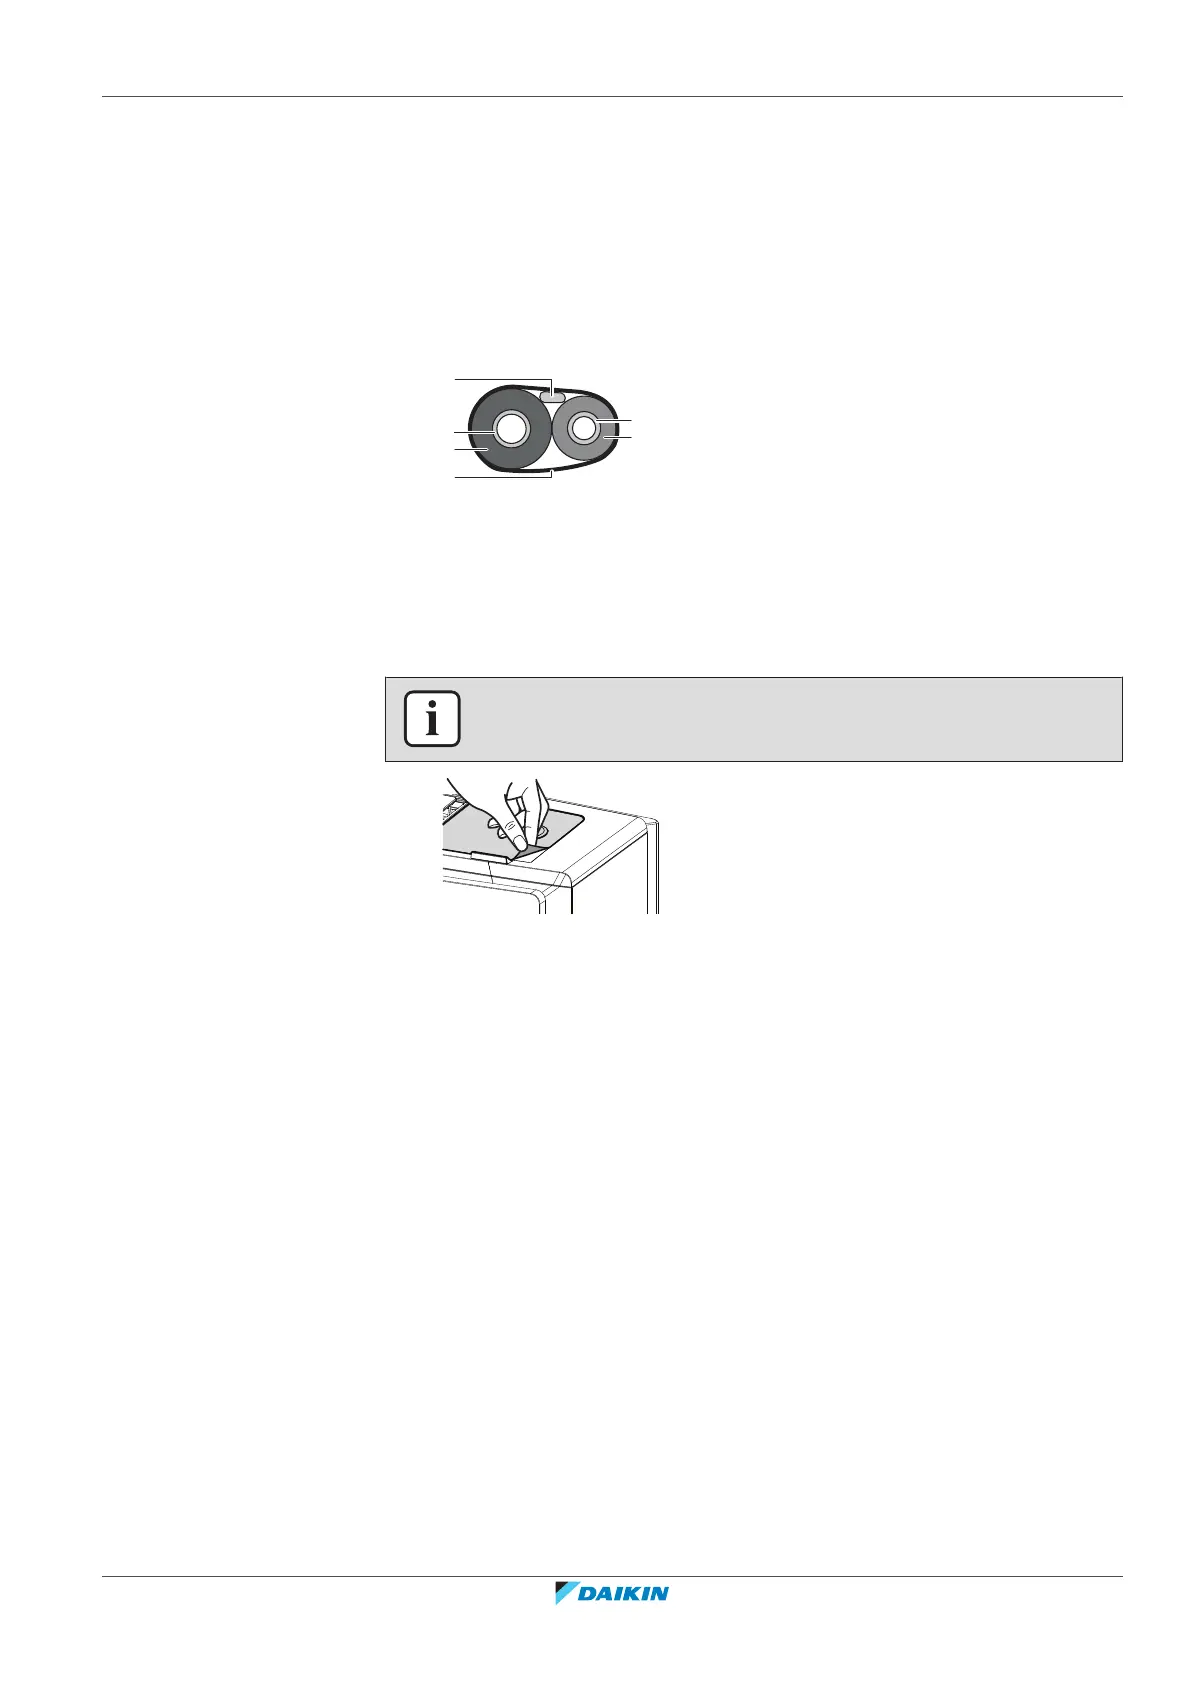
3 Remove the protection foil from the Daikin eye.
INFORMATION
Be careful when removing the protection foil to avoid damage of the sticker under it.
9.2 To close the indoor unit
9.2.1 To close the electrical wiring box and close the terminal block
1 Hook the electrical wiring box onto the 2 tabs, close it, and fix it with 1 screw.
2 Attach the front metal cover and fix it with the screw.
3 Close the sensor securing plate.
9.2.2 To re-install the front grille
1 Attach the front grille to the original position.
2 Secure the front grille with the 4 screws and 4 tabs.
9.2.3 To re-install the front panel
1 Insert the front panel into the grooves of the unit (3 places) and attach the
string.
 Loading...