4 CLM Laminator
CLM Laminator Quick Install and Upgrade Guide
b. Secure the laminator to the mounting surface (optional).
Refer to the printer’s Installation and Administrator’s
Guide for detailed measurements and instructions.
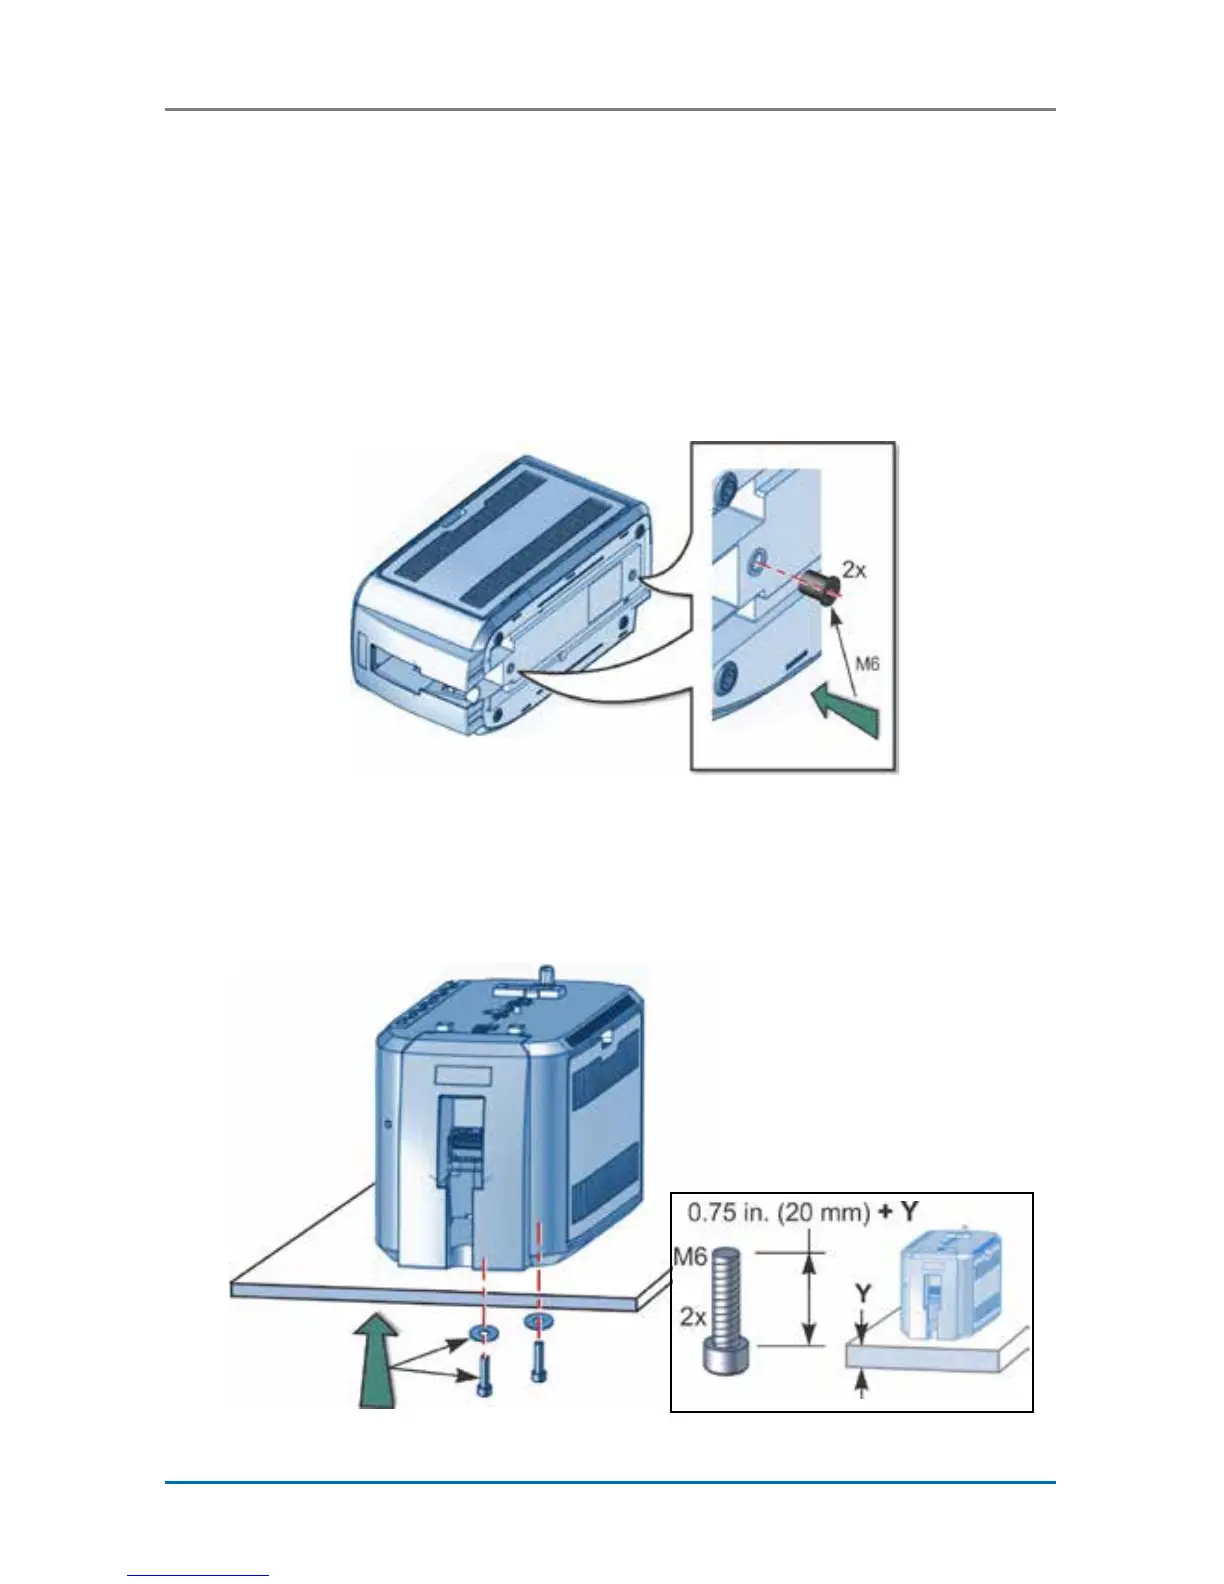
i. Carefully tip the laminator onto its left side (the side
without the access door). Insert the M6 well nuts
into the bolt-down openings in the bottom of the
laminator.
ii. Return the laminator to its upright position and
secure the laminator to the mounting surface with
the two M6 screws.
 Loading...