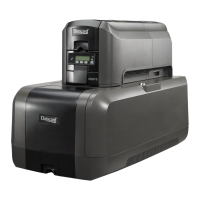
5 CLM Laminator
CLM Laminator Quick Install and Upgrade Guide
3. Prepare the Printer
Do the following to prepare the printer to connect to the CLM
laminator.
• You cannot attach a printer with a multi-hopper to
the laminator.
• If you have installed a large output hopper, you
must remove it before connecting the printer to
the laminator.
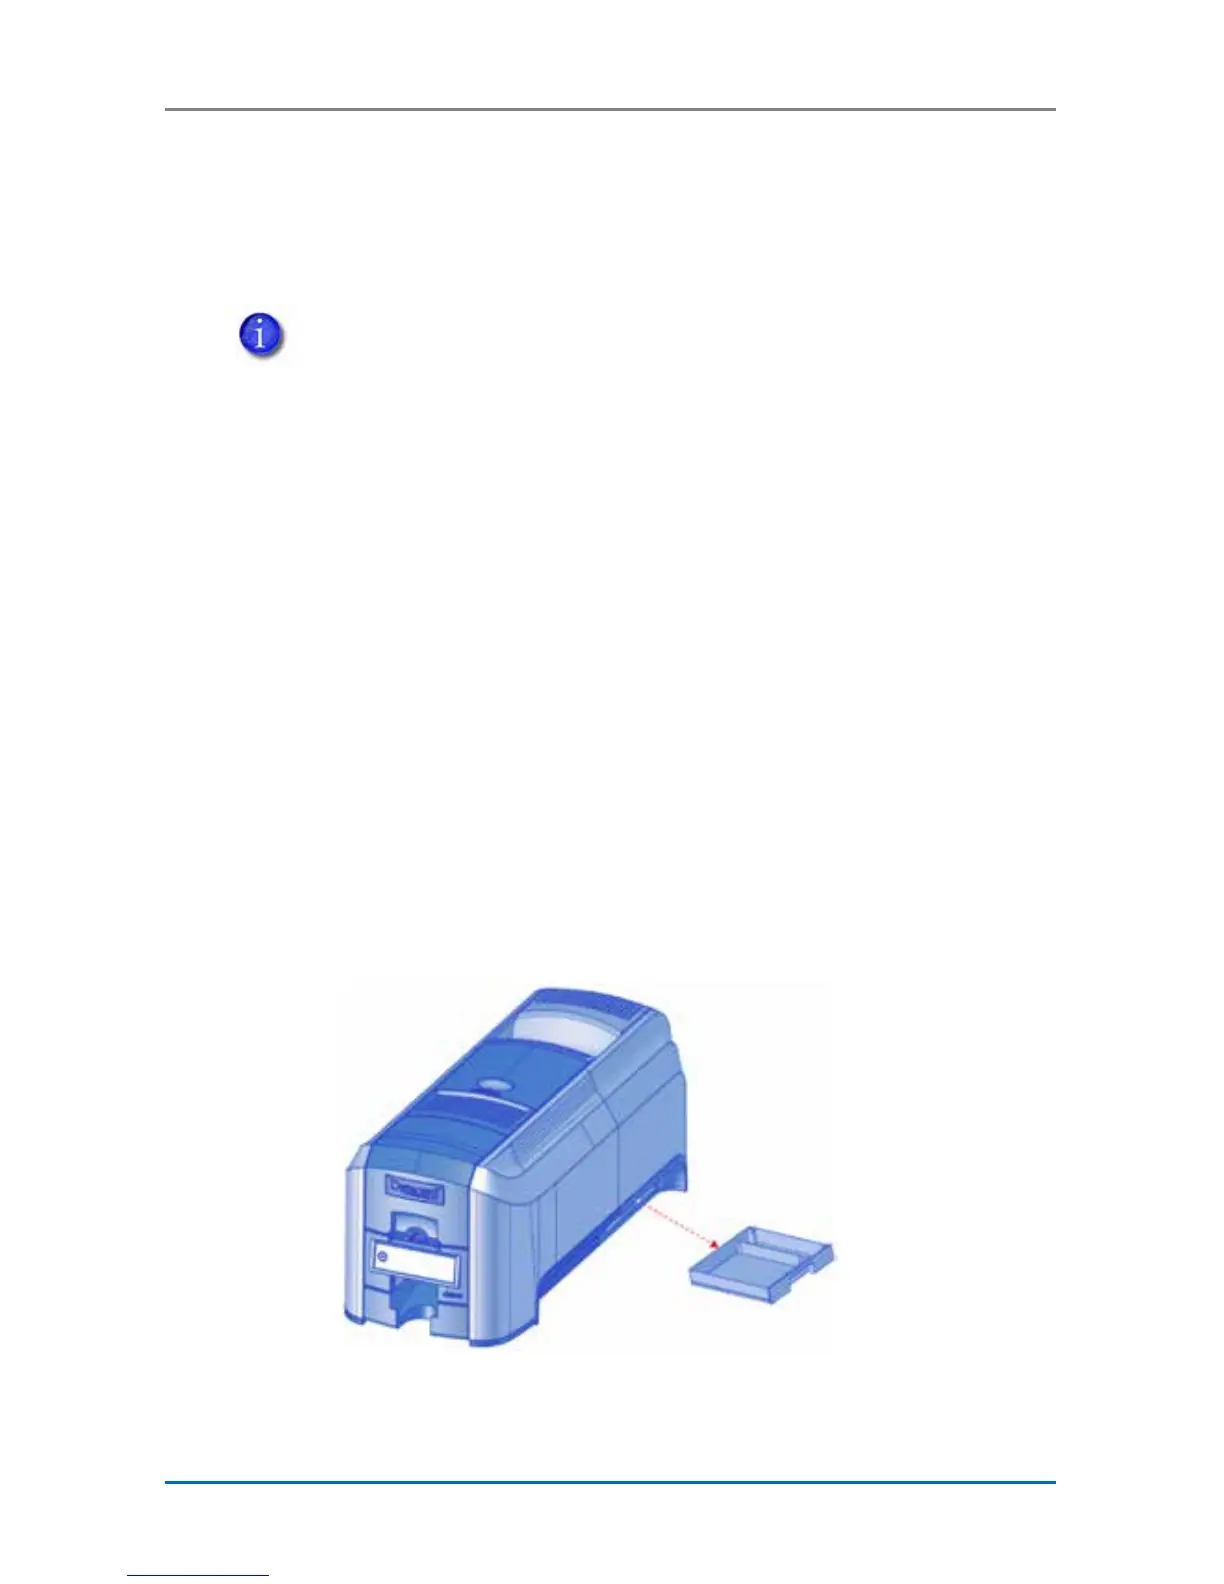
Remove, Replace, or Modify the Reject Card
Tray
The reject card tray must be removed, replaced, or modied
to allow the card to enter the CLM laminator.
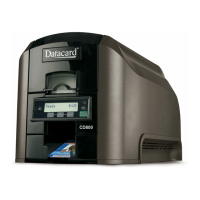
CD800 Printers Without Locks:
a. Remove the reject card tray from the printer. Keep the
tray in a safe place in case you need to return it to the
printer in the future.
b. Continue with “Remove the Interconnect Port Tab” on
page 7.
 Loading...