M-Class 149
GPIO Port Description
The printer can easily be programmed to interface with most applicator devices. The GPIO functions are enabled and
configured using the menu system of the printer (see Section 5.1.4). These parameters are stored in non-volatile memory
and saved for subsequent power-ups.
When the GPIO is enabled, the printer will not print a label unless the Start of Print signal is active. When a label is ready
to print and the printer is waiting for the Start of Print signal the printer will display “WAITING FOR SIGNAL”.
GPIO Port Configuration
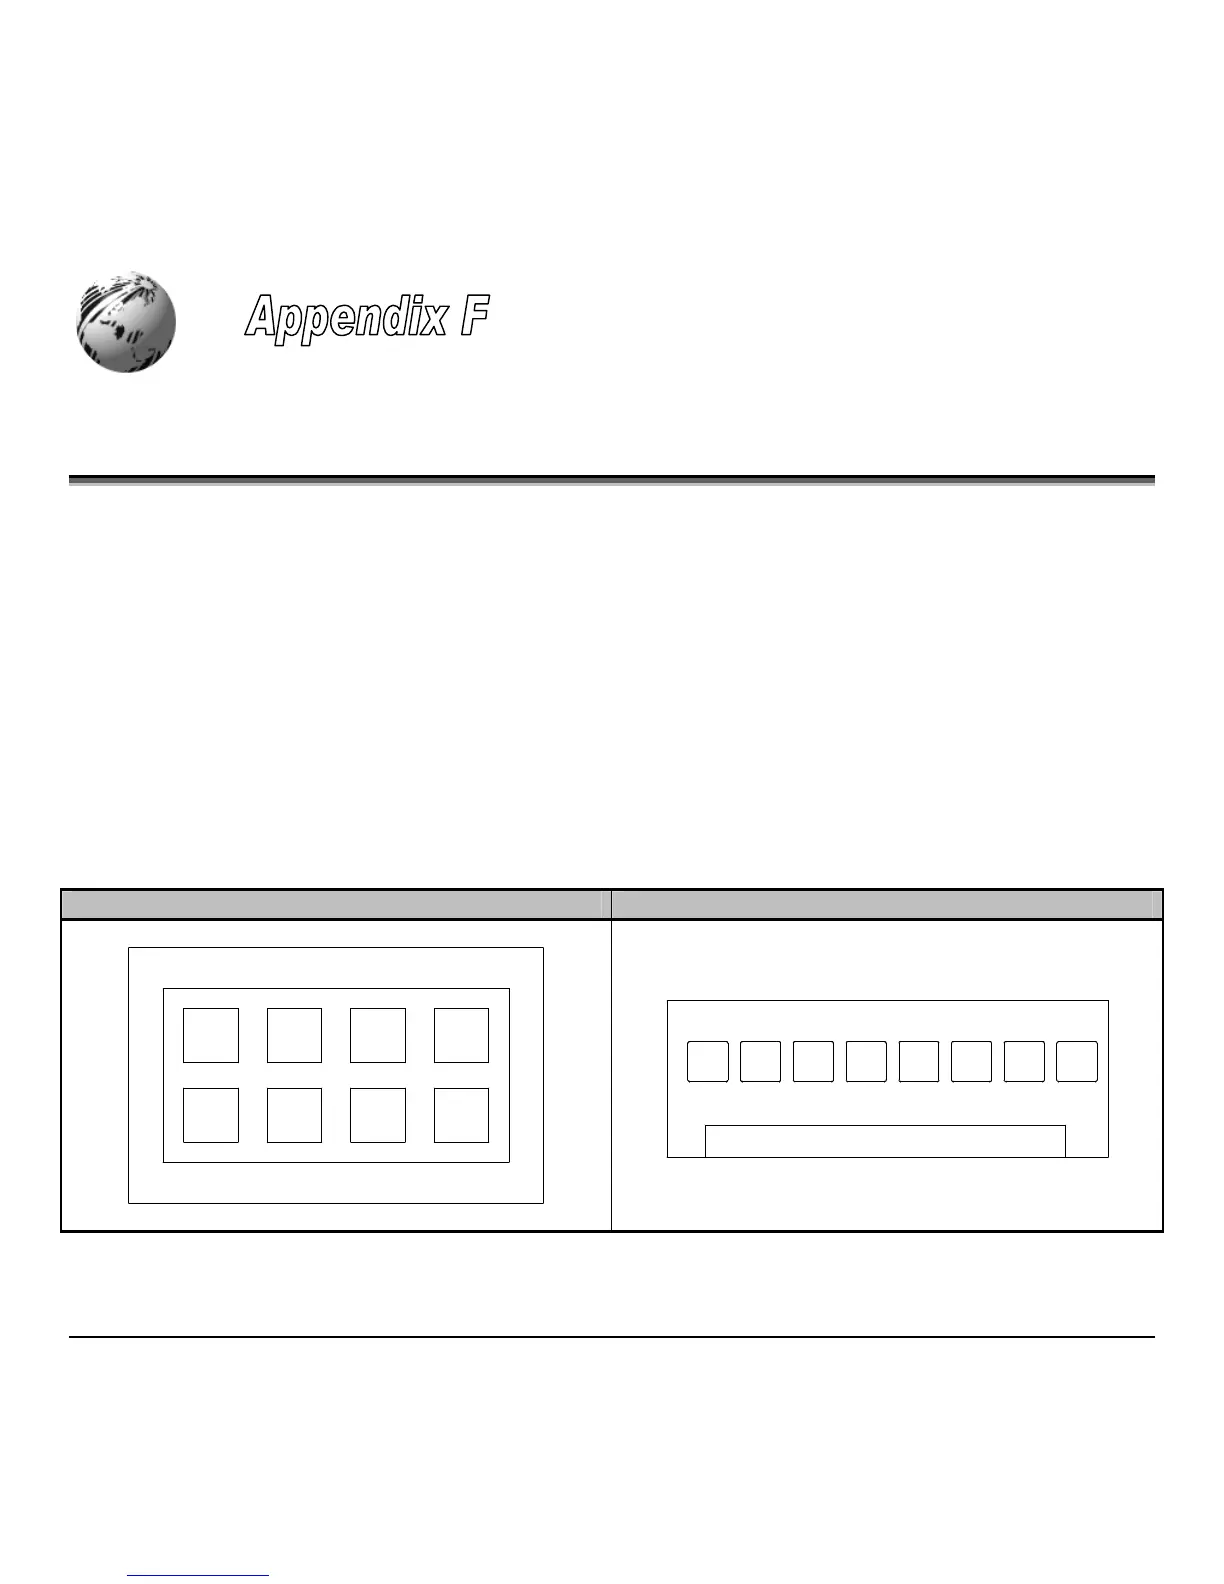
The connection to the GPIO signals is accessed via the option port connector on the front of the printer or the J6 connector
on the Main PCB. Requires firmware version 5.07 or greater. The option port connector is an 8-pin Molex Microfit 3.0
P/N 44300-800. The J6 connector is an AMP connector P/N 640456-8. Each GPIO pin’s function is detailed in the table
below:
Options Port Connector Main PCB Connector J6
1234
5678
12345678
 Loading...