16
Section 3
386
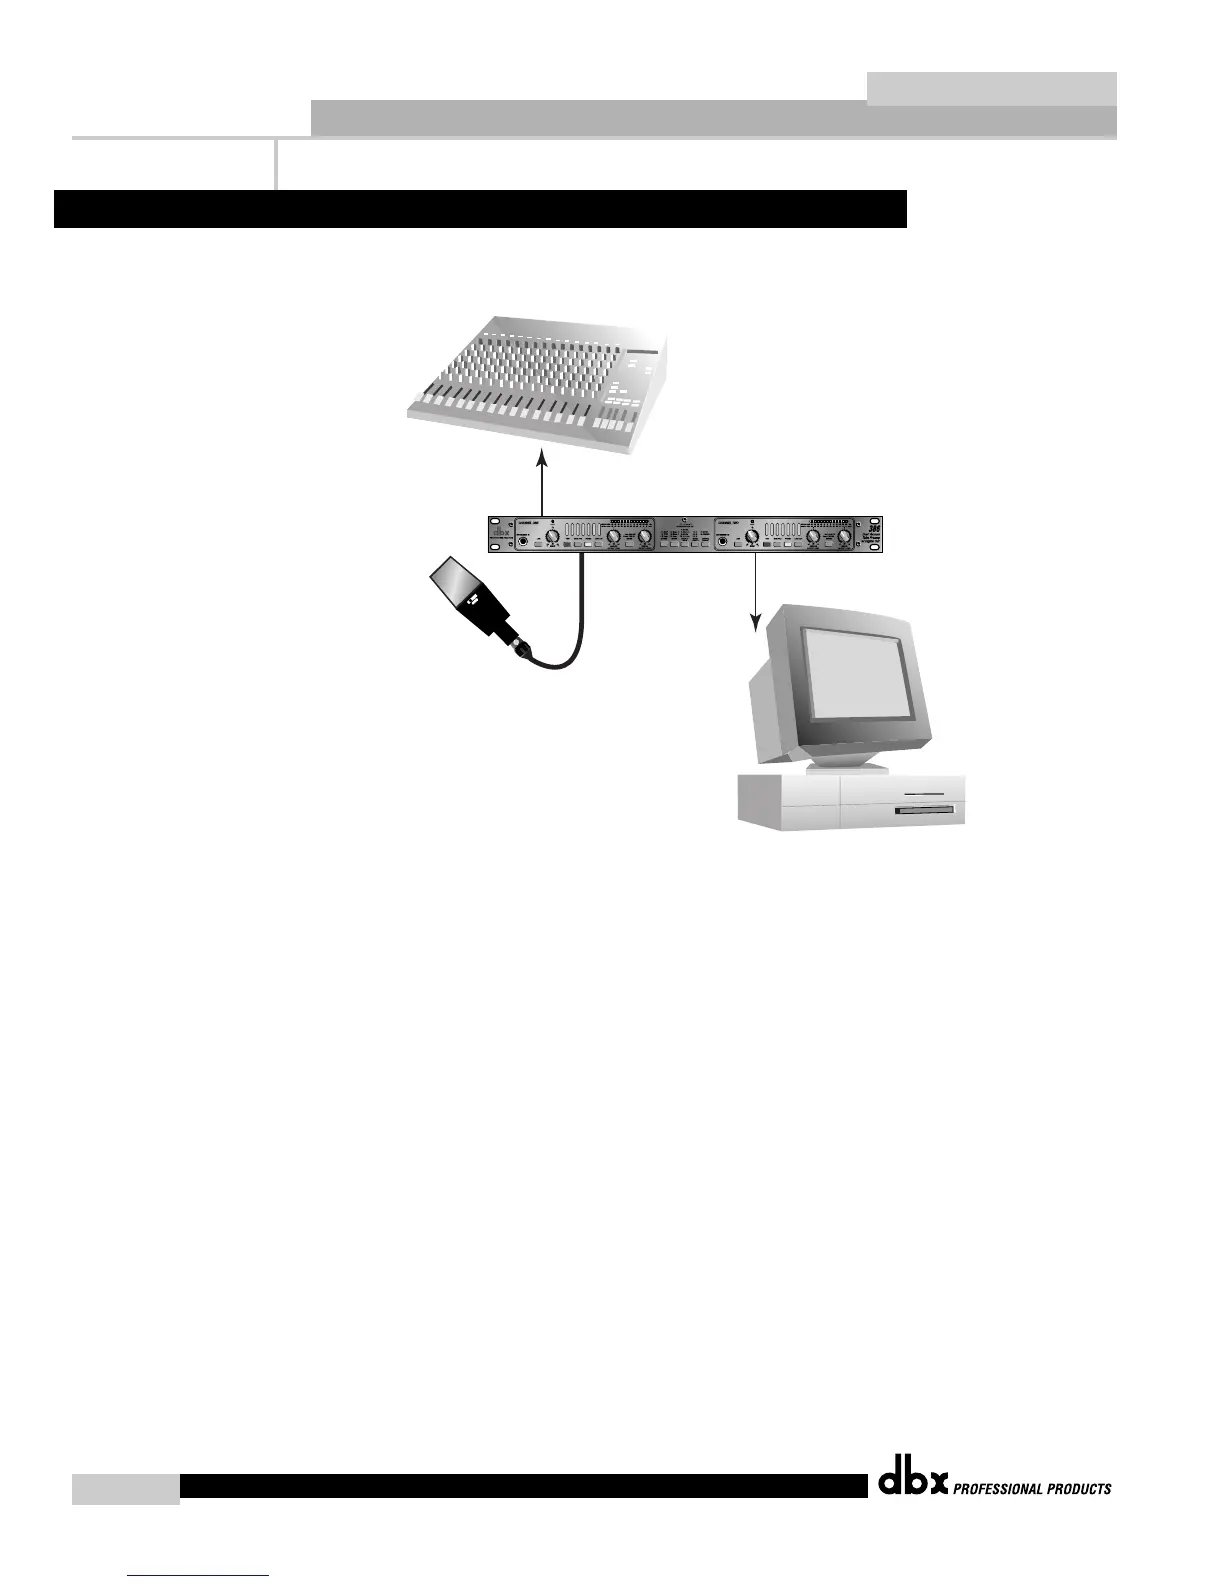
The 386 gives you the unique option of utilizing the analog and digital outputs simultaneously.
This option is ideal for using the analog output section as a reference monitoring signal of the dig-
ital signal. Both analog and digital outputs offer independent output control, which allows you to
send a digital signal to a receiving device (such as a DAW or digital recorder) and route the ana-
log signal to a monitoring device (such as a mixer or headphone amplifier) , while controlling both
levels independently all at the same time.
Rear Panel Connections
• Connect the source to the desired 1/4” TRS or XLR input.
• Connect the AES/EBU or S/PDIF output of the 386 and run into the AES/EBU or S/PDIF input
interface of the DAW (CPU).
• Connect the 1/4” TRS or XLR output of the 386 and run into the 1/4” TRS or XLR input of the
monitoring device.
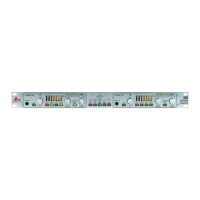
Front Panel Digital Output Features
1). Use the METER switch to select digital output metering.
2). Use the DITHER switch to select the desired dither algorithm.
3). Use the SHAPE switch to select the desired noise-shaping algorithm.
4). Use the SAMPLE RATE switch to select the correct sampling rate.
5). Use the WORD LENGTH switch to select the correct word length.
6). Use the OUTPUT FORMAT switch to select the appropriate digital output format.
 Loading...