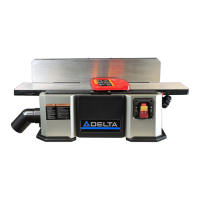
11. IMPORTANT: Make certain the bottom of
spindle (S) Fig. 11, and tapered hole (T) in chuck
are clean and free of any grease, lacquer or rust
preventive coatings. NOTE: Household oven
cleaner can effectively remove any substance
from the spindle and chuck; however, carefully
follow the manufacturer’s safety rules concerning
its use.
12. IMPORTANT: OPEN THE CHUCK JAWS
AS WIDE AS POSSIBLE, MAKING SURE THE
CHUCK JAWS ARE UP INSIDE CHUCK.
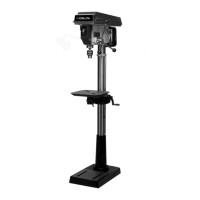
13. Hold chuck (U) Fig. 12, and carefully drive
chuck onto the spindle with a block of wood and
a hammer, or a mallet (V), as shown. This will seat
the chuck properly on the spindle. IMPORTANT:
To avoid damage to the chuck NEVER drive the
chuck onto the spindle with a metal hammer.
FASTENING DRILL PRESS
TO A SUPPORTING SURFACE
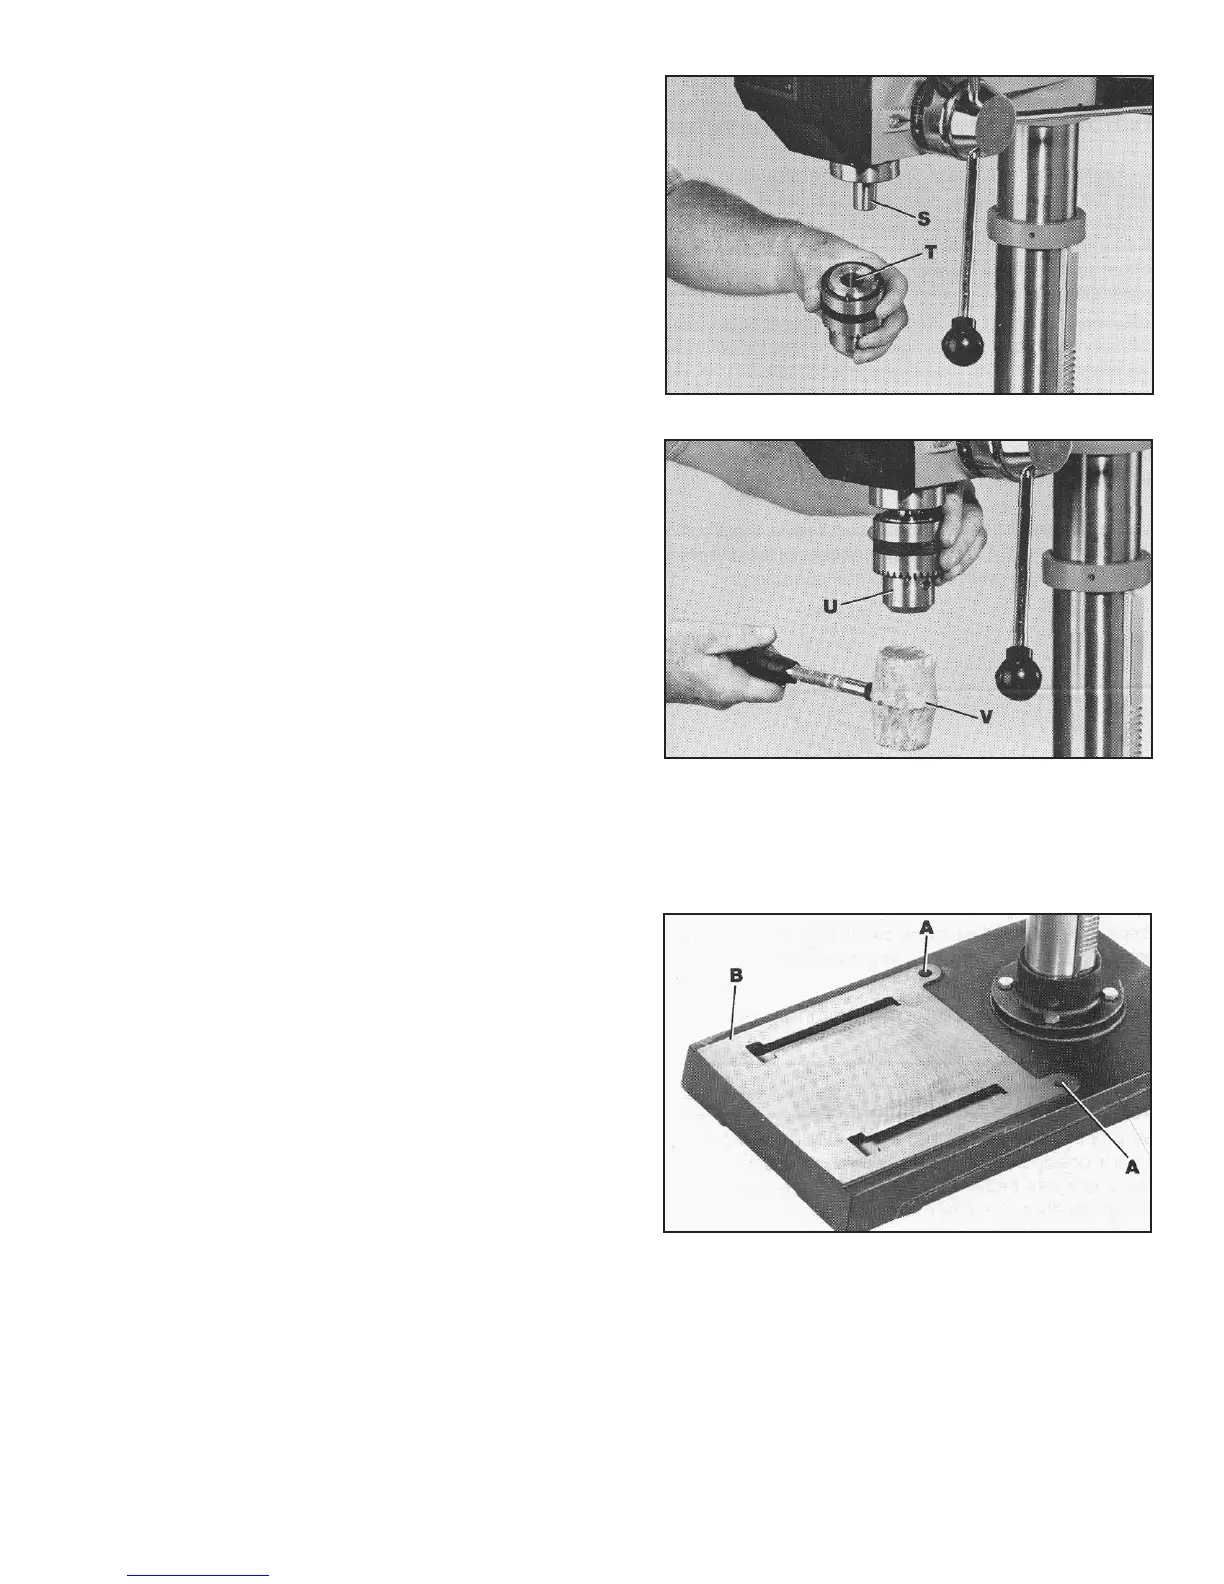
PERMANENT MOUNTING
If your drill press is to be used in one permanent
location, the drill press base must be secured to
the supporting surface with fasteners through the
two mounting holes,
(A) Fig. 12A, in the drill press base (B).
MOUNTING YOUR DRILL PRESS TO A PLYWOOD BASE
If you do not fasten your drill press in a permanent manner, the drill press must be fastened to a ply-
wood mounting board to prevent the drill press from tipping over during normal use. Use a good
grade of plywood with a minimum 3/4" thickness. Do not make the mounting board from particle
board since particle board can unexpectedly break.
Fig. 11
Fig. 12
Fig. 12A
 Loading...