EasyManua.ls Logo

Delta 36-650 User Manual

Delta 36-650
32 pages
To Next Page IconTo Next Page
To Previous Page IconTo Previous Page
Page #23 background imageLoading...
Page #23 background image
23
ADJUSTING TABLE INSERT
DISCONNECT MACHINE FROM POWER
SOURCE.
Place a straight edge across the table at both ends of
the table insert as shown in Fig. 68. The table insert (A)
should always be level with the table. If an adjustment is
necessary, turn the adjusting screws (B), as needed.
Four adjusting screws (B) are supplied in the table insert.
The table insert is equipped with a finger hole (C) for
easy removal.
Fig. 68
C
B
B
A
MAINTENANCE
OVERLOAD PROTECTION
The motor recommended for use with your saw is
equipped with a resetable overload relay (A) Fig. 71. If
the motor shuts off or fails to start due to overloading
(cutting stock too fast, using a dull blade, using the saw
beyond its capacity, etc.), or low voltage, turn the switch
to the “OFF” position, let the motor cool three to five
minutes and push the reset button (A), which will reset
the overload device.The motor can then be turned on
again in the usual manner.
Fig. 71
A
CHANGING THE SAW
BLADE
USE ONLY 10" DIAMETER BLADES WITH
5/8" ARBOR HOLES, RATED AT 3450
RPM OR HIGHER.
DISCONNECT MACHINE FROM POWER
SOURCE.
1. NOTE: Two 7/8" wrenches are supplied with the
saw for changing the saw blade: a box end wrench (A)
Fig. 69, and open end wrench (B).
2. Remove table insert (C) Fig. 69, and raise saw blade
to its maximum height.
3. Place the open end wrench (B) Fig. 70, on the flats
of the saw arbor to keep the arbor from turning, and
using wrench (A), turn the arbor nut toward the front of
the saw. Remove arbor nut, blade flange, and saw
blade.
4. Assemble the new blade, making certain the teeth
point down at the front of the saw table, and assemble
outside blade flange and arbor nut. With wrench (B) Fig.
70, on the flats of the arbor to keep it from turning,
tighten arbor nut by turning wrench (A)
counterclockwise.
5. Replace table insert.
Fig. 69
Fig. 70
A
B
C
B
A
Question and Answer IconNeed help?

Do you have a question about the Delta 36-650 and is the answer not in the manual?
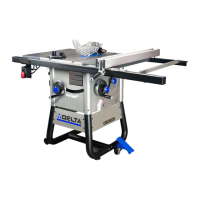
Delta 36-650 Specifications

General IconGeneral
TypeContractor Table Saw
Motor Power1.5 HP
Blade Diameter10 inches
Rip Capacity30 inches
Arbor Size5/8 inch
Voltage120V
Max Depth of Cut at 90 Degrees3-1/8 inches
Max Depth of Cut at 45 Degrees2-1/4 inches
Amperage15A

Summary

SAFETY GUIDELINES / DEFINITIONS

General Safety Rules

Provides general safety rules for operating woodworking machinery safely and preventing equipment problems.

ADDITIONAL SAFETY RULES FOR TABLE SAWS

POWER CONNECTIONS

MOTOR SPECIFICATIONS

GROUNDING INSTRUCTIONS

EXTENSION CORDS

OPERATING INSTRUCTIONS

UNPACKING AND CLEANING

Steps to unpack the machine, remove protective coating, and clean unpainted surfaces.

10" PROFESSIONAL TABLE SAW PARTS

FENCE PARTS

STAND PARTS

HARDWARE

ASSEMBLY

STAND LEGS

Instructions for assembling the stand legs using brackets and bolts, ensuring proper alignment.

STAND TO SAW

Steps for mounting the assembled stand to the table saw securely, requiring two people.

BLADE TILTING AND RAISING HANDWHEEL

INSTALLING SWITCH AND MOTOR CORD

RECOMMENDED MOTOR FOR YOUR SAW

MOTOR TO MOTOR MOUNTING PLATE

MOTOR AND MOTOR MOUNTING PLATE TO SAW

MOTOR PULLEY, PULLEY GUARD, AND DRIVE BELT

CONNECTING MOTOR CORD TO SWITCH ASSEMBLY

BLADE GUARD AND SPLITTER ASSEMBLY

EXTENSION WINGS

GUIDE RAILS AND SWITCH ASSEMBLY

RIP FENCE TO GUIDE RAILS

OPERATING CONTROLS AND ADJUSTMENTS

STARTING AND STOPPING SAW

Instructions on how to turn the table saw on and off using the switch trigger and shield.

LOCKING SWITCH IN THE "OFF" POSITION

Guidance on how to secure the switch in the 'OFF' position using a padlock to prevent unauthorized use.

RAISING AND LOWERING THE BLADE

TILTING THE BLADE

ADJUSTING 90 DEGREE AND 45 DEGREE POSITIVE STOPS

BACKLASH ADJUSTMENTS FOR BLADE RAISING AND BLADE TILTING MECHANISMS

RIP FENCE OPERATION AND ADJUSTMENTS

MITER GAGE OPERATION AND ADJUSTMENT

ADJUSTING TABLE INSERT

MAINTENANCE

CHANGING THE SAW BLADE

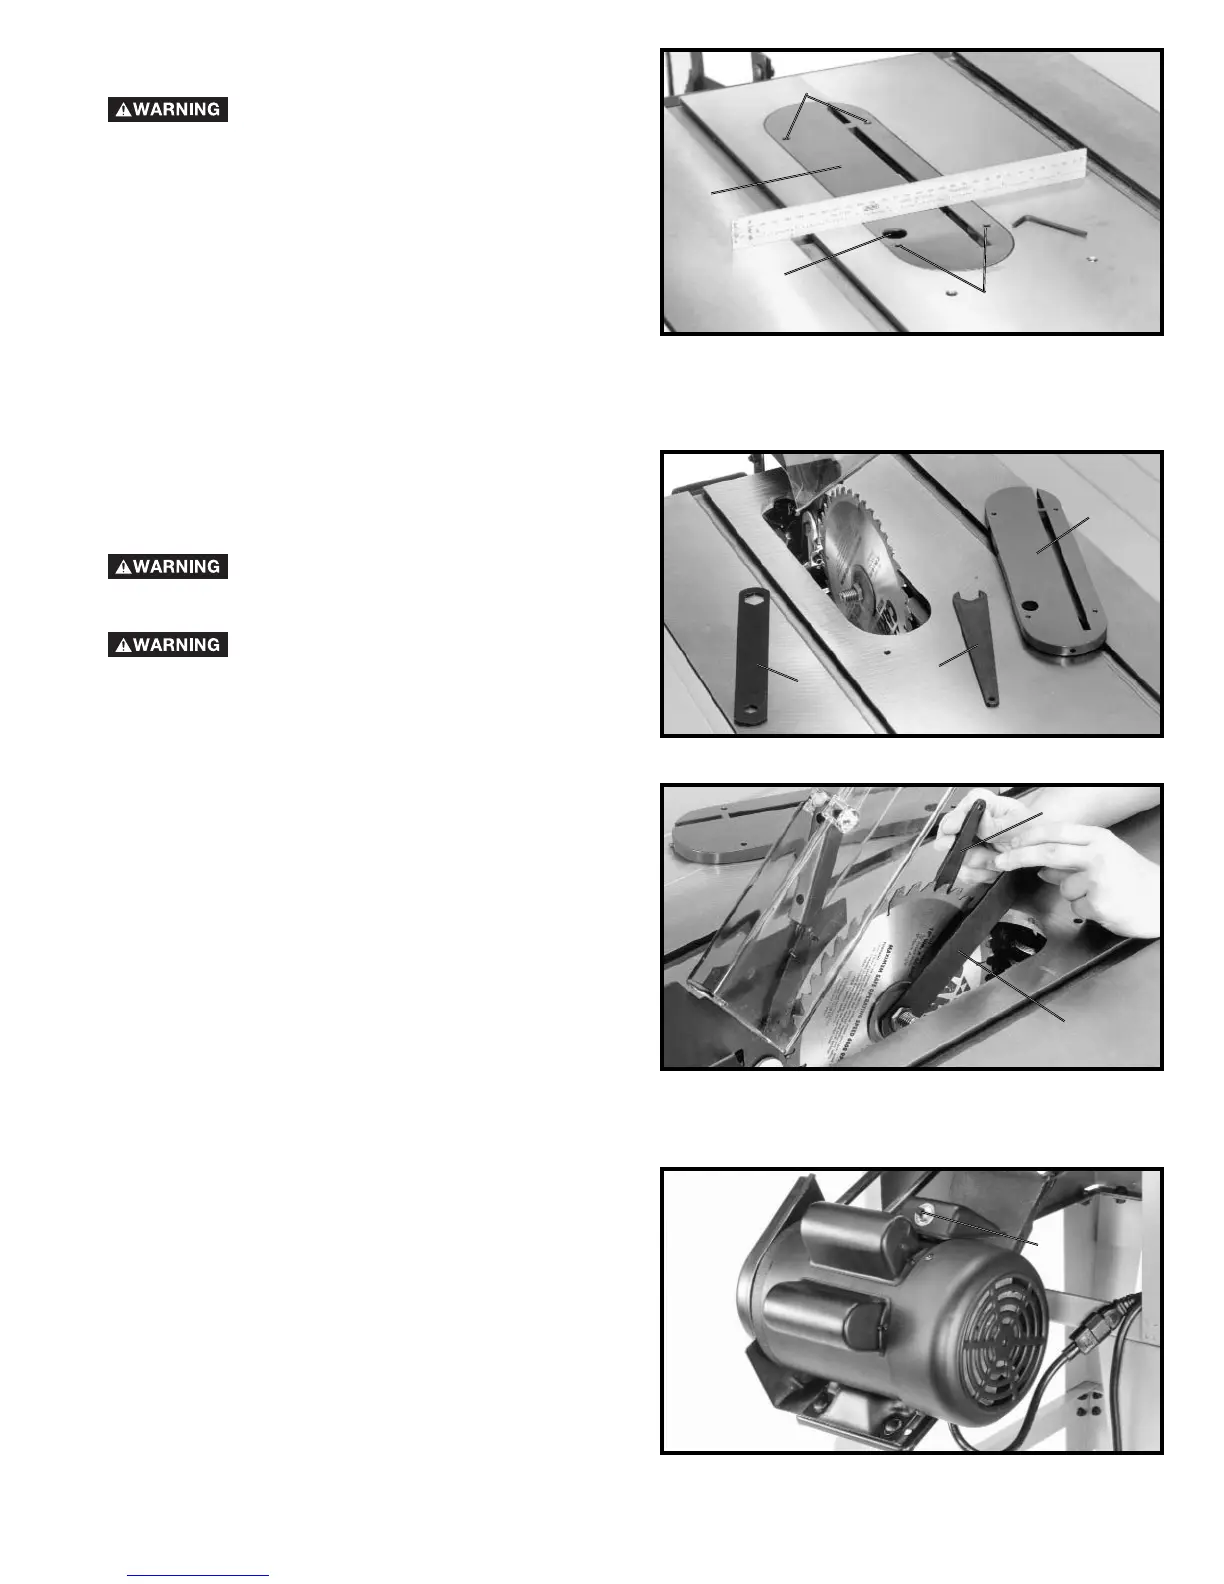
Step-by-step guide on how to safely remove and install a new saw blade, including necessary tools.

OVERLOAD PROTECTION

Explanation of the motor's overload protection and how to reset it if the motor shuts off.

OPERATIONS

CROSS-CUTTING

Detailed instructions on performing cross-cuts using the miter gage, including safety precautions.

RIPPING

USING ACCESSORY MOULDING CUTTERHEAD

USING ACCESSORY DADO HEAD

USING AUXILIARY WOOD FACING ON RIP FENCE

CONSTRUCTING A FEATHERBOARD

CONSTRUCTING A PUSH STICK

ACCESSORIES

PARTS, SERVICE OR WARRANTY ASSISTANCE

NOTES

PORTER-CABLE • DELTA SERVICE CENTERS

Related product manuals