8
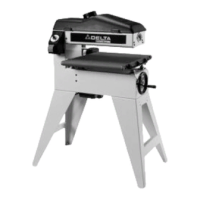
SANDING DRUM, ABRASIVE
SLEEVE AND TABLE INSERT
1. Place 1-3/4" drum washer (A) Fig. 10, on the spindle
adapter (B).
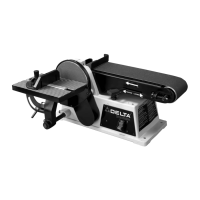
2. Slide the abrasive sleeve (C) Fig. 10 over the
sanding drum (D), and place the sanding drum (D) Fig.
11, with the sleeve on the spindle adapter. Fasten with a
5/16" screw (E) Fig. 10, using the socket wrench (F)
supplied. NOTE: Turn the screw (E) Fig. 10, counter-
clockwise to tighten and clockwise to loosen.
3. Place the table insert (G) Figs. 11 & 12 over abrasive
sleeve (C) and onto the table. NOTE: Arrows on the table
insert indicate the top surface.
4. Compartments (H) Fig. 12, on the sides of the
sander can be used for storing work pieces or
accessories.
Fig. 10
A
B
C
D
E
F
G
Fig. 11
F
D
G
Fig. 12
H
H
C
G
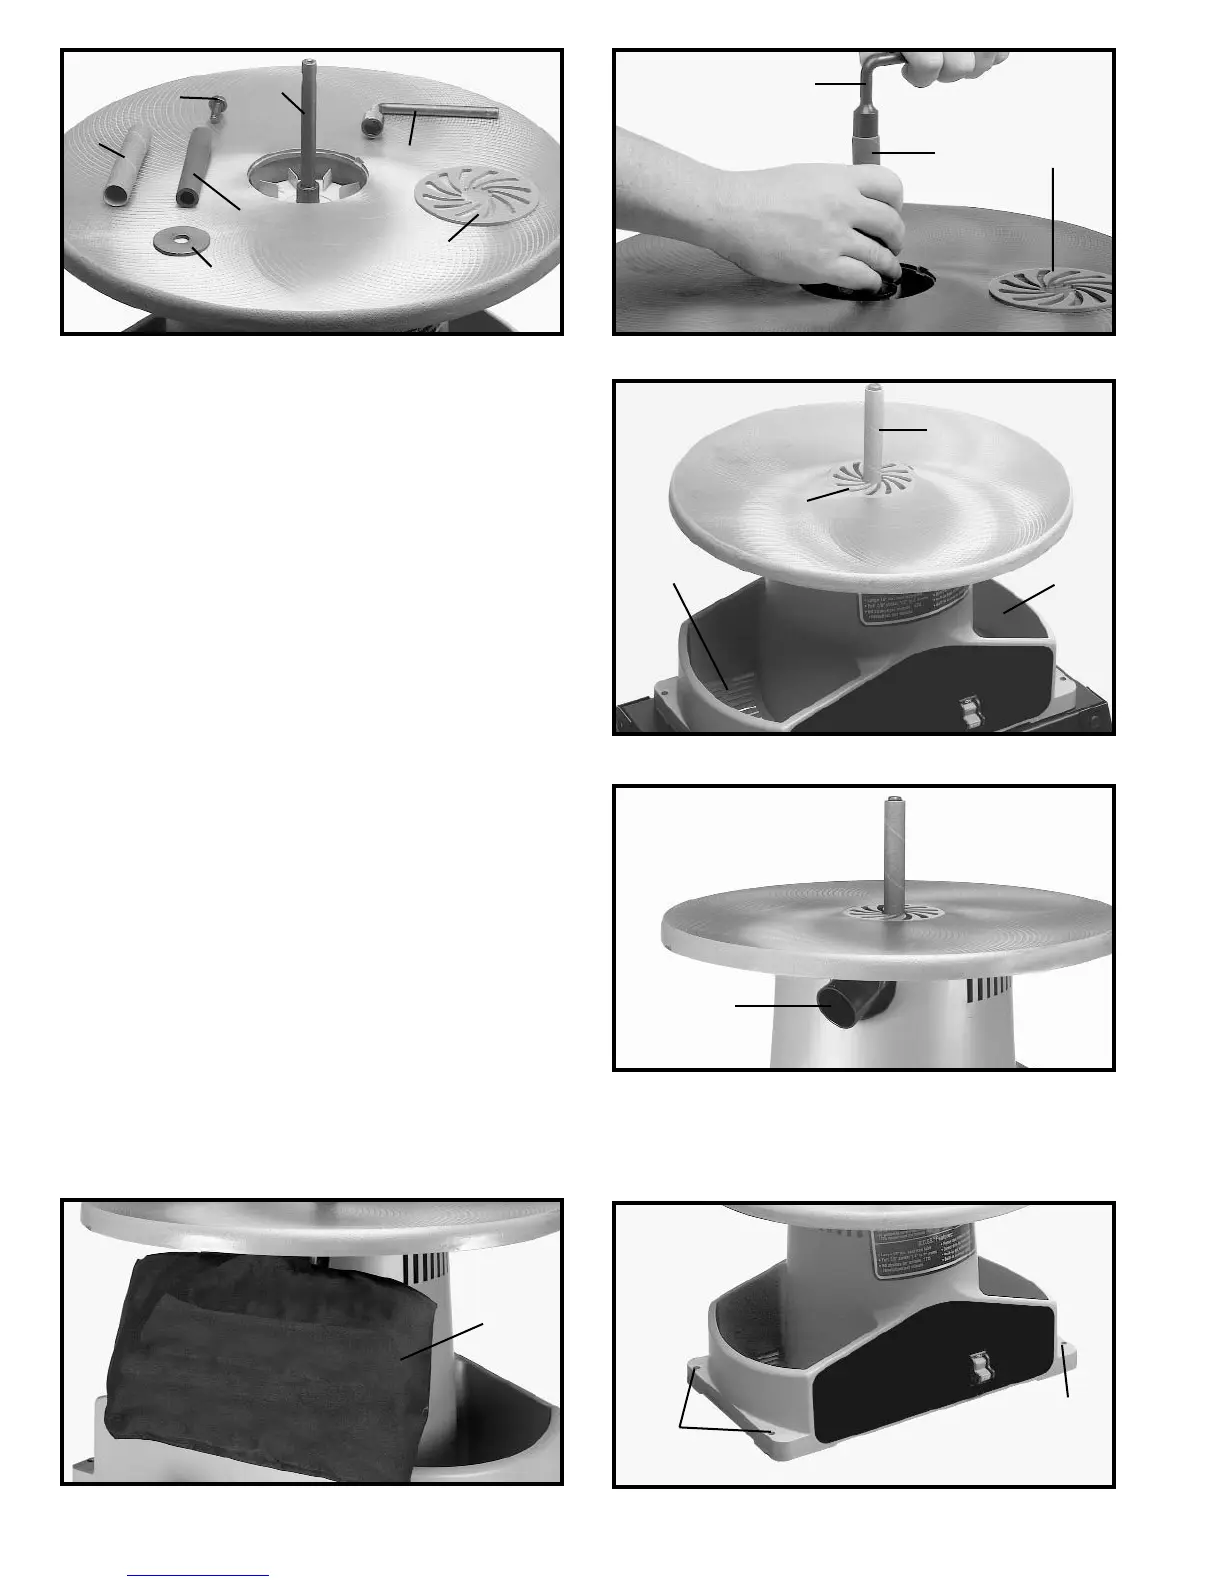
DUST BAG
1. A 1-1/2" I.D. dust chute (A) Fig. 13, is supplied with
the spindle sander to accept the dust bag.
2. To attach the dust bag (B) Fig. 14, to the dust chute
(A), squeeze the spring clamp on the dust bag and slide
it over the dust chute. Release clamp.
Fig. 13
Fig. 14
A
B
FASTENING SANDER TO
SUPPORTING SURFACE
IMPORTANT: If the machine has a tendency to tip over
or to walk on the supporting surface, the machine must
be secured to the supporting surface. Use the four
holes, three of which are shown at (A) Fig. 15 to attach
the machine to the supporting surface.
Fig. 15
A
A
 Loading...