Connecting the microphone for Auto Setup
1
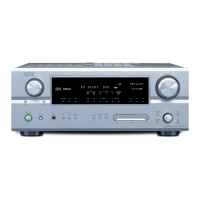
Connect the microphone for Auto Setup to the Setup Mic
connector on the front panel of the unit.
SELECT
S-VIDEO OPTICAL SETUP MICVIDEO
V.AUX INPUT
L
AUDIO
R
AB
SPEAKER
STANDARD
5CH / 7CH
STEREO
DIRECT /
STEREO
SURROUND
BACK
SURROUND
PARAMETER
TONE
DEFEAT
SURROUND
MODE
TONE
CONTROL
AVR-2105
AV SURROUND RECEIVER
PHONES
SELECT
2
Place the microphone for Auto Setup at the actual listening
position which will be at the same height as your ears. Use a
tripod or level surface at positioning.
Setting the Auto Setup
1
• Use the (left) button to switch the Auto Setup mode.
•Press the ENTER or (down) button to switch to the speaker
configuration set up.
2
Check the “Power Amp Assign” setting.
• When “Surround Back” is selected, the test tone during Auto Setup will be output from the Surround Back speaker.
• When “ZONE2” is selected, change the setting to “ZONE2” The test tone during Auto Setup is set so that it will not be output to
ZONE2 (Another room).
q Select the Power Amp Assign setting. w Select “Surround Back” or “ZONE2”.
(Remote control unit)
(Remote control unit)
NOTE:
• When “ZONE2” is selected at System Setup Menu
“Power Amp Assign”, surround back speaker is not
displayed.
3
q Select the “Start”.
w Press the (left) button to start Auto Setup.
(Remote control unit) (Remote control unit)
 Loading...