3-5. TUNER STEP mode (E3 / E2 only, Except DABE2)
3-5.1. Actions
This is a special mode for enabling reception STEP of the ANALOG TUNER to be changed.
3-5.2. Starting up
AVR-X2600H
• While holding down buttons "
ZONE2 SOURCE
", "
DIMMER
" and "
STATUS
" simultaneously, press the
power button to turn on the power.
AVR-S950H
• While holding down buttons "
TUNER PRESET CH +
", "
TUNE -
" and "
TUNE +
" simultaneously, press
the power button to turn on the power.
Select the "
5. TUNER FRQ SET
" using the "
TUNER PRESET CH +/-
" button, then press the "
STATUS
"
button then to conrm.
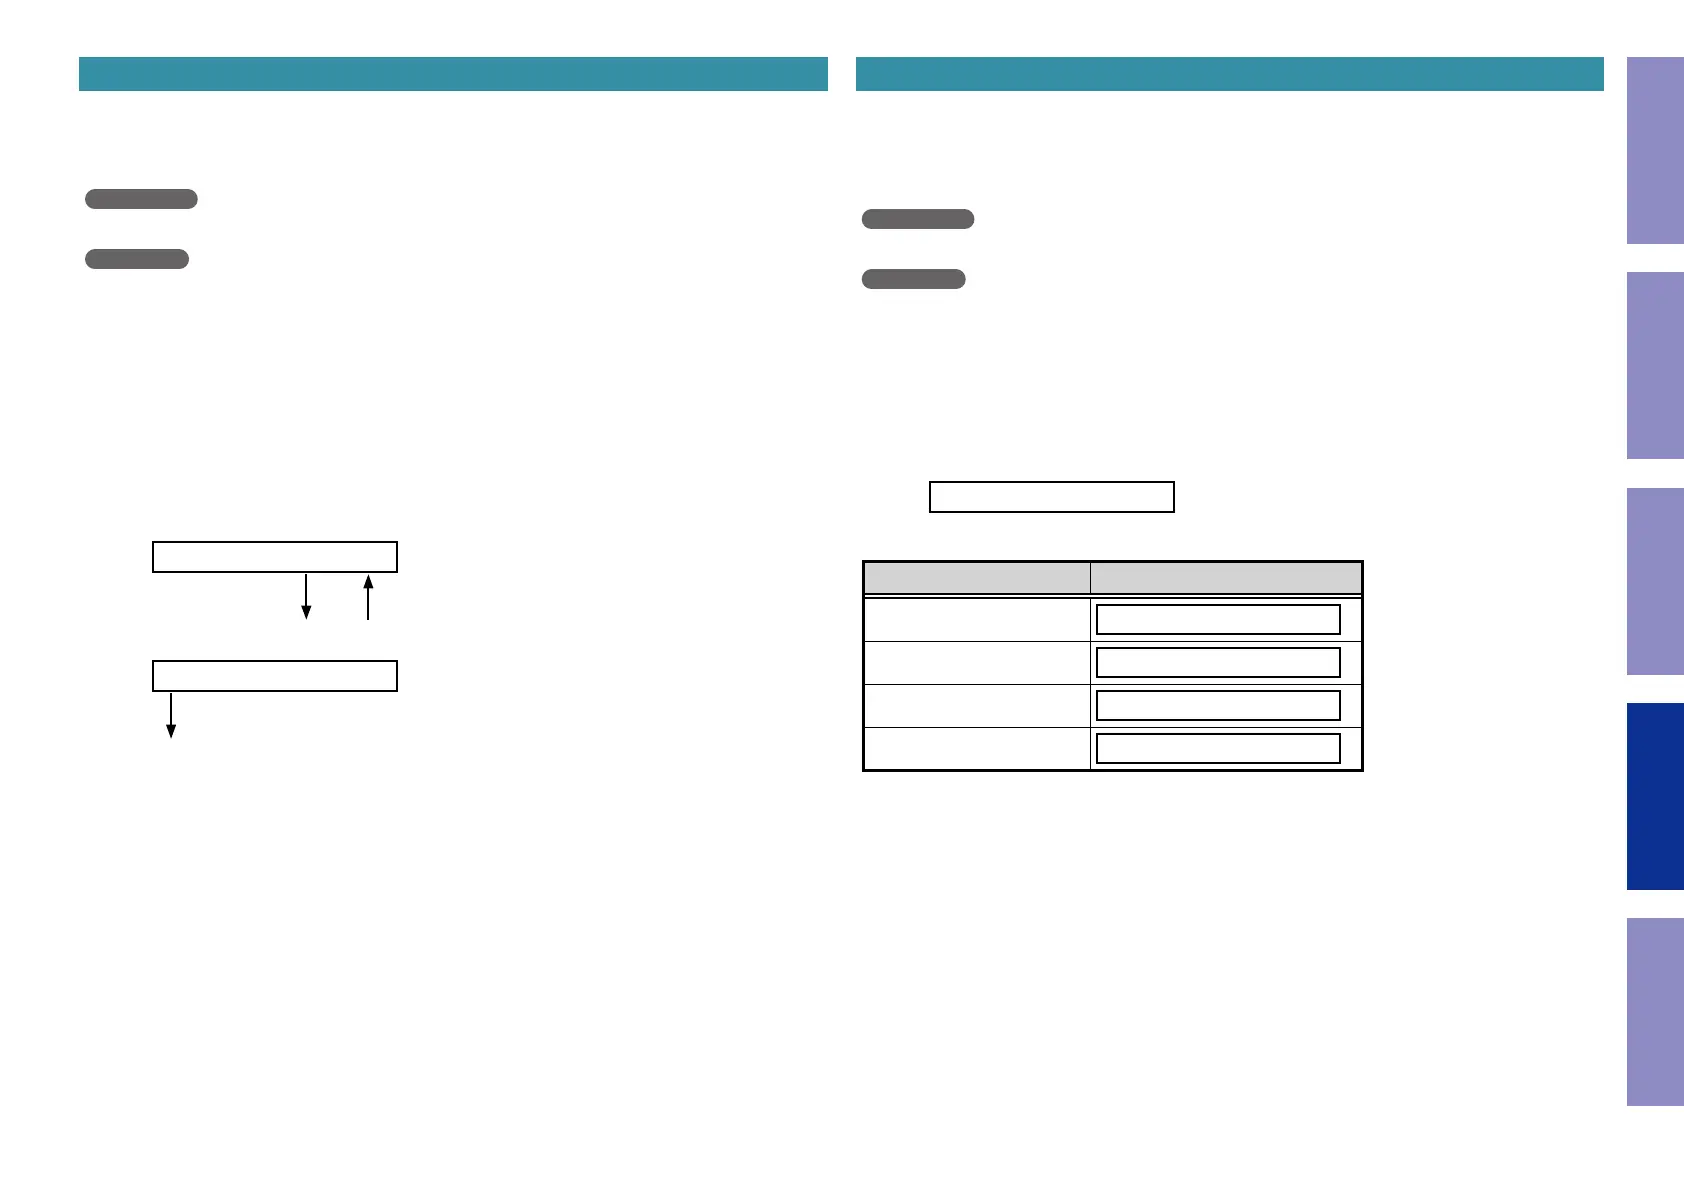
3-5.3. Displays
Start up this unit in TUNER STEP mode, select the desired option using the "
TUNER PRESET CH +-
"
button, then enter using the "
STATUS
" button.
The following information is displayed in the following order.
(1) AM9 kHz / FM50 kHz is selected
< AM9/FM50 >
"
TUNER PRESET CH +
" "
TUNER PRESET CH -
"
(2) AM10 kHz / FM200 kHz is selected
< AM10/FM200 >
"
STATUS
"
(3) Press the power button to turn off the power.
(4) Press the power button to turn on the power.
3-6. Remote ID Setup Mode
3-6.1. Actions
This function allows only the desired AV receiver to be operated if multiple DENON AV receivers are
used in the same room.
3-6.2. Starting up
AVR-X2600H
• While holding down buttons "
ZONE2 SOURCE
", "
DIMMER
" and "
STATUS
" simultaneously, press the
power button to turn on the power.
AVR-S950H
• While holding down buttons "
TUNER PRESET CH +
", "
TUNE -
" and "
TUNE +
" simultaneously, press
the power button to turn on the power.
Select the "
6. REMOTE ID
" using the "
TUNER PRESET CH +/-
" button, then press the "
STATUS
"
button then to conrm.
3-6.3. Operations
(1) When Remote ID Setup mode is activated, the following message is displayed.
REMOTE ID ?
(2) Press the desired "
QUICK SELECT 1 - 4
" button.
Button Display
QUICK SELECT 1
REMOTE ID 1
QUICK SELECT 2
REMOTE ID 2
QUICK SELECT 3
REMOTE ID 3
QUICK SELECT 4
REMOTE ID 4
(3) Press the power button to turn off the power.
(4) Press the power button to turn on the power.
b
Only "
QUICK SELECT 1 - 4
" and the POWER button on the unit can be used in Remote ID Setup
Mode.
b
The remote ID of the remote control supplied with this unit cannot be changed.
NOTE :
If the ID of the unit and remote control do not match, "
AVAMP
z
" appears on the display of the unit
when the remote control is used
(
z
: own remote control ID).
Before Servicing
This Unit
Electrical Mechanical Repair Information Updating
136
 Loading...