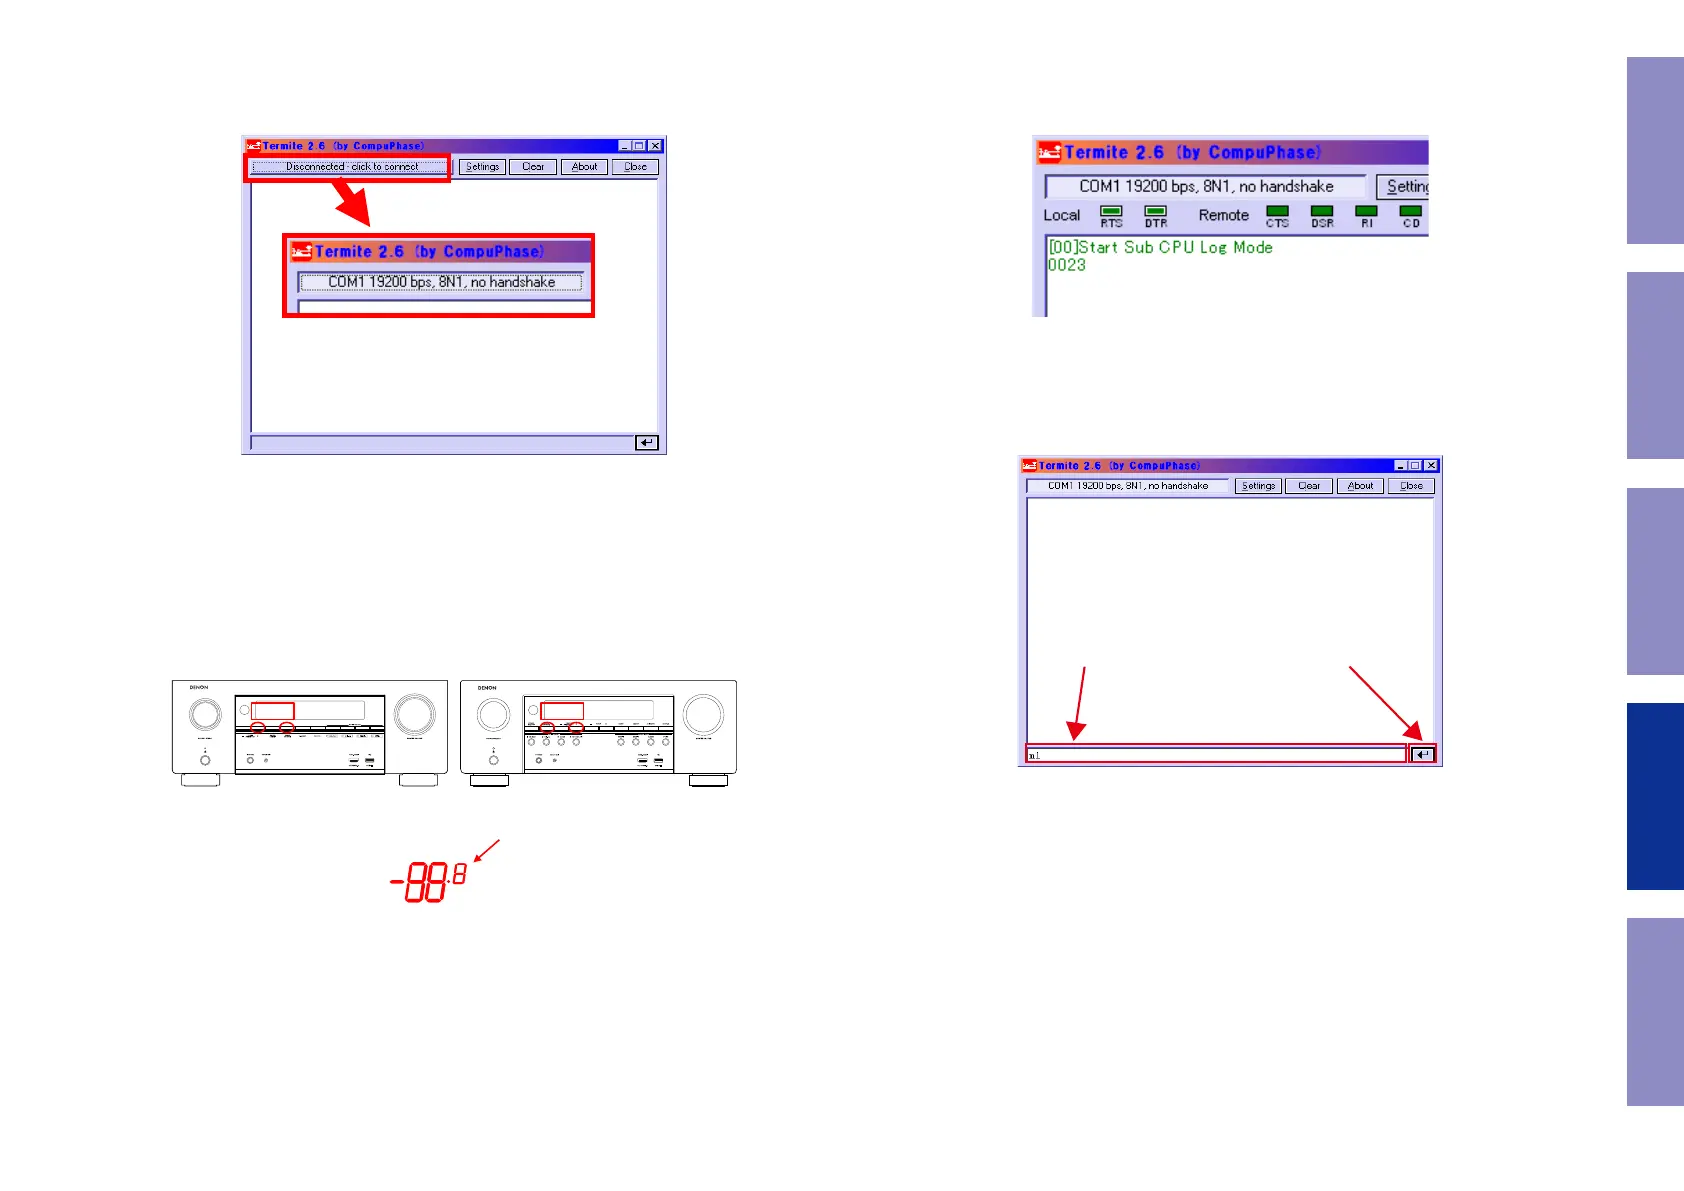
Click the [click to connect] button to start communication.
After a connection is established successfully, the display of the button name will change as shown in
Figure 4.
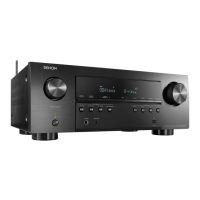
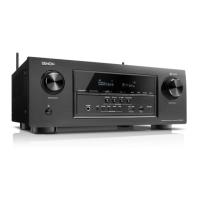
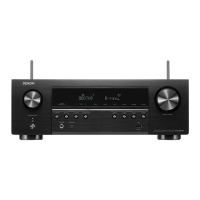
TV settings : Switch to the HDMI input in the AVR connection.
Player settings : Turn the unit power on and congure it to play disks.
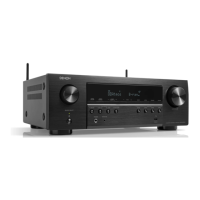
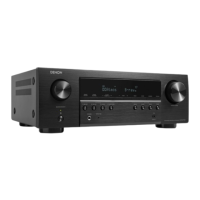
AVR settings : While the power is On, hold down buttons "PRESET UP" and "ZONE2 SOURCE" for at least
3 seconds.
(Continue to press and hold the buttons until all segments of the FLD volume illuminate.)
※ When the power is turned on after initialization, "Setup Assistant" will be displayed.
After exiting "Setup Assistant" execute the above.
Display changes.
Figure 4. Change of the Display of the Communication Start Button Name
Press Press
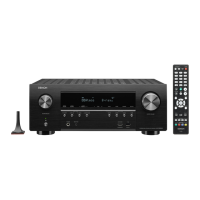
Figure 6-1. AVR settings (AVR-X2600H) Figure 6-2. AVR settings (AVR-S950H)
All the
indicator Lights
for Volume 7 segment
Figure 6. FLD Display When Set
When the settings are correct, the following message will be displayed in the window of Termite.
[00]Start Sub CPU Log Mode
****
(**** is a version of Sub CPU.)
The setup is now complete.
Method for sending commands
Enter the command in the transmission command entry section, click the [Send] button and send the
command.
Figure 7. Display of Termite When AVR is Set
1. Input a command in the
transmission command input.
2.Click on the transmission button.
Figure 8. Method for Sending Termite Commands
Before Servicing
This Unit
Electrical Mechanical Repair Information Updating
89
 Loading...