BAND : FM/AM band selection
MEMO : Preset memory
MODE : FM auto/mono mode
selection
TUNER +/– : Tuning up/down
1 ~ 10, +10 : Preset channel number
buttons
RDS PTY TP
1 1 1
OFF
0
PTY : Press this button after
selecting“PTY” with the RDS
button to select one of the 29
program types.
CT : Use this to correct the time of the
clock on the ADV-500SD. Press this
button when the time service of an
RDS station is being properly
received. “TIME” is displayed for 2
seconds and the ADV-500SD’s clock
is corrected. “NO DATA” is
displayed if the RDS station does
not offer a time service and when
the broadcast is not being received
properly.
RT : Press this button when receiving
RDS stations to select the
frequency, PS (or Station name),
PTY or RT display.
Note that this button will not
function if the reception is poor.
The display mode changes as
follows each time the button is
pressed.
PS (or Station name) RT
PTY
1 1
0
The station name is displayed with priority
instead of the PS display when a channel
whose station name has been preset is
tuned in.
0
9
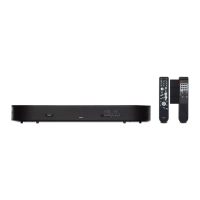
REMOTE CONTROL UNIT
• The included remote control unit (RC-973) can be used to operate not only this unit but other remote control
compatible DENON components as well. In addition, the memory contains the control signals for other remote
control units, so it can be used to operate non-DENON remote control compatible products.
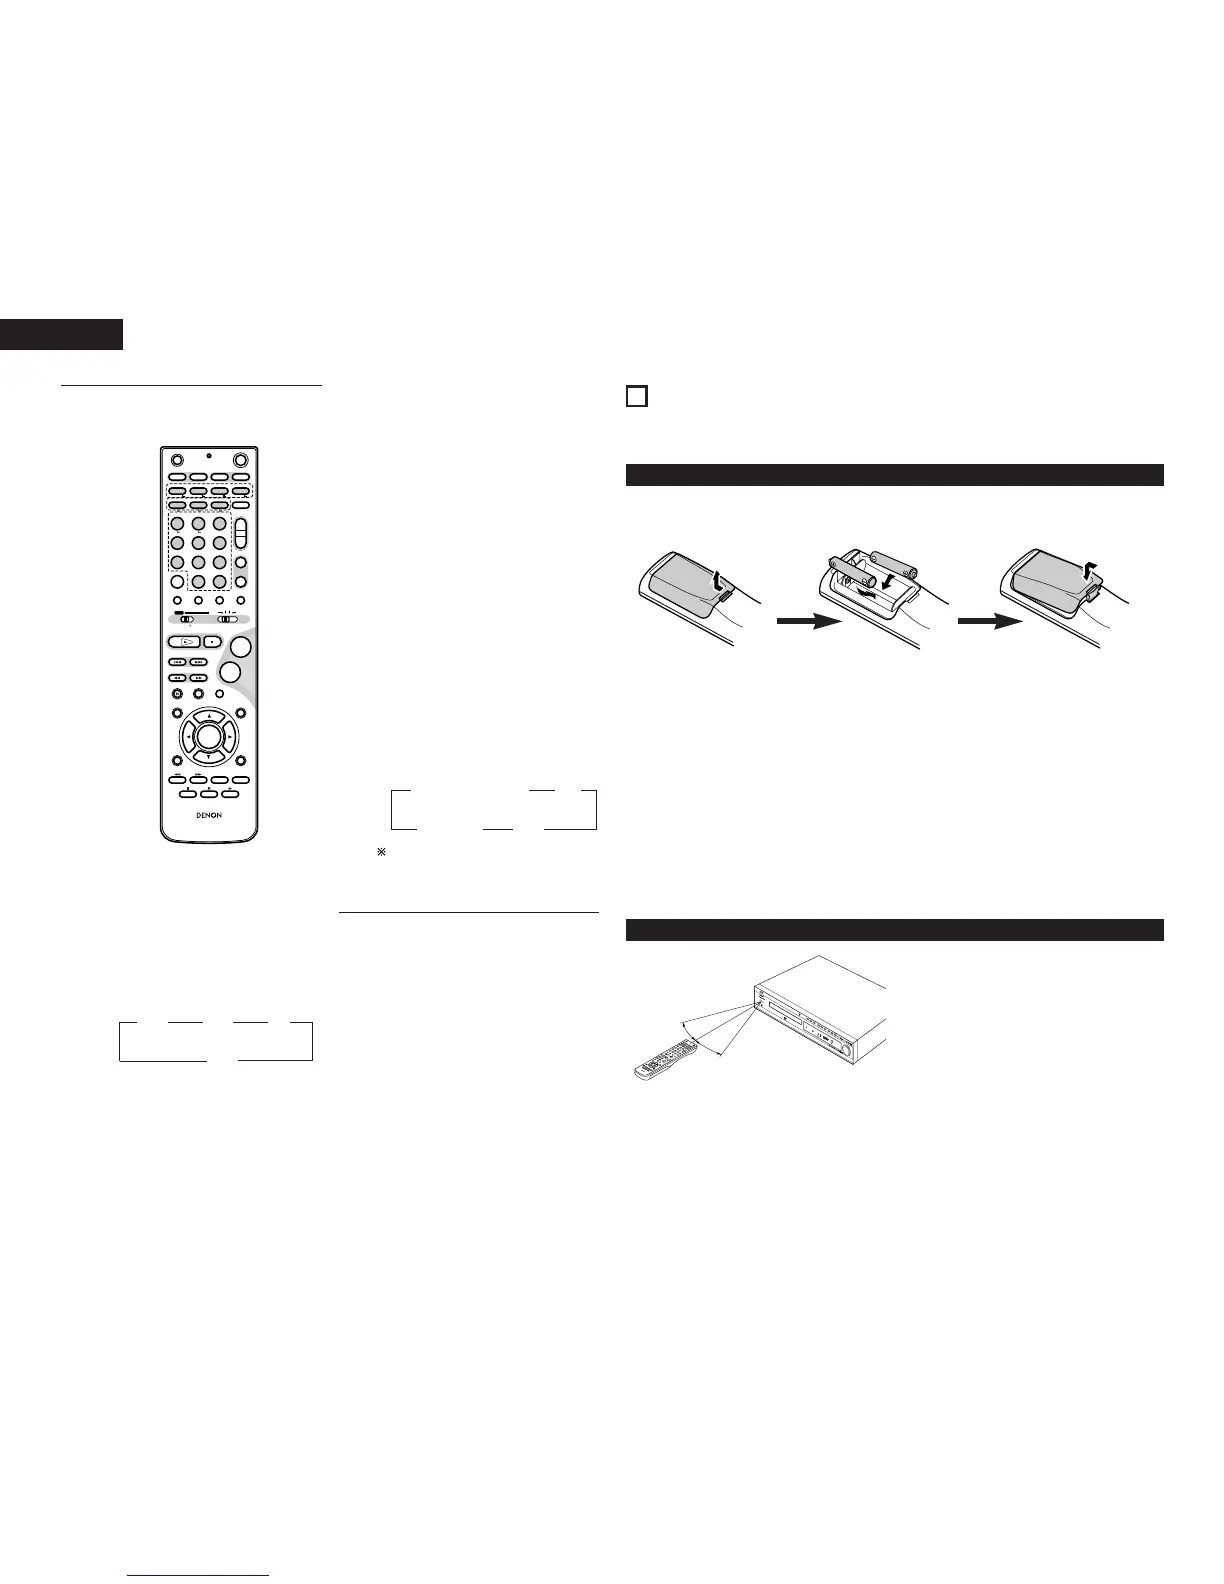
(1) Inserting the batteries
q Remove the remote control unit’s rear cover.
w Set three R6P/AA batteries in the battery compartment in the indicated direction.
e Put the re
ar cover back on.
Notes on Batteries
• Use R6P/AA batteries in the remote control unit.
• The batteries should be replaced with new ones approximately once a year, though this depends on the
frequency of usage.
• Even if less than a year has passed, replace the batteries with new ones if the set does not operate even
when the remote control unit is operated nearby the set. (The included battery is only for verifying
operation. Replace it with a new battery as soon as possible.)
• When inserting the batteries, be sure to do so in the proper direction, following the < and > marks in the
battery compartment.
• To prevent damage or leakage of battery fluid:
• Do not use a new battery together with an old one.
• Do not use two different types of batteries.
• Do not short-circuit, disassemble, heat or dispose of batteries in flames.
• Remove the batteries from the remote control unit when you do not plan to use it for an extended period
of time.
• If the battery fluid should leak, carefully wipe the fluid off the inside of the battery compartment and insert
new batteries.
• When replacing the batteries, have the new batteries ready and insert them as quickly as possible.
(2) Using the remote control unit
• Point the remote control unit at the remote sensor
on the main unit as shown on the diagram.
• The remote control unit can be used from a straight
distance of approximately 7 meters/22 feet from
the main unit, but this distance will be shorter if
there are obstacles in the way or if the remote
control unit is not pointed directly at the remote
sensor.
• The remote control unit can be operated at a
horizontal angle of up to 30 degrees with respect to
the remote sensor.
Approx. 7m / 22 feet
30°
30°
q w e
NOTES:
• It may be difficult to operate the remote control unit if the remote sensor is exposed to direct sunlight or
strong artificial light.
• Do not press buttons on the main unit and remote control unit simultaneously. Doing so may result in
malfunction.
• Neon signs or other devices emitting pulse-type noise nearby may result in malfunction, so keep the set as
far away from such devices as possible.
 Loading...