ENGLISH
9
(3) Connecting Antennas
The high-performance AM loop antenna provided
with this unit is sufficient for good reception in most
areas.
To stand the loop antenna on a surface, fix the claw
to the slot.
Connect the loop antenna's wires to the AM antenna
terminals as shown.
(Connect the white wire to the upper terminal, and
the black wire to the lower terminal.)
Place the antenna on a shelf, for example, or hang it
on a window frame, etc., in the direction which gives
the best reception, as far away as possible from the
entire system, speaker cords and the power cord, to
prevent unwanted noise.
If there is no room for the AM loop antenna, you may
mount it on the wall using screws (not supplied).
A
AM Indoor Loop Antenna
B
AM Outdoor Antenna
If the AM loop antenna provided does not deliver
sufficient reception (often due to being too far from
the transmitter or in a concrete building, etc.), it may
be necessary to use an outdoor AM antenna.
Use an insulated wire more than 15 ft (5 m) long,
strip one end, and connect this to the terminal as
shown.
The antenna wire should be strung outdoors or
indoors near a window. For better reception, connect
the GND terminal to a reliable ground.
Note:
Even when using an outdoor AM antenna, do not
disconnect the AM loop antenna.
AM Antenna
ADV-500SD
BLACK
WHITE
A
B
C
FM Indoor Antenna
Connect the lead-type FM antenna to the FM 75 Ω
socket, extend the lead and fix it to a window frame
or wall with thumbtacks, or the like, where reception
is best.
D
FM Outdoor Antenna
In an area where FM signals are weak, it will be
necessary to use an outdoor FM antenna.
Generally, a 3-element antenna will be sufficient; if
you live in an area where the FM signals are
particularly weak, it may be necessary to use one
with 5 or more elements.
8
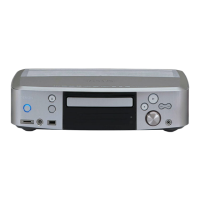
PART NAMES AND FUNCTION
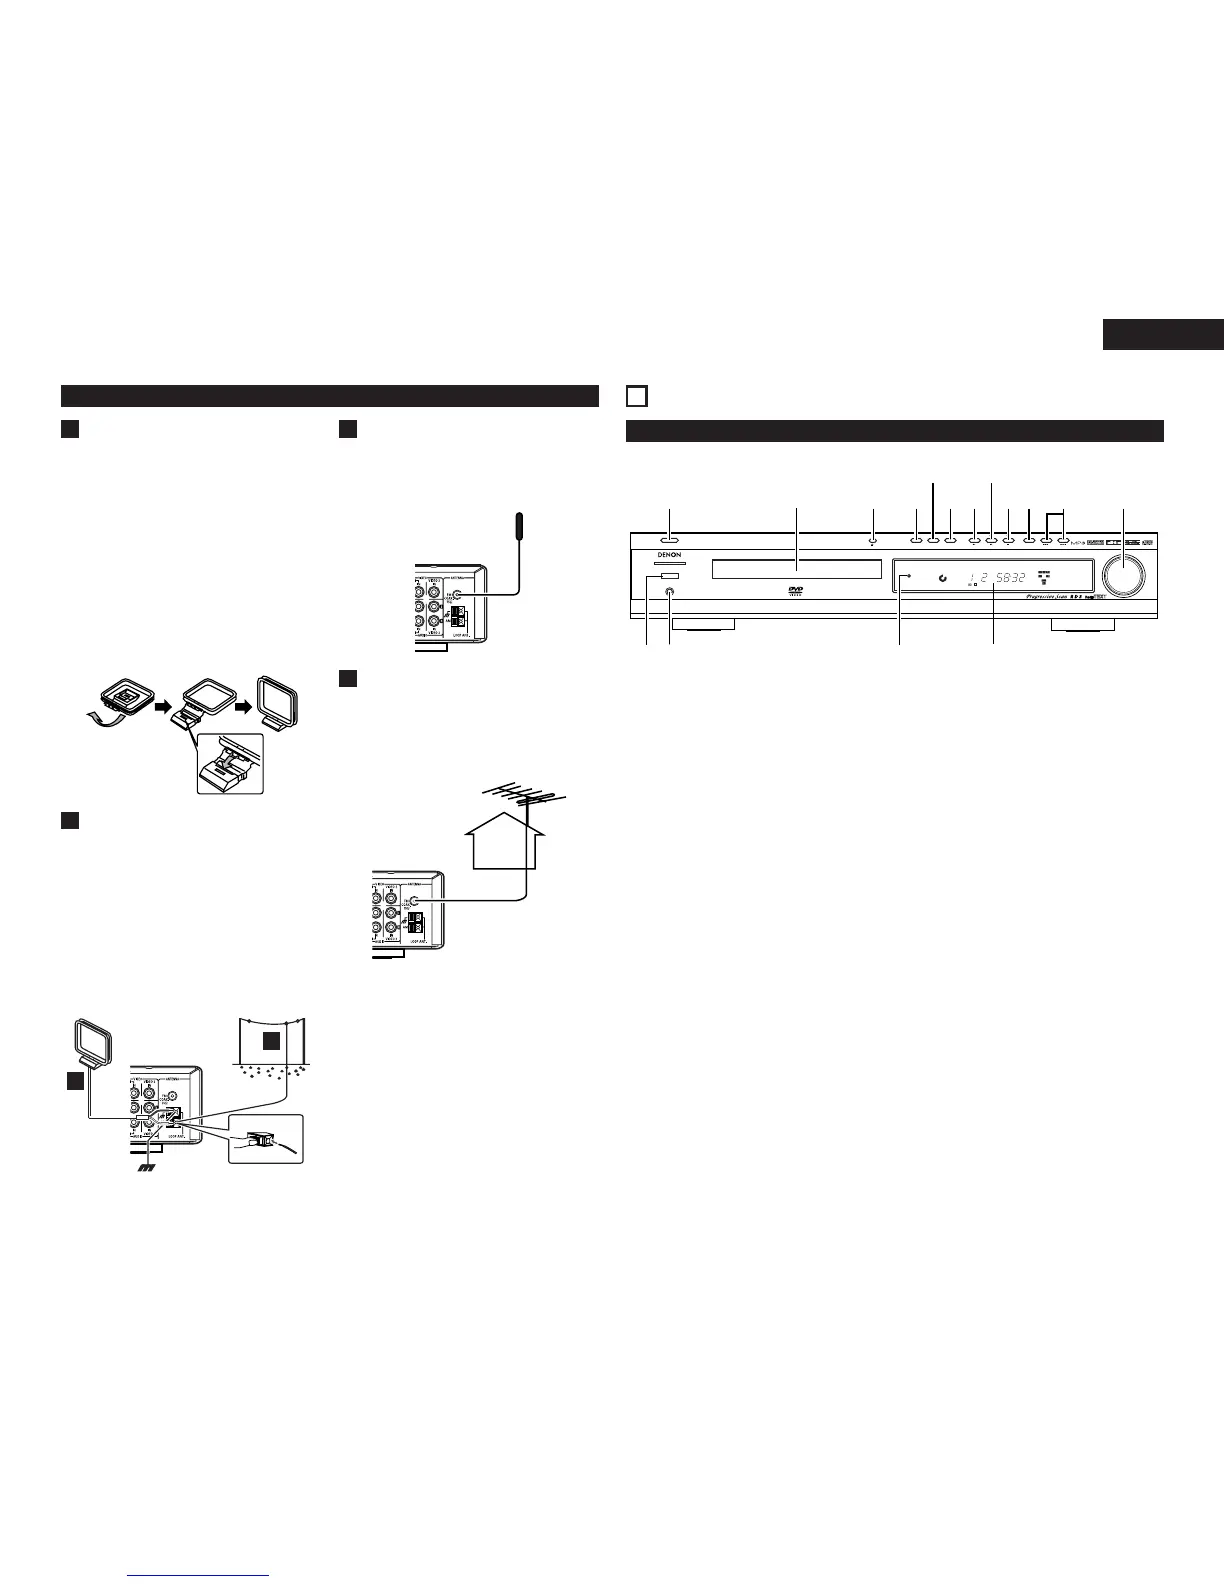
(1) Front Panel
q POWER (ON/STANBY) switch
• Press this switch to turn the unit on or off
(standby).
w Disc tray
e OPEN/CLOSE (5) button
• Use this button to open and close the disc
tray.
r FUNCTION (DVD, TUNER, VIDEO1,
VIDEO2, TV) button
• This button is used to select a function.
t SURROUND MODE button
• Use this button to select a surround mode.
y PROGRESSIVE SCAN button
• Press this to switch the component video
output between PROGRESSIVE and
INTERLACED SCAN.
u PLAY (1)/BAND button
• In DVD mode, use this button to start
playback.
• In TUNER mode, use this button to select FM
or AM.
• In TUNER mode, press this button for more
than 2 seconds to alternate between Tuning
mode and Preset mode.
i PAUSE/STEP (3)/MEMORY button
• Pause playback or recording temporarily /
press repeatedly for frame-by-frame playback.
• In TUNER mode, use this button to memory
the preset channels.
o STOP (2)/FM MODE button
• In TUNER mode, press this button to select
stereo or monoral mode, while listening to FM
broadcasts.
• In TUNER mode,use this button to clear
Preset Memory.
• In DVD mode, stops playback.
!0 TONE/DIMMER button
• This button is used to adjust BASS and
TREBLE, or to dim the display. Press this
button repeatedly to select BASS, TRE or DIM,
and then turn the VOLUME dial to adjust.
!1 SKIP (8, 9)/TUNING buttons
• In DVD mode, use these buttons to skip
chapters or tracks.
• During PBC playback of a VCD, these buttons
are used to advance the menu page.
• In TUNER mode, use these buttons to tune in
a station.
!2 VOLUME Dial
• Turn the VOLUME dial to adjust the master
volume.
!3 Display
• When the unit is on, the current status of the
unit is displayed.
!4 STANDBY indicator
• This indicator lights when the unit is in the
standby mode.
When the unit is turned on, it goes off.
!5 PHONES
• For private listening, insert the headphones
plug into this jack, and adjust the volume by
turning the VOLUME knob.
!6 REMOTE SENSOR
• When operating the remote control unit, point
it towards the REMOTE SENSOR.
 Loading...