1-6. Touch Sensor Update mode
Update the Touch Sensor rmware.
1-6.1. Starting up
Insert the AC plug while pressing button "
POWER
", and wait for more than 3 seconds.
Release the "
POWER
" button when the Power indicator turns orange and the Eject indicator turns
white.
Select the "
Touch Sensor Update Mode
" using the "
CURSOR
f
/
d
" button, then press the "
ENTER
"
button to conrm.
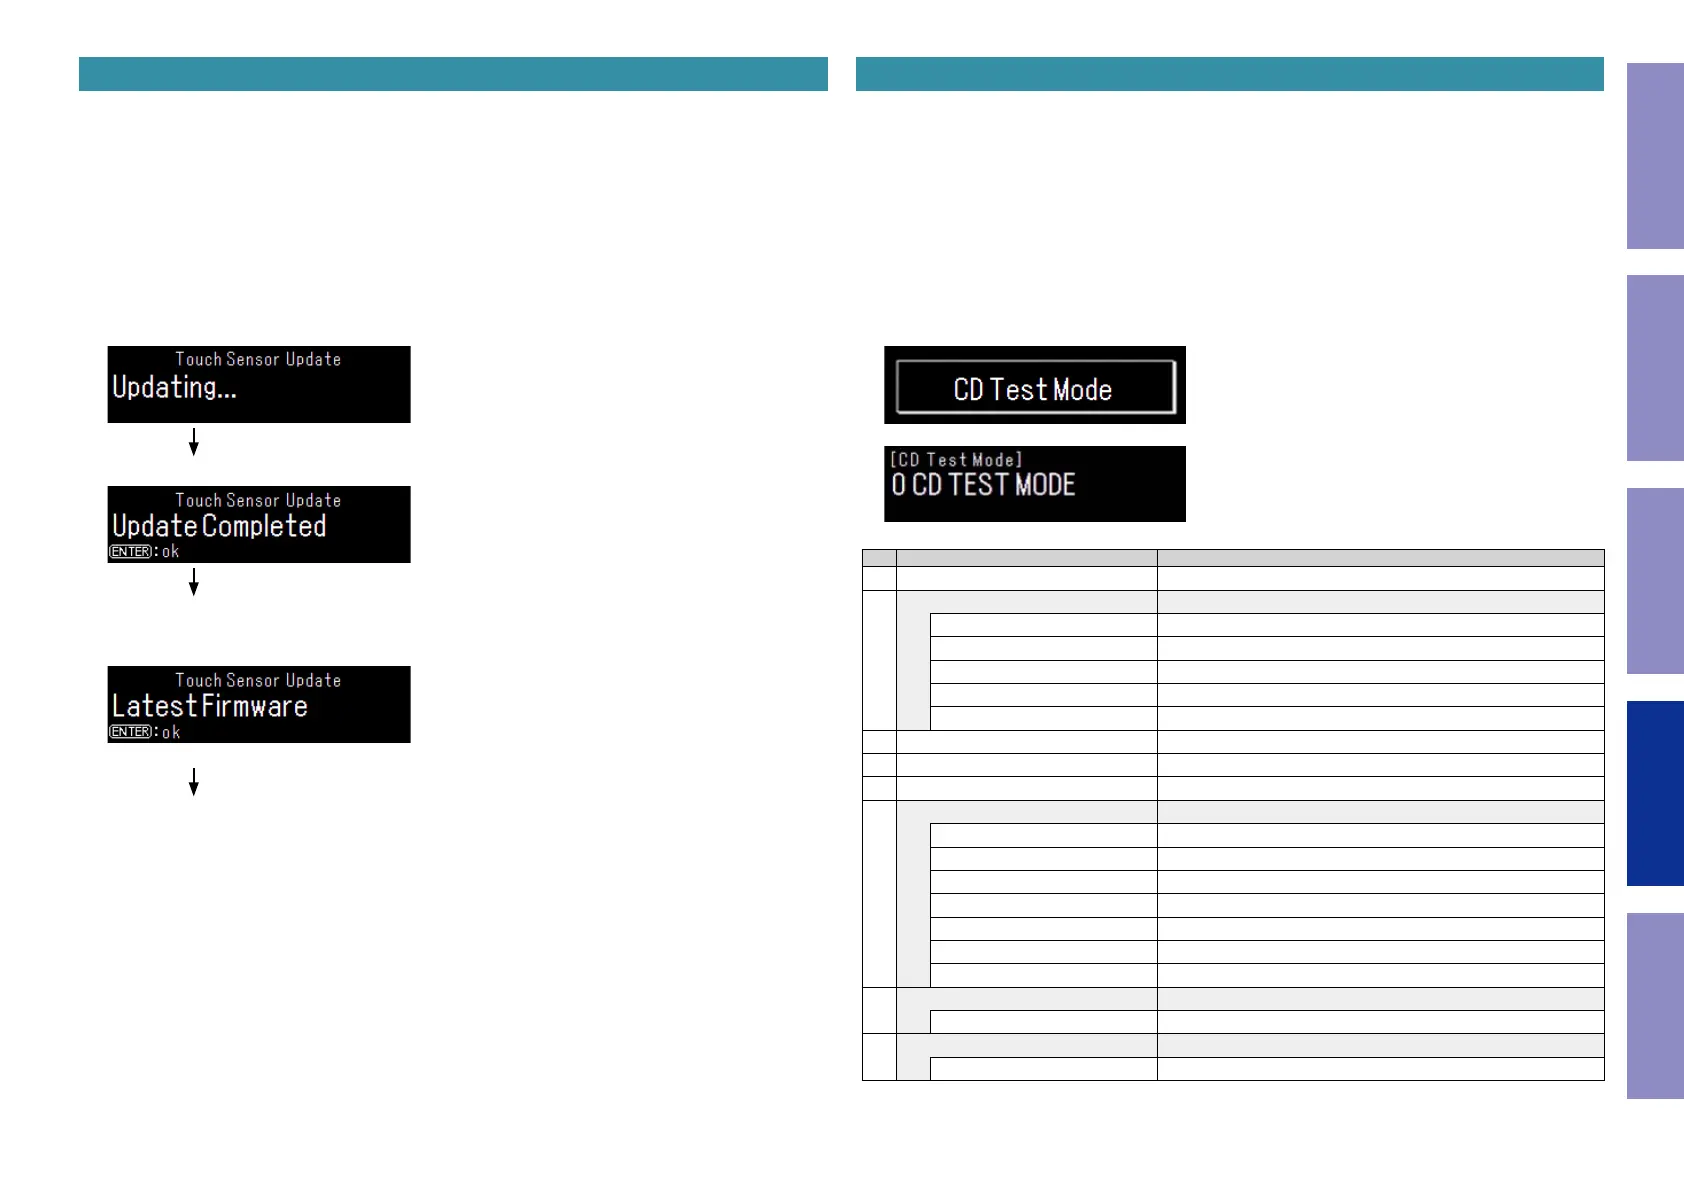
1-6.2. Displays
(1) If the rmware is out of date
"Updating" is displayed and the update starts.
"Update Completed" is displayed when the up-date is completed.
Press the "Enter" button to exit this mode.
(2) If the rmware is up to date
"Latest Firmware" is displayed.
Press the "Enter" button to exit this mode.
1-7. CD Test mode
Test the CD mechanism.
1-7.1. Starting up
Insert the AC plug while pressing button "
POWER
", and wait for more than 3 seconds.
Release the "
POWER
" button when the Power indicator turns orange and the Eject indicator turns
white.
Select the "
CD Test Mode
" using the "
CURSOR
f
/
d
" button, then press the "
ENTER
" button to con-
rm.
This mode is canceled when the power is turned off.
1-7.2. Displays
(1) "
CD Test Mode
" is shown on the display for 5 seconds.
CD test mode details
No. Mode Button / Operation
1 Disc mounting "
5
"
2
Servo check "
13
"
LD ON
FOCUS ON
CLV ON
TRACKING ON
READ SUB CODE Press and hold the "
13
" button for more than 1 second.
3 Pickup movement "
0
CURSOR
1
" (The pickup keeps moving while the button is pressed.)
4 STOP Servo "
Source
" or "
2
"
5 All servo on "
CURSOR
d
"
6
Display adjustment values "
Source
" (Press after all servos are turned on.)
FOCUS BALANCE "
d
CURSOR
f
"
FOCUS GAIN "
d
CURSOR
f
"
TRACKING BALANCE "
d
CURSOR
f
"
TRACKING GAIN "
d
CURSOR
f
"
FOCUS OFFSET "
d
CURSOR
f
"
TRACKING OFFSET "
d
CURSOR
f
"
RFRP "
d
CURSOR
f
"
7
Displaying the laser current "
d
" (Volume Up)
Overwriting the stored data "
13
" (Press and hold for 5 seconds or more while laser current is displayed)
8
Displaying the accumulated laser-on time "
f
" (Volume Down)
Reset accumulated laser on time "
13
" (Press and hold for 5 seconds or more while total laser-on time is displayed)
Before Servicing
This Unit
Electrical Mechanical Repair Information Updating
61
 Loading...