28
ENGLISH
Setting the network [Network]
Connecting Wired LAN
When using this unit with the broadband router’s DHCP function
enabled, this unit automatically performs the IP address setting and
other settings.
When using this unit connected to a network with no DHCP function,
make the settings for the IP address, etc., at “Network connecting
(DHCP=Off)” (vpage28).
NOTE
When setting manually, check the setting contents with the network
administrator.
n Network connecting
1
Connect the LAN cable.
(vpage8 “Connecting to a home network (LAN)”)
2
Turn on this unit.
(vpage11 “Turning the power on”)
3
Press [MENU].
Turns on the Menu settings mode and the Menu appears on
the display. (vpage25 “Menu map”)
4
Use ui to select “Network” – “Connection” –
“DHCP (Off)”, then press [ENTER], <1/3
ENTER
>
or p.
“DHCP” menu appears.
• When the network connection is set to “DHCP (On)”, go to step 6.
5
Use ui to select “On”, then press [ENTER], <1/3
ENTER
> or p.
“Connection” menu appears.
6
Use ui to select “Connection”, then press [ENTER],
<1/3
ENTER
> or p.
The connection starts.
• When the connection is made successfully, “Succeeded” appears.
If the connection fails, “Failed” appears.
NOTE
You may need to set the network connection manually, depending on
the provider you use. To set the connection manually, use the setting
procedure of “Network connecting (DHCP=Off)”.
n Network connecting (DHCP=Off)
1
Perform steps 1 to 4 of the “Network connecting”
procedure and select “Off” in step 5.
“Connection” menu appears.
2
Use ui to select “IP Address”, then press [ENTER],
<1/3
ENTER
> or p.
“IP Address” input menu appears.
3
Use uip or [NUMBER] (0 – 9) to input the address
and press [ENTER] or <1/3
ENTER
>.
4
Use uip or [NUMBER] (0 – 9) to input the
address for Subnet Mask, Gateway, Primary DNS,
and Secondary DNS.
5
After you input all required addresses, perform
step 6 of “Network connecting” to connect to the
Internet.
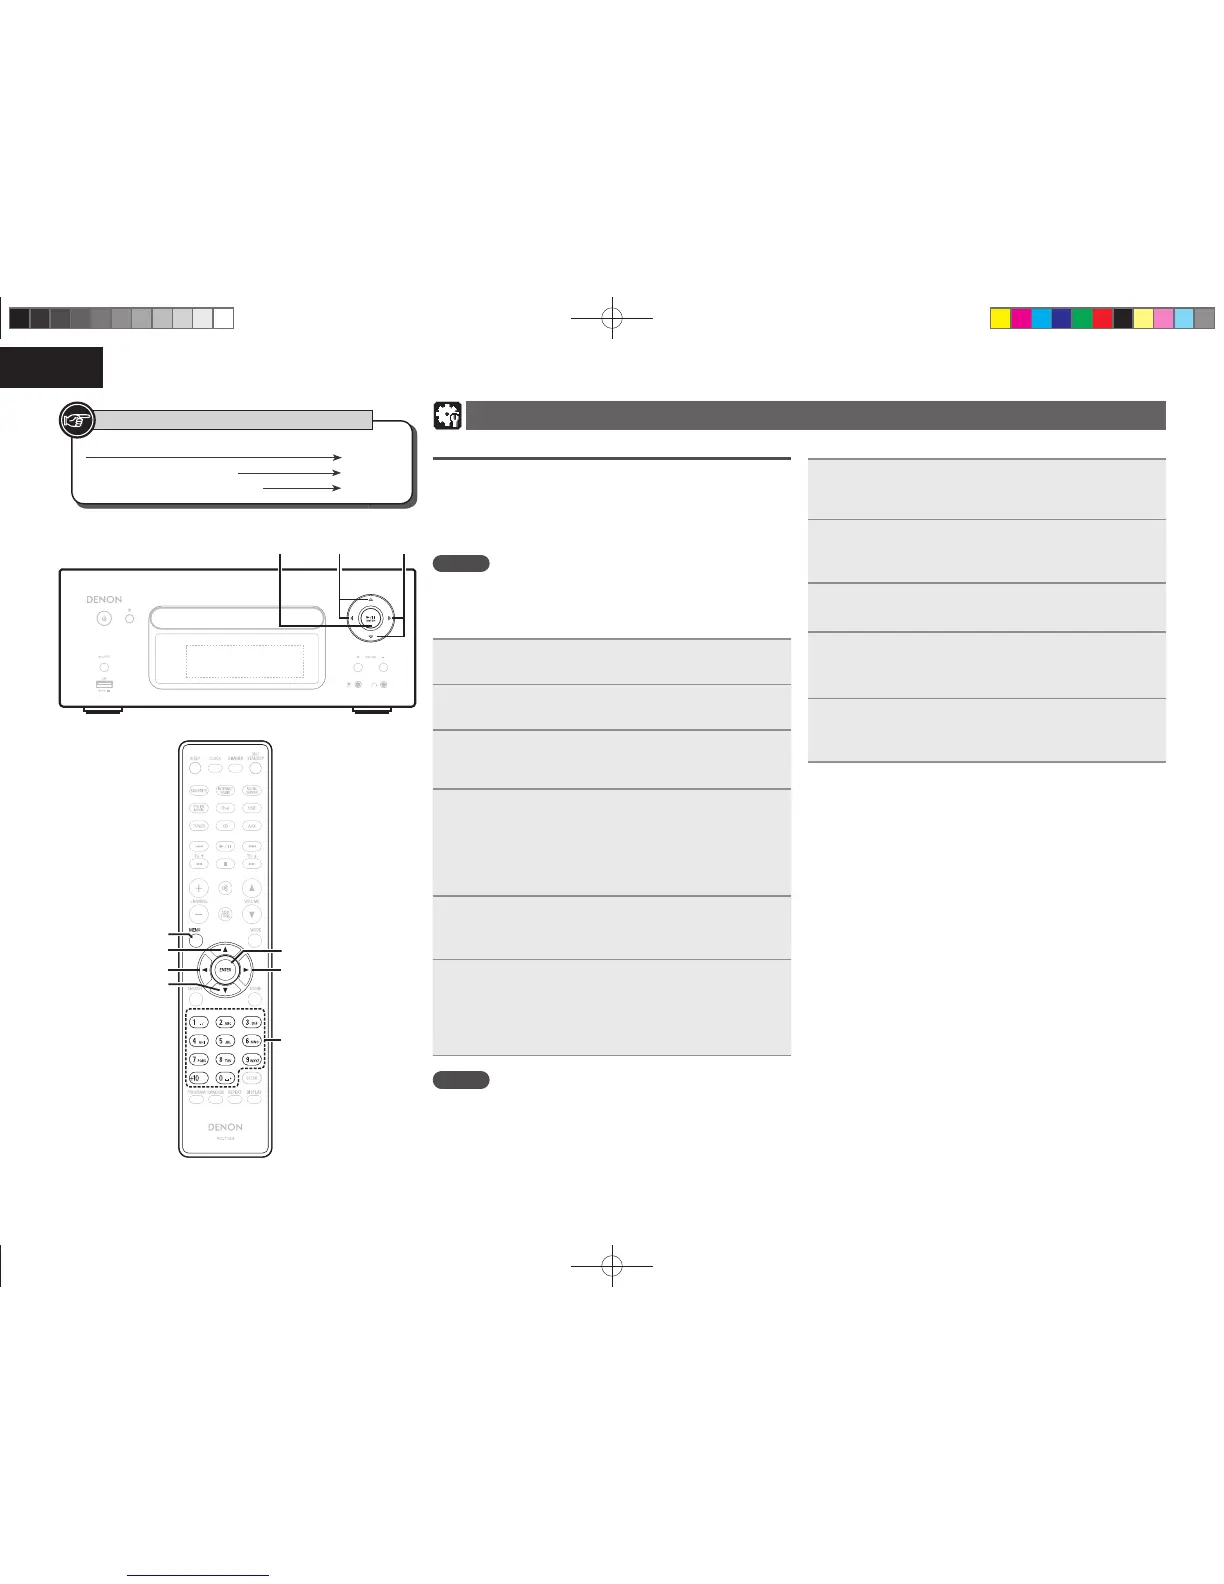
Button located on both the main unit and the remote control
BUTTON
Button only on the main unit
<BUTTON>
Button only on the remote control
[BUTTON]
Symbols used to indicate buttons in this manual
i
u
o
p
[ENTER]
[MENU]
[NUMBER]
/&5803,$%3&$&*7&33$%/
p
i
<1/3 ENTER>
o
u
1.RCDN7E2ENG5th0831.indd281.RCDN7E2ENG5th0831.indd28 2010/09/0115:10:032010/09/0115:10:03
 Loading...