EN
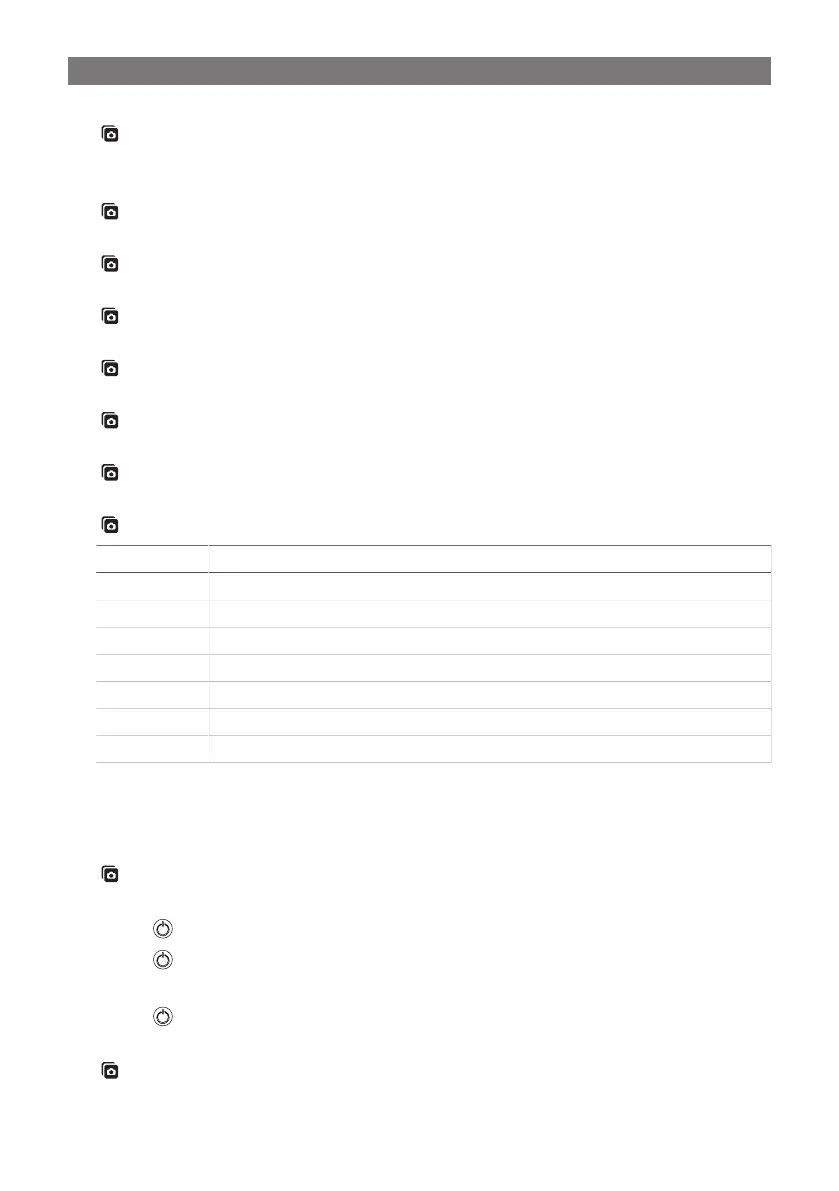
2. Dismantle the ADB center cover.
Fig. on page2
3. Disconnect the C1 socket to disconnect the power supply.
4. If present, disconnect the solar panel and the battery.
Fig. on page
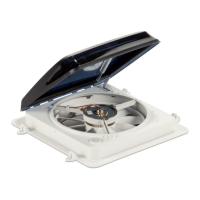
5. Dismantle the upper cover of the rooop unit.
Fig. on page3
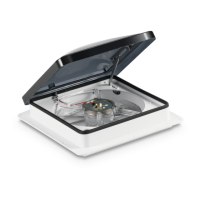
6. Remove the outside air filters.
Fig. on page4
7. Insert new outside air filters.
Fig. on page4
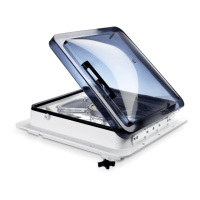
8. Ensure that the interior walls and fan flaps are inserted correctly.
Fig. on page5
9. Remount the upper cover of the rooop unit.
Fig. on page5
10. If present, reconnect the solar panel cable (2) to the solar panel connection (C14).
Fig. on page6
Socket Description
1 Battery cable
2 Solar panel cable
3 12 V connection cable
C1 Input power supply from the vehicle battery
C14 Solar panel connection
C15 Battery +/– connection
C16 Battery thermistor connection
11. Reconnect the 12 V connection cable (3) to the input power supply from the vehicle battery (C1).
12. Reconnect the battery cable (1) to the battery thermistor connection (C16) and the battery +/- connection
(C15).
13. Clip the ADB center cover to the interior cover.
Fig. on page6
14. Replace the ADB center cover.
15.
Press the button to switch the ventilation system on.
16.
Press the button for 3 s to reset the air filter status.
Interior air filter
1.
Press the button to switch the ventilation system off.
2. Dismantle the ADB center cover.
Fig. on page6
17
 Loading...