72
IT
Cura & Manutenzione
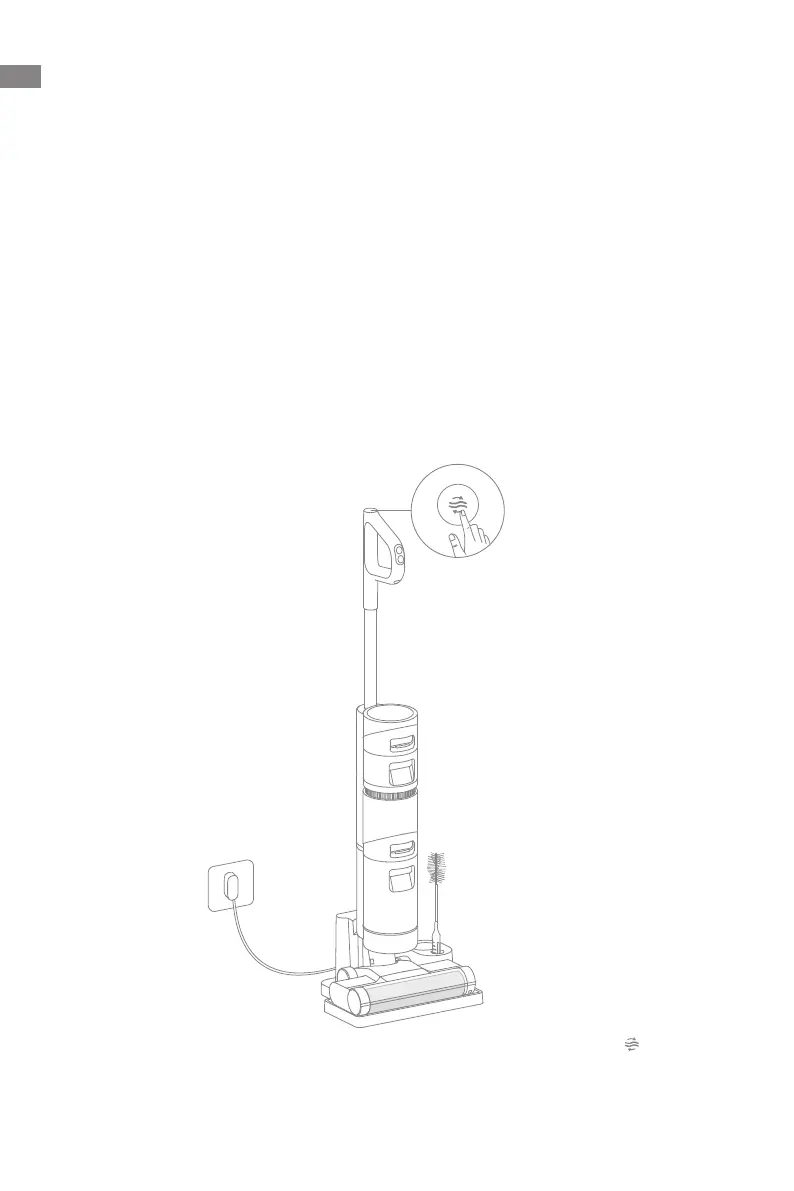
Un-clic Autopulizia
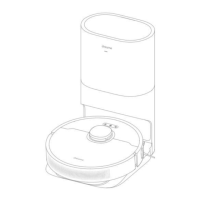
1. Posizionare l'aspirapolvere in posizione verticale sulla base di ricarica dopo le pulizie
designate e assicurarsi che il serbatoio dell'acqua pulita sia pieno.
2. Premere brevemente il pulsante di auto-pulizia sulla parte superiore
dell'impugnatura, l'indicatore di auto-pulizia illumina sullo schermo e l'auto-pulizia
si avvia.
3. L'aspirapolvere continuerà a ricaricarsi al termine dell'autopulizia.
* La funzione di autopulizia può essere abilitata solo quando l'aspirapolvere è carico e il
livello della batteria è superiore al 10%.
Suggerimenti:
1. Assicurarsi che l'aspirapolvere sia scollegato e non in funzione.
2. Le parti devono essere sostituite se necessario, si prega di utilizzare le parti designate
dalla fabbrica originale per evitare danni al prodotto a causa di inadeguatezza.
3. Se l'aspirapolvere non viene utilizzato per un lungo periodo, caricarlo completamente,
scollegare il caricabatterie e riporlo in un ambiente fresco e a bassa umidità, lontano
dalla luce solare diretta. Per evitare lo scaricamento eccessivo della batteria,
ricaricare l'aspirapolvere almeno una volta ogni 3 mesi.
Nota:
• Se è necessaria l'Auto-Pulizia profonda, premi e tieni premuto il pulsante
per
attivare la funzione di autopulizia profonda. Per favore riempi il serbatoio dell'acqua
pulita e svuota il serbatoio dell'acqua sporca prima dell'attivazione e questa funzione
può essere attivata solo quando l'aspirapolvere è carico e il livello della batteria è
superiore al 30%.
• Al termine dell'autopulizia, pulire in tempo il serbatoio dell'acqua sporca. Se ci sono
macchie residue sulla base, pulire la base in tempo.