11EATON EP Control for Heavy Duty Series 2 Piston Pumps Parts & Service 08-10-0002-EN-0901 September 2001
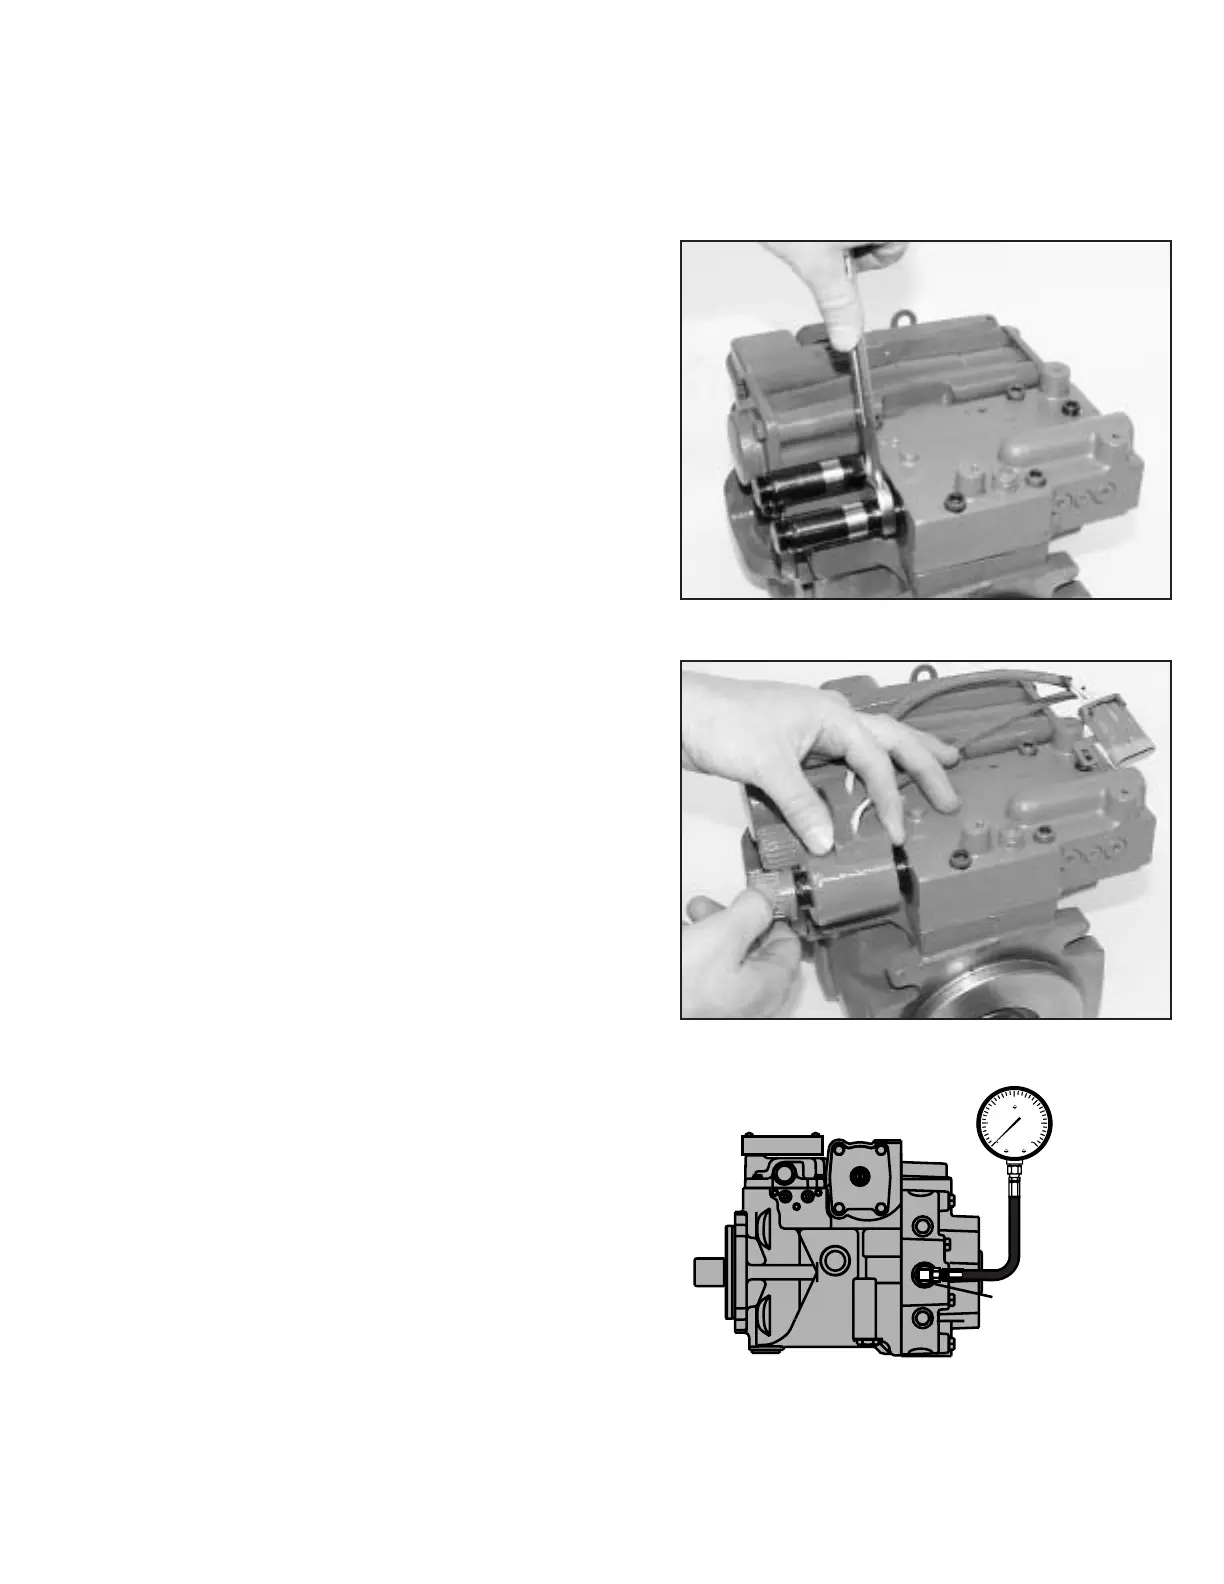
Step 19
Neutral Adjustment
Caution: All hoses and fittings
must be connected, and the pump
ready for operation before
attempting to check neutral
adjustment. Electrical wiring
harnesses for the solenoid coils
and command input should be left
disconnected while adjusting
neutral.
A. Disengage the input drive to
vehicle or elevate wheels.
B. Install charge pressure gauge.
A 0-1000 psi or 0-1500 psi
pressure gauge is
recommended.
Step 18
Attach the retaining knob, and
hand tighten. The knob should be
tightened until snug and then
another 1/2 turn. If available, the
knob should be torqued to 12±1
lbf·ft.
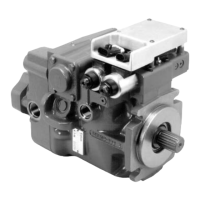
Step 16
Locate the new solenoid tube
subassembly. Each solenoid tube
subassembly comes with new
O-rings installed on the tubes.
The tube subassemblies are
interchangeable.
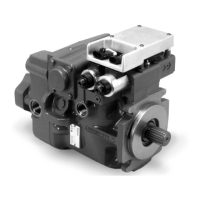
Step 17
Using a 3/4" open-end wrench,
replace the tube subassembly by
turning clockwise. Torque the
solenoid tube to 22±2 lbf·ft. Repeat
on other tube subassembly.
Replace the coils. Note: The
position number stamped on the
coil and the valve assembly must
match.
Repair & Service
 Loading...