5
INSTALLATION - SYSTEM PIPING
Place boiler in the selected location (as near
1.
chimney as possible.) Your boiler is shipped
assembled. You need only to install Safety Relief
Valve and drain line to carry any water or steam
to drain.
Install Safety Relief Valve into the 3/4” pipe on
2.
the top of the boiler. See Figure 5. Use 3/4” Pipe
and an elbow (not furnished) to carry the water
or steam to a nearby drain.
Install safety relief valve with spindle in vertical •
position.
Do no install shutoff valve between boiler and •
safety relief valve.
Install discharge piping from safety relief valve. •
Use 3/4” or larger pipe.•
Use pipe suitable for temperatures of 375°F •
(191°C) or greater.
Individual boiler discharge piping shall be •
independent of other discharge piping.
Size and arrange discharge piping to avoid •
reducing safety relief valve relieving capacity
below minimum relief valve capacity stated on
rating plate.
Run pipe as short and straight as possible to •
location protecting user from scalding and
properly drain piping.
Install union, if used, close to safety relief •
valve outlet.
Install elbow(s), if used, close to safety relief •
valve outlet and downstream of union (if used).
Terminate pipe with plain end (not threaded)•
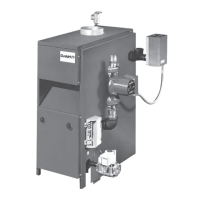
Install temperature pressure gauge on boiler:
3.
Remove box containing new gauge from parts •
bag. Remove gauge from box.
Apply pipe sealant to threads on shaft of •
gauge. See Figure 1.
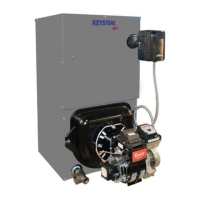
Thread gauge into supply water tee. See Figure •
2.
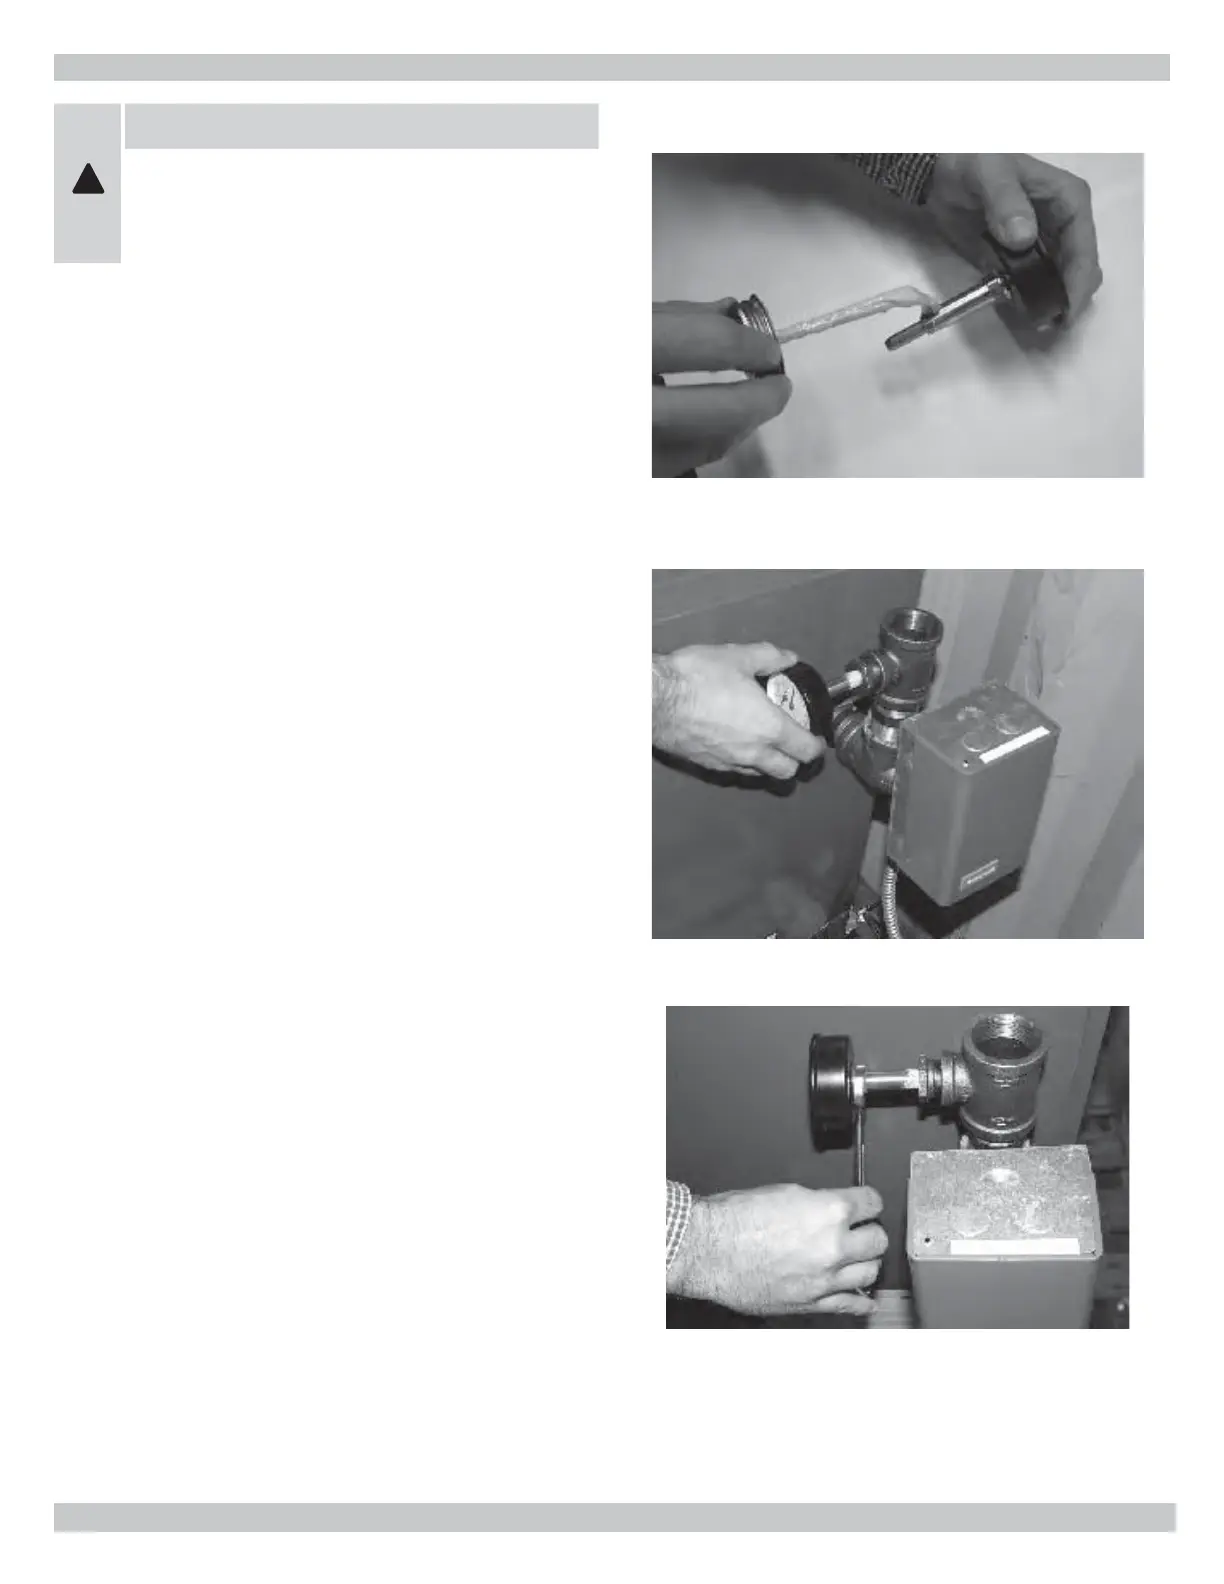
IMPORTANT: DO NOT TIGHTEN GAUGE BY HAND!!
Tighten gauge using crescent wrench or
9
/
16
” open
end wrench. See Figure 3.
Figure #2
Figure #3
!
WARNING
Burn and scald hazard. Safety relief
valve could discharge steam or hot water
during operation. Install discharge piping
per these instructions
Figure #1
 Loading...