30
GB
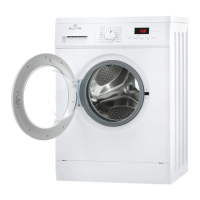
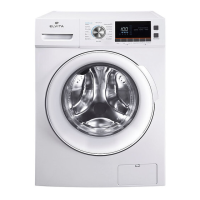
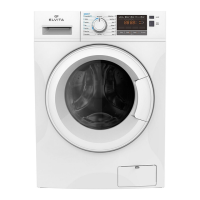
Installation
• Connect the washing machine to the
water supply using the new hose
supplied with the appliance (inside
the drum). Do not use the old hose!
• Connect one end of the hose (elbow
coupling) to the solenoid valve
(at the top rear of the appliance)
and the other end of the hose to a
threaded 3/4 tap coupling.
• Slide the machine against the wall
and make sure that the hose does
not become kinked or attened.
Place the end of the drain pipe over
the edge of a sink, or even better,
connect it to a permanent drain
outlet with a diameter larger than
that of the hose, positioned 50–75
cm above the oor (gure 4).
• If necessary, you can use the
accessories supplied to x the hose
more securely.
If your machine is tted with wheels:
• Move the lever near the wheels
to the right to move the washing
machine. Move the lever back
when the machine is in the correct
position.
• Adjust the front wheels so that the
appliance stands vertically (gure
5).
a. Turn the nut clockwise to loosen
the lock screw on the foot.
b. Unscrew the foot until it makes
rm contact with the oor.
c. Lock the foot by tightening the
nut counter-clockwise so that it
is tight against the base of the
machine.
• Make sure the machine is level.
• Pull the appliance in various
directions without moving it, and
push down on the top corners to
make sure that all the feet rest rmly
on the oor.
• If the appliance moves, adjust the
feet again.
 Loading...