IQ8MC/IQ8AC/IQ8HC Microinverters Installation and Operation Manual
18 © 2023 Enphase Energy Inc. All rights reserved. October 2023
USM-00008-1.0
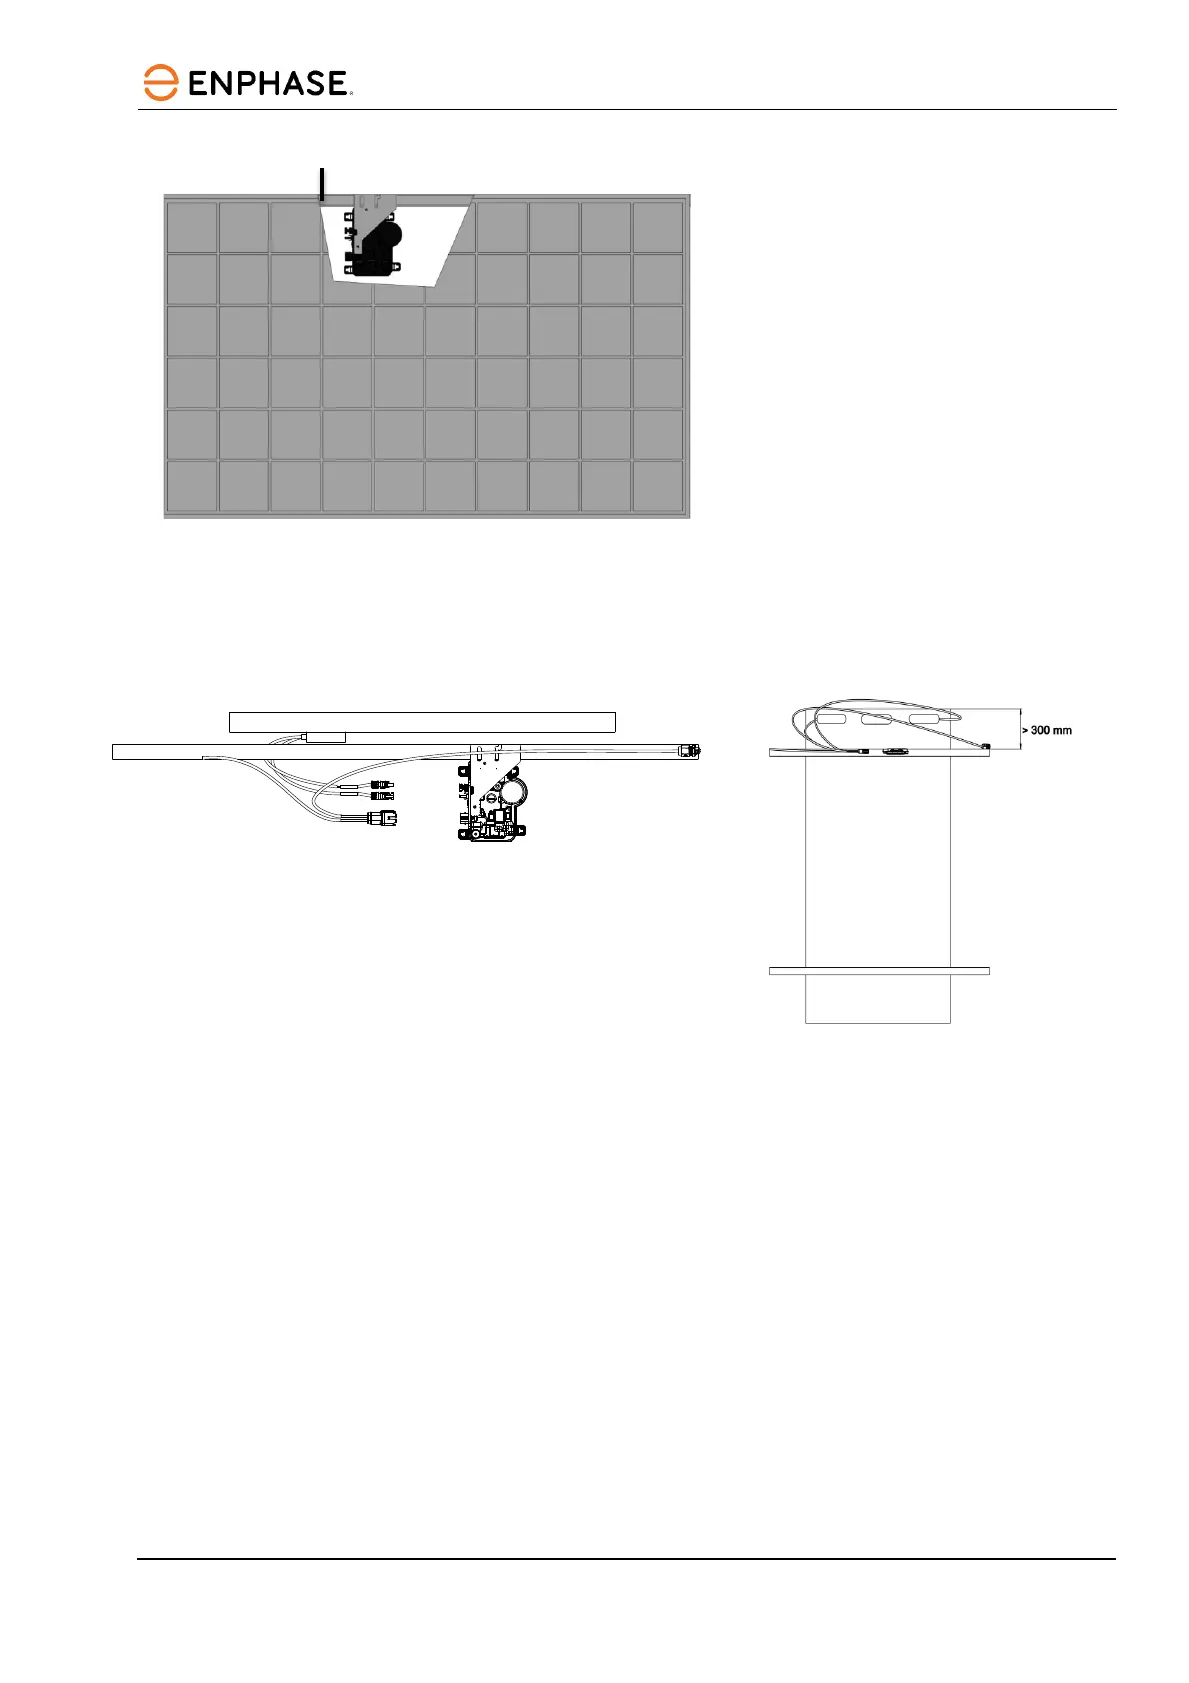
Vertical mount
Step 4: Create an installation map
The Enphase installation map is a diagram of the physical location of each microinverter in your PV array. Copy or use
the blank map on page 38 to record microinverter placement for the system, or provide your own layout if you require
a larger or more detailed installation map.
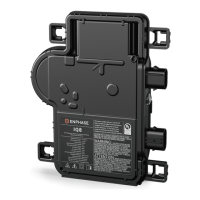
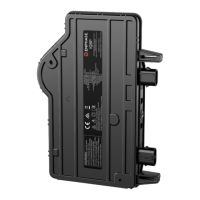
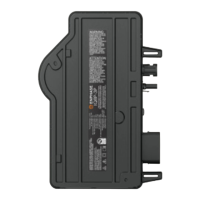
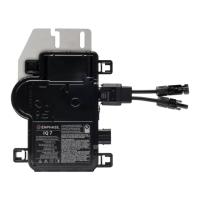
Each Enphase microinverter, IQ Gateway, and IQ Battery has a removable serial number label. Build the installation
map by peeling the serial number labels from the microinverter mounting plates and affixing the labels on the map. You
should also affix the IQ Gateway and IQ Battery serial numbers on the map after installation.
After you have created the installation map, use the Enphase Installer App to record serial numbers and configure the
system.
For details, refer to “Detect the microinverters” in the help topics of the Enphase Installer App.
A. Peel the removable serial number label from each microinverter and affix it to the respective location on the
paper installation map.
B. Peel the label from the IQ Gateway and any IQ Battery (if installed) and affix it to the installation map.
C. Always keep a copy of the installation map for your records.
 Loading...