INSTALLATION – FIRST STEPS
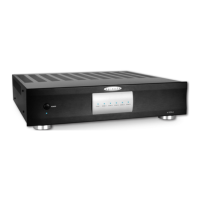
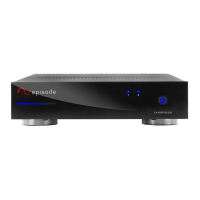
PLACING YOUR EPISODE AMPLIFIER
Episode ampliers are designed to help deliver a great audio
experience that makes your music come alive for years to come.
However, where you place the amplier can have a great effect on
the performance that you receive and the life of the unit. If you are
not rack-mounting the amplier, place it with all feet resting on a
solid level surface. Be sure that the amplier is in a well-ventilated
area that provides adequate cooling. If your installation lacks good
air ow, such as some solid door cabinets or wall-mounted racks,
it may be necessary to create some ventilation to air outside the
cabinet or rack.
VENTILATION
Do not block the ventilation holes. This applies to not putting
anything directly on top of, next to, or under the amplier. Do not
place the amplier on carpeting or any material that is similar. Do
not install the amplier near a source of heat or in an extremely
humid or wet location.
CONNECTED YOUR EPISODE
®
AMPLIFIER
CAUTION:
All connections and switching must be done with the
amplier’s power switch positioned to “off”. Connect the power
cord last to be sure that the amplier is off during all of your
connections and set up.
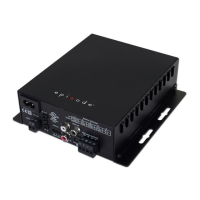
INPUTS
For line level connections, use high quality RCA cables that feature low impedance, shielding and high quality
connectors.
SPEAKER OUTPUTS
Use 14-18 gauge stranded two-conductor loudspeaker wire for all high level connections. At each loudspeaker-level
connection, ensure that at least 2 inches of each conductor are separated. Strip away 1/4” of insulation from each
conductor. Connect the appropriate conductor to each binding post, observing correct polarity.
If you connect your speakers out of phase, one speaker will be playing at the opposite ‘time’ as the other, which will
result in sound that lacks bass and sounds ‘warbly’ or ‘distant’ with vocals. If you suspect the sound is not right and
you cannot see any markings on the wire to verify polarity is correct, try this simple test:
• Sit between the satellite loudspeakers.
• Play some music with your receiver set to Mono.
• Listen to the bass. Is it full or thin? Listen to volume of the bass as well.
• Turn off your receiver and reverse the connections for one of the speakers connected to your Episode amplier.
• Repeat your test at the same volume level. When the sound has the loudest and best sounding bass and also sounds
best in the vocal region, your connections are correct and in-phase.
LINE LEVEL OUTPUTS
Any source connected to the CH 1 or CH 2 inputs can be sent to other components or ampliers by connecting them to
the CH 1 or CH 2 output connectors near the CH 1 and CH 2 inputs.
6
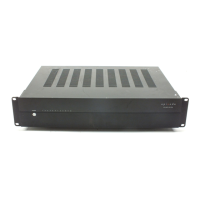
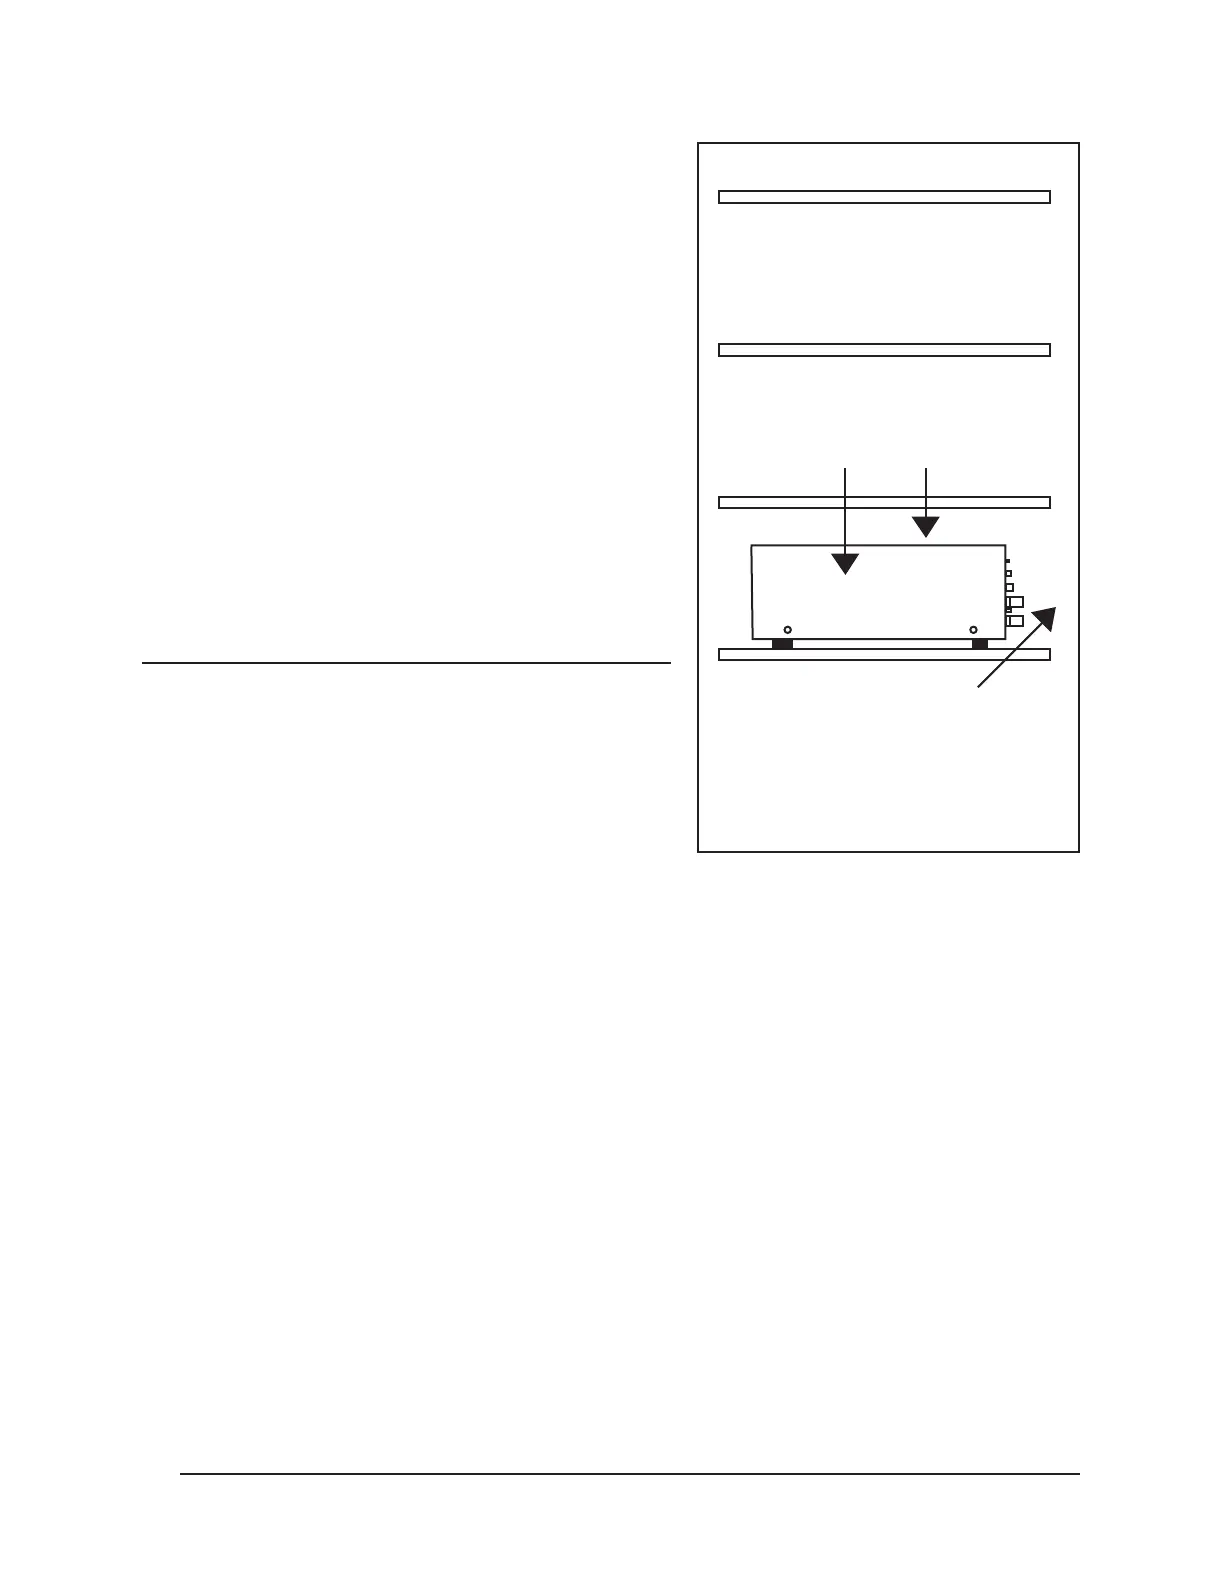
Make sure that there is a minimum of
5” of free air space above the amplier
and 3” on each side for proper v
entilation.
Allow a minimum of 2” of depth
behind unit to accommodate
cables and connectors.
Standard Placement of Amplier in
Cabinet
 Loading...