PRT200-EU-EN-V1.2 5/11
4
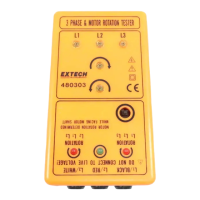
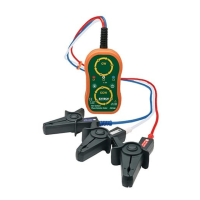
Operation
Note: Before proceeding, read all safety notes.
1. Press the power switch to turn on the instrument. All of the LEDS will flash for a 2 second
test. Only the power LED will remain on after the test. Do not use the instrument if any of the
LEDs do not work.
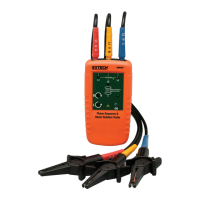
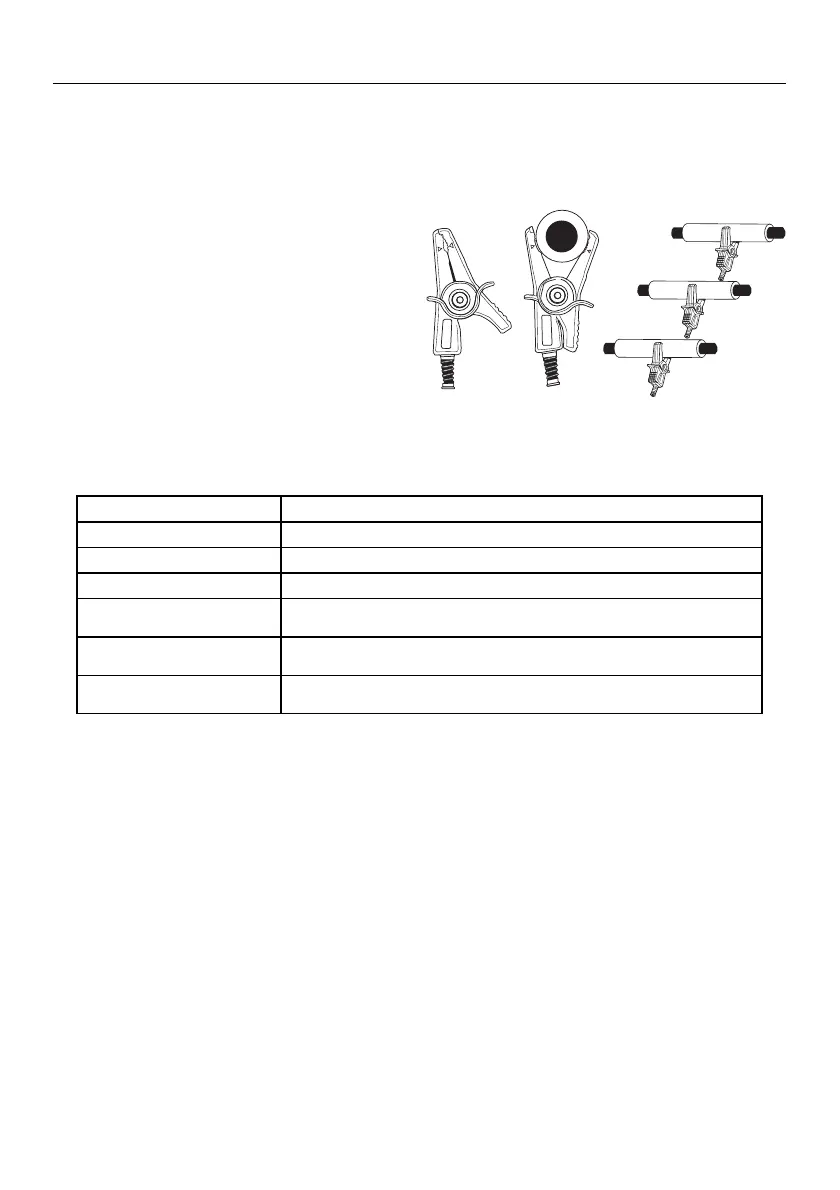
2. Connect the three non-contact alligator clips to the three phase power conductors.
Red to L1 (R, U)
White to L2 (S, V)
Blue to L3 (T, W)
3. The “▼” symbol on each clip should be
placed at the center of each conductor.
4. The CW or CCW LED and rotation LEDs
will indicate the phase sequence.
5. The buzzer will sound intermittently for a
clockwise sequence and continuously
for a counter-clockwise sequence..
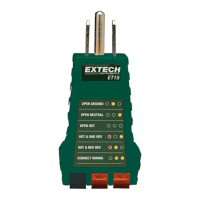
Status Indications
State Indication
Three live conductors L1,L2,L3 LEDs are ON
Open phases L1, L2 or L3 LED is OFF for open phases
Missing Earth line LED does not light up for missing earth line
Earth line (Delta
connection)
Phase with flashing LED is an earth phase
Positive CW phasing
The CW Rotation LEDs flash in clockwise direction as indicated
with "arrow" marks. The buzzer sounds intermittently.
Negative CCW phasing
The CCW Rotation LEDs flash in counter-clockwise direction as
indicated with "arrow" marks. The buzzer sounds continuously.
Brightness
Press the Brightness button to increase the light intensity of the LEDs. This can be helpful in
observing the LEDs in brightly illuminated areas.
Auto Power Off
In order to extend battery life, the unit will automatically shut off after 5 minutes of inactivity.
Magnet Mounting
Four magnets are located on the rear panel to enable convenient hands free mounting during use.
 Loading...