En-4
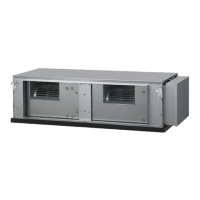
3.4. Installing the unit (ceiling concealed type)
WARNING
Install the air conditioner in a location which can withstand a load of at least 5 times the
weight of the main unit and which will not amplify sound or vibration. If the installation
location is not strong enough, the indoor unit may fall and cause injuries.
If the job is done with the panel frame only, there is a risk that the unit will come loose.
Please take care.
3.4.1. Unit installation example (ceiling concealed type)
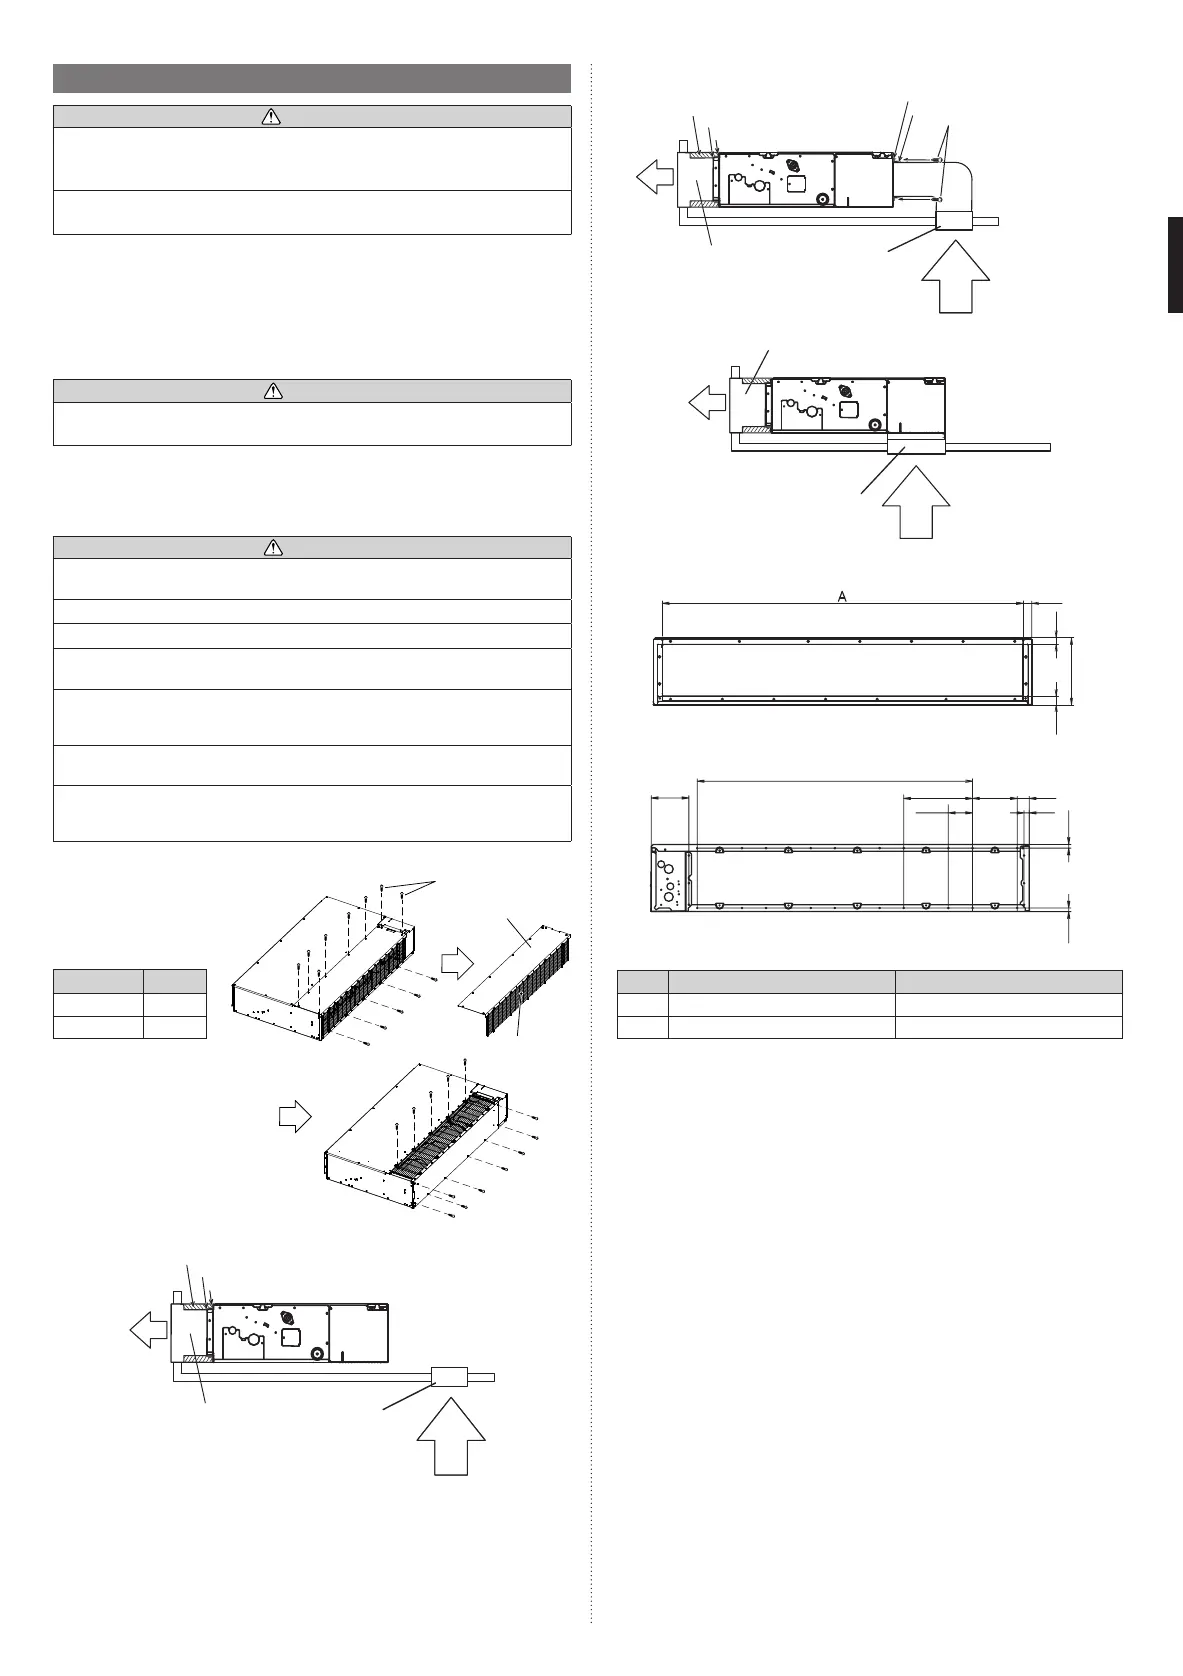
Connect the locally purchased duct.
(1) Inlet side
• Connect the duct to the locally purchased inlet flange.
• Connect the flange to the body with the locally purchased tapping screws.
• Wind the inlet flange connecting to the duct with the aluminum tape etc. to avoid the air
leakage.
CAUTION
When the duct is connected to inlet side, remove contained filter and surely attach lo-
cally purchased filter at inlet opening.
(2) Outlet side
• Connect the duct with adjusting inside of outlet flange.
• Wind the outlet flange connecting to the duct with the aluminum tape etc. to avoid the air
leakage.
• Insulate the duct to avoid the dew condensation.
CAUTION
Check that duct work does not exceed the range of external static pressure of equip-
ment.
Make sure to insulate ducts to avoid the dew condensation.
Make sure to insulate between ducts and walls if metal ducts are used.
Please explain handling and washing methods of locally purchased materials to the
customer.
To prevent people from touching the parts inside the unit, be sure to install grilles on
the inlet and outlet ports. The grilles must be designed in such a way that cannot be
removed without tools.
When connecting the duct to the outlet port of the indoor unit, be sure to insulate the
outlet port and the installation screws to prevent water from leaking around the port.
AR7/9/12/14/18 Model
• Set the static pressure outside the unit to 0.36 in WG (90 Pa) or less (the allowable
range is between 0 and 0.36 in WG (0 and 90 Pa)).
Replace the cover as follows.
• Remove the screws, and
then remove cover and
fan guard.
• Install the cover with the
screws as shown in the
following figure.
Model Screw
AR7/9/12/14 9
AR18 11
screw
Cover
Fan guard
Side Inlet - Side Outlet
Insulation material (locally purchased)
Aluminum tape
Flange (locally purchased)
Air
Duct
(locally purchased)
Air
Intake grille
(locally purchased)
Side Inlet - Side Outlet (Duct)
Insulation material (locally purchased)
Aluminum tape
Aluminum tape
Tapping screw for flange
connection (M4 x 10mm/
locally purchased)
Flange (locally purchased)
Flange (locally purchased)
Air
Duct
(locally purchased)
Air
Intake grille
(locally purchased)
Bottom Inlet - Side Outlet
Duct (locally purchased)
Intake grille (locally purchased)
Air
Air
Outlet side
Unit: in (mm)
1 (25)
3/4
(19)
1 (25)
7-13/16
(198)
Inlet side
1-3/8 (35)
(130)
9/16 (15)
Unit: in (mm)
5-1/8
2-3/4
(70)
7/167/16
(11)(11)
P 7-7/8 (200)
(109)
4-5/16
AR7/9/12/14
AR18
A 25-9/16 (650) 33-7/16 (850)
B P 7-7/8 (200) × 2 = 15-3/4 (400) P 7-7/8 (200) × 3 = 23-5/8 (600)
9374342556-02_IM.indb 4 27-Sep-19 10:29:43 AM
 Loading...