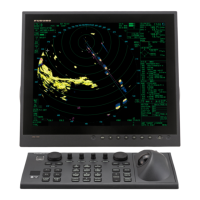
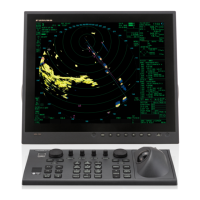
3. INSTALLATION
17
3. Tap the menu navigation buttons ( )
to select [Timing Adjustment].
4. Select [Manual] or [Auto]. For [Auto] go to
step 7. For [Manual] go to step 5.
5. Find a target which should be displayed
“straightly” (harbor wall, straight pier) on
the radar display.
6. While looking at the target selected at
step 5, operate the slider bar to straighten
the target.
7. Tap the display area to close the window.
3.4.3 Range unit
The range can be shown in nautical miles or
kilometers, and the default setting is nautical
miles. To change the unit, do as follows:
1. Open the Settings menu, referring to step
1 in “How to open the [Installation Set-
tings] menu” on page 15.
2. Tap [Initial Settings].
3. Tap [Units] then select range unit.
3.4.4 Tuning initialization
Tuning is automatically adjusted when the ra-
dar transmits, therefore initialization is not
necessary. (Initialization is necessary only
when the magnetron is replaced.)
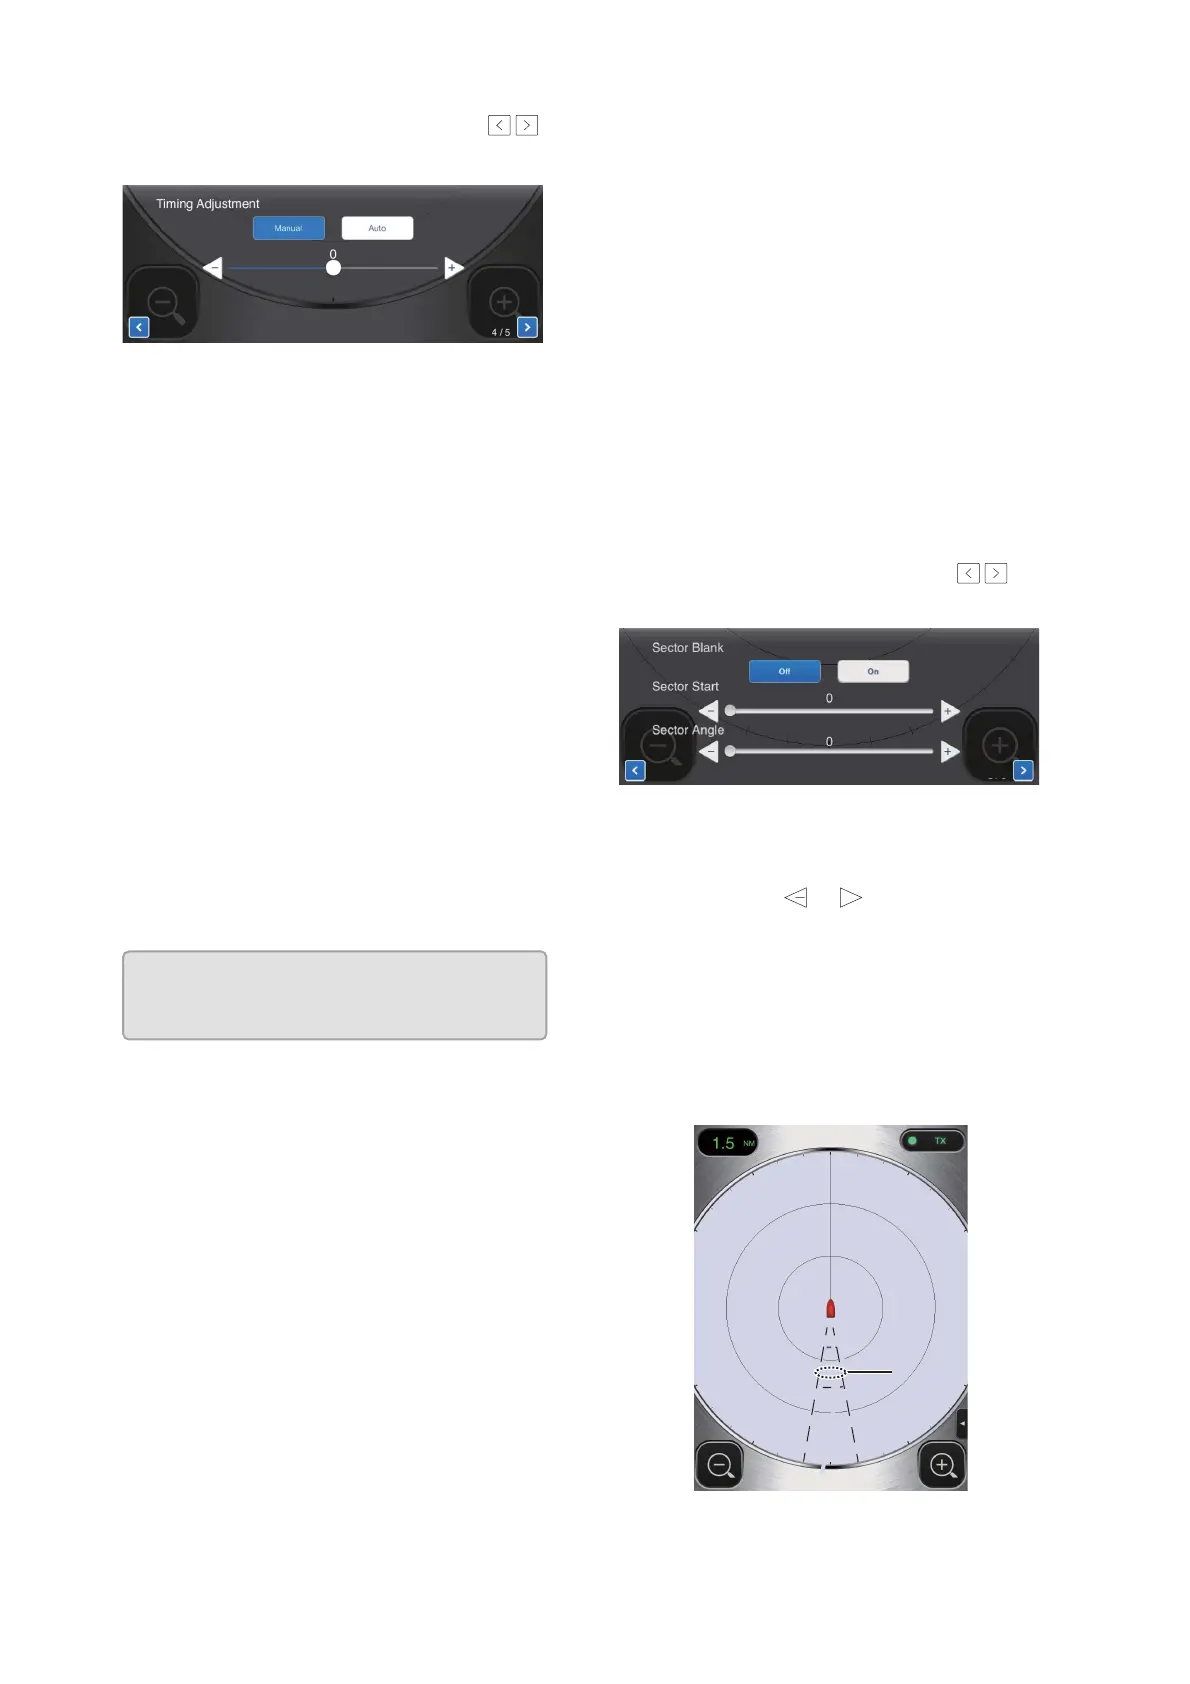
3.4.5 Sector blank
A sector blank is an area on the radar display
where no radar echoes appear because an
obstruction near the radar sensor (for exam-
ple, a mast) blocks reception within that area.
This area should be marked on the display to
alert you that no echoes will be shown there.
If you do not have this problem, skip this pro-
cedure.
As an example, the procedure below shows
how to set a 20° sector blank between 170°
and 190°.
1. Open the Picture menu, referring to step
1 in “Heading alignment” on page 16.
2. Tap the item selection buttons ( ) to
select [Sector Blank].
3. Tap the [On] button.
4. At [Sector Start], drag the slider bar to set
the start bearing relative to the heading
line. (Use the or button to fine tune
the setting.) In the example, set “170”.
5. At [Sector Angle], drag the slider bar to
set the width of the sector. In the exam-
ple, set “20”.
The sector is marked on the display with
dashed green lines.
To disable the sector, tap [Off] at [Sector
Blank].
/
Heading Align (0~359)
3 / 5
Units
Tune Initialize
nm
>
/
5 / 5
+
Sector
blank