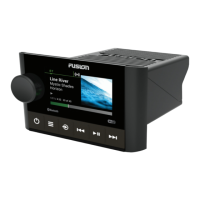
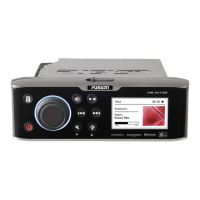
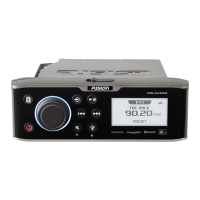
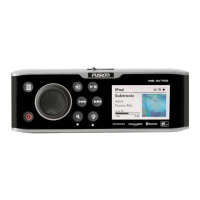
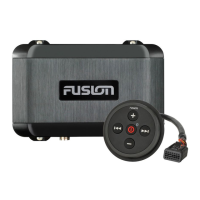
POWER OPTIONS: Adjusts power settings, such as standby
mode and power-save mode (Power Options, page 4).
NETWORK: Enables you to join and configure the FUSION
PartyBus network settings (Network Settings, page 4).
UPDATE > HEADUNIT: Updates the stereo software.
UPDATE > FACTORY RESET: Resets all settings to the factory
default values.
ABOUT: Shows the software version and other information for
the stereo.
Speaker Zone Settings
Select > SETTINGS > ZONE > ZONE 1.
VOLUME CONTROL: Allows the volume to be controlled by
another amplifier or stereo and provides a fixed line-level
output when the option button is cleared.
LOUD: Maintains frequency response at low volumes and
increases perceived loudness at high volumes.
TONE: Sets the treble, middle, and bass tones.
ZONE NAME: Sets a name for this speaker zone to make it
easier to identify.
SUB FREQ: Sets the subwoofer cutoff frequency, which can
enhance the blend of the sound produced by the speakers
and the subwoofer. Audio signals above the selected
frequency are not passed to the subwoofer.
MORE: Sets the volume limit, subwoofer limit, and speaker
balance.
Disabling the Internal Amplifiers
If the speakers are connected to an external amplifier, you can
disable the internal amplifier to reduce power consumption.
1
Select > SETTINGS > ZONE.
2
Select INTERNAL AMP ON to clear the option button.
Power Options
Select > SETTINGS > POWER OPTIONS.
NOTE: When an option button is filled, the option is on. When
the option button is clear, the option is off.
POWER SAVE: Disables the LCD backlight after one minute of
inactivity to save battery power.
STANDBY MODE: Enables a low-power standby instead of
turning off the stereo completely. When enabled, the stereo
turns on much faster, but the stereo uses more battery when
in standby mode than when turned off.
WAKE SYSTEM: Sends a signal to turn on all devices
connected to the network using an Ethernet cable that are in
standby mode.
Network Settings
Select > SETTINGS > NETWORK.
WI-FI OFF: Turns off all Wi‑Fi wireless functions.
WI-FI CLIENT: Configures the zone stereo as the wireless
client, allowing it to wirelessly connect to other devices.
WI-FI ACCESS POINT: Configures the zone stereo as the
wireless access point (Wireless Access Point Settings,
page 4).
ADVANCED: Allows you to set the advanced wireless and wired
settings, such as DHCP and SSID.
RESET: Resets all network settings for this stereo to the factory
default values.
Advanced Network Configuration
You can perform advanced networking tasks on a FUSION
PartyBus device, such as defining DHCP ranges and setting
static IP addresses.
Wireless Access Point Settings
Select > SETTINGS > NETWORK > ADVANCED > WI-FI
ACCESS POINT.
NOTE: You must configure the device to be a wireless access
point before you can change the settings.
SSID: Sets the SSID, or name, for the network.
AP SECURITY: Sets the type of wireless security protocol used
by the access point.
NOTE: It is strongly recommended that you set the AP
SECURITY using WPA2 PERSONAL. It is the most widely-
used and secure wireless security protocol.
PASSWORD: Sets the password for the access point. This is
not available when the AP SECURITY setting is set to
NONE.
COUNTRY: Sets the region where the stereo is located.
Different regions may use different channels on the wireless
spectrum, so you should set this to best accommodate local
wireless devices.
CHANNEL: Sets the access point to use a group of channels in
the high, low, or middle range of the available spectrum for
your region. You may experience better performance if you
set the channel in a range with fewer broadcasting access
points.
DHCP SERVER: Sets the device to act as a wireless access
point and the DHCP server on the network.
WPS: Initiates a Wi‑Fi Protected Setup (WPS) connection.
Devices with a WPS button or setting can connect to the
access point on this stereo when the WPS connection is
active.
NOTE: It can take up to two minutes to successfully connect
to the access point after you select WPS.
DHCP Settings
Select > SETTINGS > NETWORK > ADVANCED > DHCP
SERVER.
DHCP ENABLED: Sets the device as the DHCP server on the
network.
START IP: Sets the first IP address in the IP-address range of
the DHCP server.
END IP: Sets the final IP address in the IP-address range of the
DHCP server.
Setting a Static IP Address
If the stereo is configured as a DHCP server, it is automatically
assigned the IP address of 192.168.0.1. You can change this IP
address.
If the stereo is a client on the network and you do not want the
DHCP server to automatically assign an IP address to the
stereo, you can set a static IP address.
NOTE: Every device on the network must have a unique IP
address. If you select a static IP address that is the same as the
IP address on the network, the devices will not work properly.
1
Select > SETTINGS > NETWORK > ADVANCED.
2
Select an option:
• If the stereo is connected using an Ethernet cable, select
ETHERNET IP > STATIC IP.
• If the stereo is set as a wireless access point or wireless
client, select WI-FI STATIC IP.
3
Select an option:
• To set the IP address, select IP, and enter the IP address.
• To set the subnet mask, select MASK, and enter the
subnet mask.
NOTE: The subnet mask must match all other devices on
the network to work properly. A typical default gateway is
255.255.255.0.
4 General Settings
 Loading...
