EasyManua.ls Logo

GAGEMAKER PG-6000 User Manual

GAGEMAKER PG-6000
24 pages
To Next Page IconTo Next Page
To Previous Page IconTo Previous Page
Page #12 background image
P
P
G
G
-
-
6
6
0
0
0
0
0
0
T
T
h
h
r
r
e
e
a
a
d
d
D
D
i
i
a
a
m
m
e
e
t
t
e
e
r
r
G
G
a
a
g
g
e
e
O
O
p
p
e
e
r
r
a
a
t
t
i
i
o
o
n
n
M
M
a
a
n
n
u
u
a
a
l
l
12
Zeroing the PG-6000 Gage Using Gage Blocks
Materials Needed:
PG-6000 gage
Gage block(s)
To ensure consistent and accurate readings, the PG-6000 gage should be zeroed on gage blocks
once during each shift, at a minimum.
1. Locate the gage setting dimensions previously
printed from the Gagemaker screen in the
Thread Disk for Windows software.
2. Stack the proper size gage block(s) for the
desired setting dimension.
3. Loosen the bent bolt to release the adjuster
arm. Slide the adjuster arm enough to fit the
thread rolls between the gage block(s).
4. Pull the retraction lever on the PG-6000 and
place the thread rolls between the gage
block(s). Slide the adjuster arm until the
thread rolls contact the gage block(s).
5. Pull the retraction lever and remove the PG-
6000 from the gage block(s).
Question and Answer IconNeed help?

Do you have a question about the GAGEMAKER PG-6000 and is the answer not in the manual?

GAGEMAKER PG-6000 Specifications

General IconGeneral
BrandGAGEMAKER
ModelPG-6000
CategoryMeasuring Instruments
LanguageEnglish

Summary

Introduction to PG-6000 Gage Operation

PG-6000 Gage Technical Support

Contact information for technical assistance and support for the PG-6000 gage.

PG-6000 Gage Product Information and Updates

Details on accessing product updates and further information for the PG-6000 gage.

PG-6000 Gage System Components Overview

PG-6000 Gage Component List

A detailed list of all parts and their quantities for the PG-6000 thread diameter gage.

PG-6000 Gage Setup Procedures

Setting Up the PG-6000 Gage

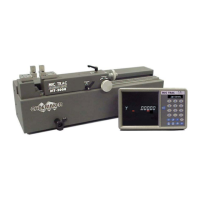
Steps for determining thread roll type and installing them on the PG-6000 gage.

Zeroing the PG-6000 Gage Using Gage Blocks

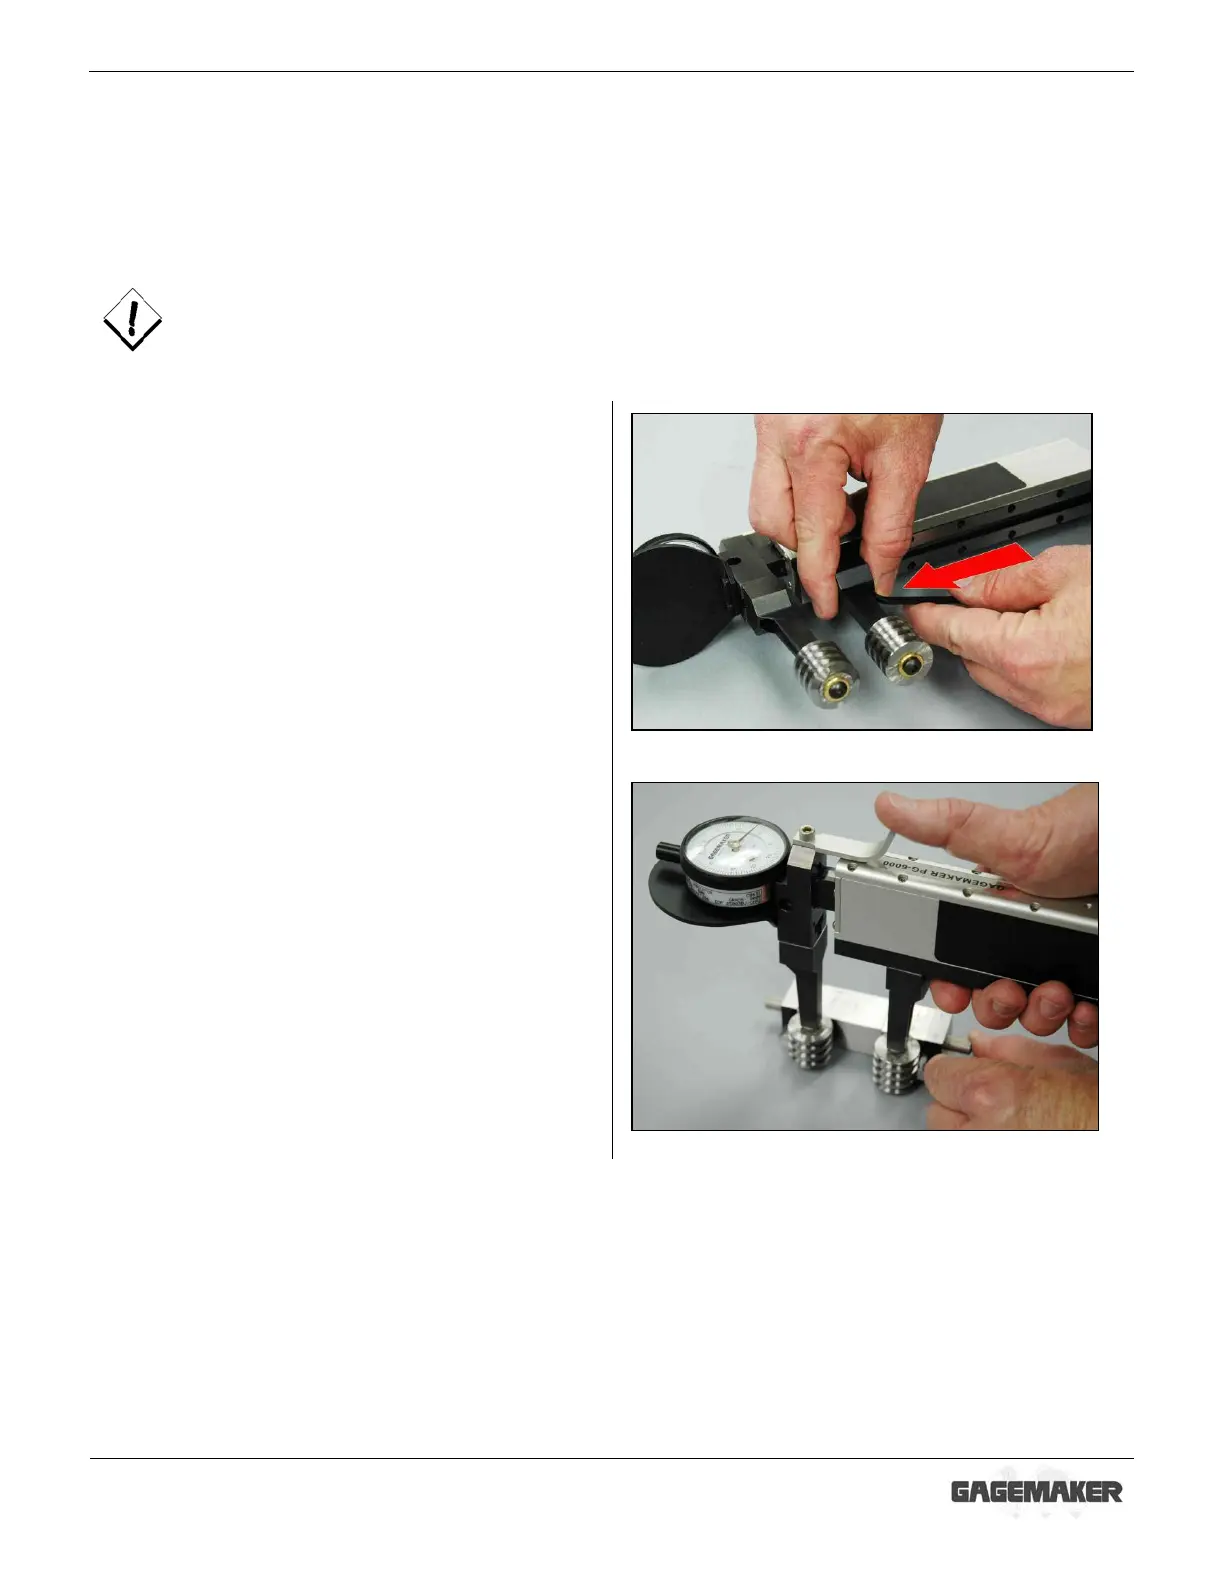
Procedure for zeroing the PG-6000 gage using precision gage blocks for accurate readings.

Zeroing the PG-6000 Gage Using the MIC TRAC

Procedure for zeroing the PG-6000 gage with the MIC TRAC measurement center.

PG-6000 Gage Operating Procedures

Inspecting Parts with the PG-6000 Gage

Instructions on how to use the PG-6000 gage to inspect functional diameter of threaded parts.

PG-6000 Gage Care and Maintenance

PG-6000 Gage Maintenance Tips

Guidelines for keeping the PG-6000 gage in optimal working condition and preventing damage.

PG-6000 Gage Warranty Information

Details of the product warranty, coverage, terms, and limitations for the PG-6000 gage.

Related product manuals