4
Use Demo Mode for training
The Dash 2500 displays all the fictional vital signs values
and waveforms under Demo Mode. It is designed for
training prior to use.
• PushandholdtheSilence Alarm and Main hardkeys,
then push the Power hardkey, hold the Silence Alarm
and Main hardkeys until the Dash 2500 displays the
entering screen; the start-up screen shows the DEMO
MODE message in red in addition to the standard
displays; the Dash 2500 enters Demo Mode
• TheDash2500displaysallthevitalsignsvaluesand
waveforms; all these values and waveforms are not
changeable under Demo Mode
• PushthePower hardkey to power off the Dash 2500 and
exit Demo Mode
Network
The Dash 2500 network module is compatible with
CARESCAPE™ CIC Pro version 4.0.8, 4.1.1, 5.0.8, 5.1.0 and all
of other versions which are compatible with these four.
• Turnoffpower
• Connectnetworkcabletotheportlabeled“Ethernet“
on the rear of the Dash 2500. Connect the other end of
the cable to the clinical network
• TurnontheDash2500.Duringthisprocess,Dash2500
willautomaticallyacquireauniqueIPaddress
• Admitapatientonthemonitor.SettheUNITnameand
BED name. On CARESCAPE CIC Pro devices right-click on
multiple view window and select the monitor
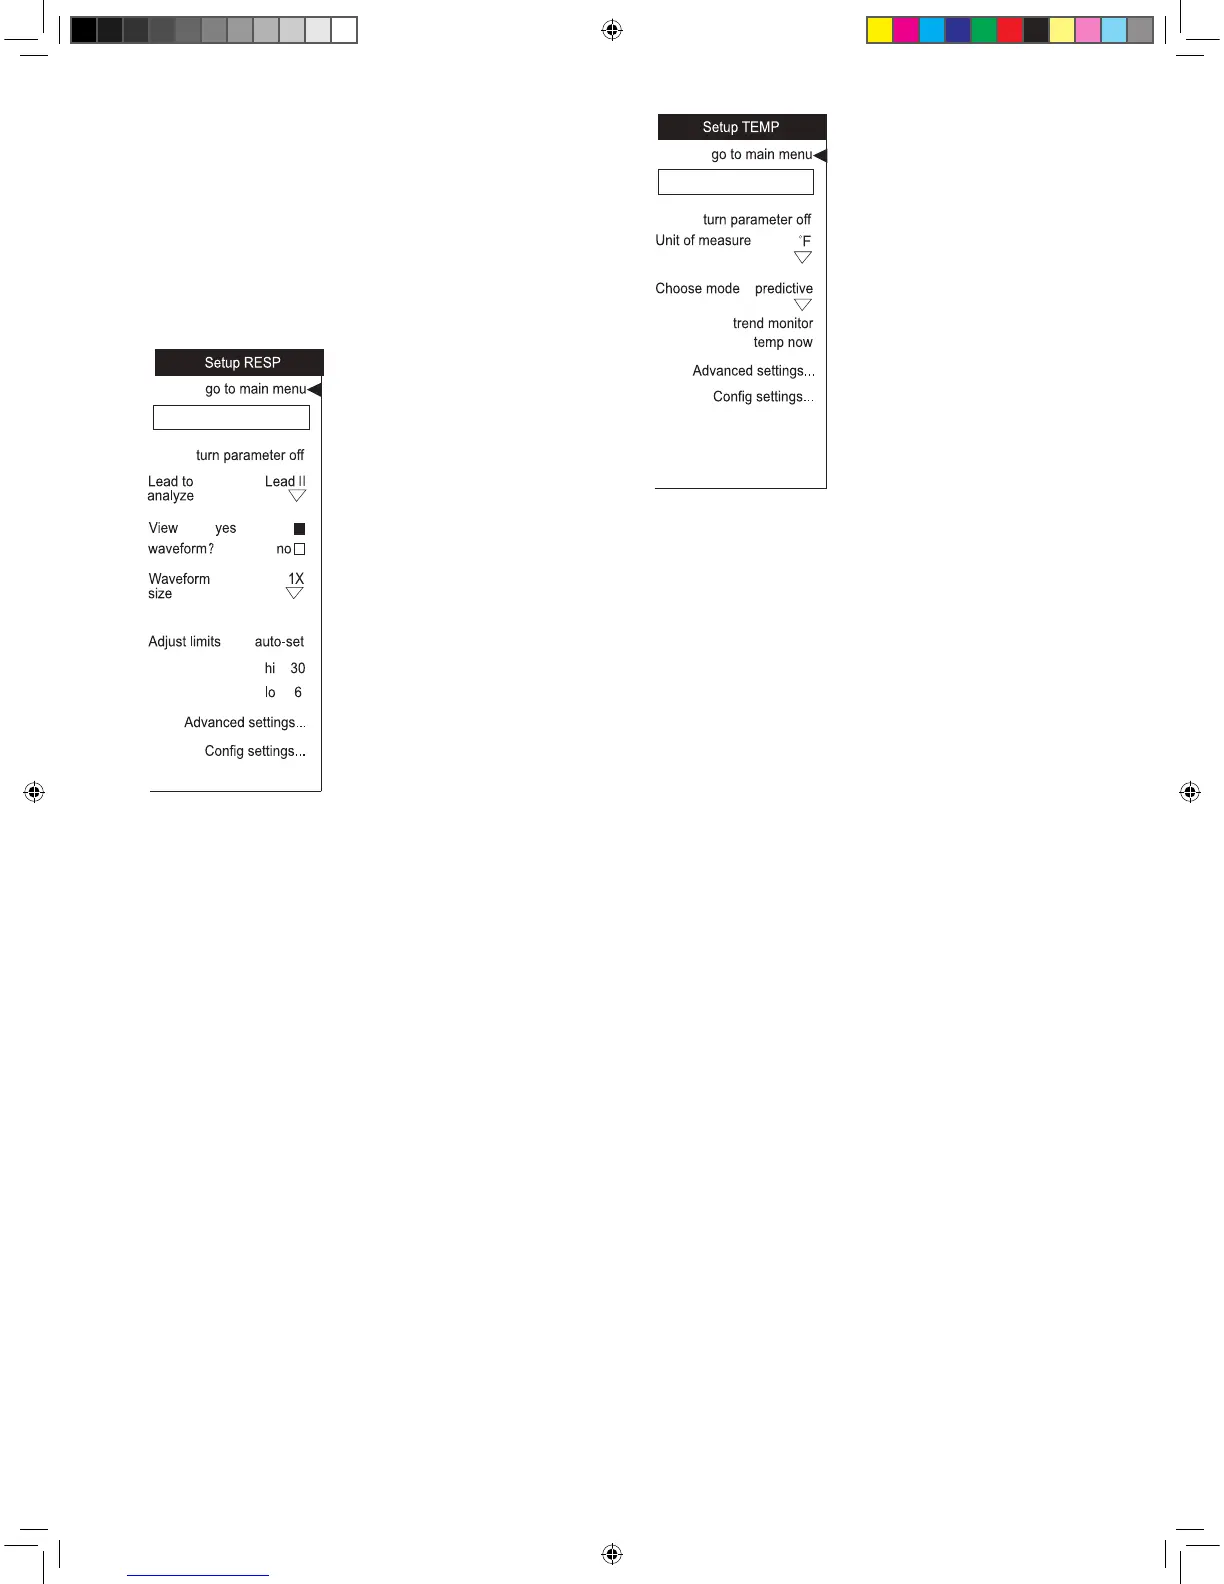
Suspend all monitoring and alarms for TEMP.
Choose temperature displayed in either
degrees Fahrenheit or degrees Celsius.
Choose either predictive or monitor mode.
In monitor mode, choosing this option
causes the currently displayed temperature
value to be trended.
Respiration Rate
Respiration rate using the ECG electrodes is designated
RESP.
• Makesureelectrodesarepositionedproperly
• SelectRESPfromthesetup parameters option in the
Main Menu
• Setupmonitoringparameters
Temp
The temperature parameter in the Dash 2500 Patient
Monitor uses CareFusion Turbo Temp
®
technology and can
be used with both oral (blue) and rectal (red) temperature
probes. Two modes of operation are available: predictive
and monitor.
• Selecttemperatureprobe
• Connectprobecabletomonitor
• Inserttemperatureprobeintheappropriateplaceofthe
patient
• SelectTEMP from the setup parameters option in Main
Menu
• Makesurecorrectdeterminationmodeischosen
• Setupmonitoringparameters
Suspend all monitoring and alarms for RESP.
Choose whether the impedance RESP will be
derived from Lead I or Lead II.
Adjust or auto-set alarm limits. Select hi
to change the high alarm limit and lo to
change the low alarm limit. The system
maintains appropriate separation between
the high and low limits. Choose auto-set to
usethepatient’scurrentreadingsinsetting
the high and low limits.
Choose whether or not the impedance RESP
waveform will appear on the screen.
Change the height of the RESP waveform to
one fourth, one half, one, two, four or eight
times the standard height.
NOTE: When Adjust limits option is set to auto-set, RESP value is
reduced each second until the RESP limit alarm is reached.
Quick guide-new.indd 5 12-7-17 9:33

 Loading...