Installation Instructions
11
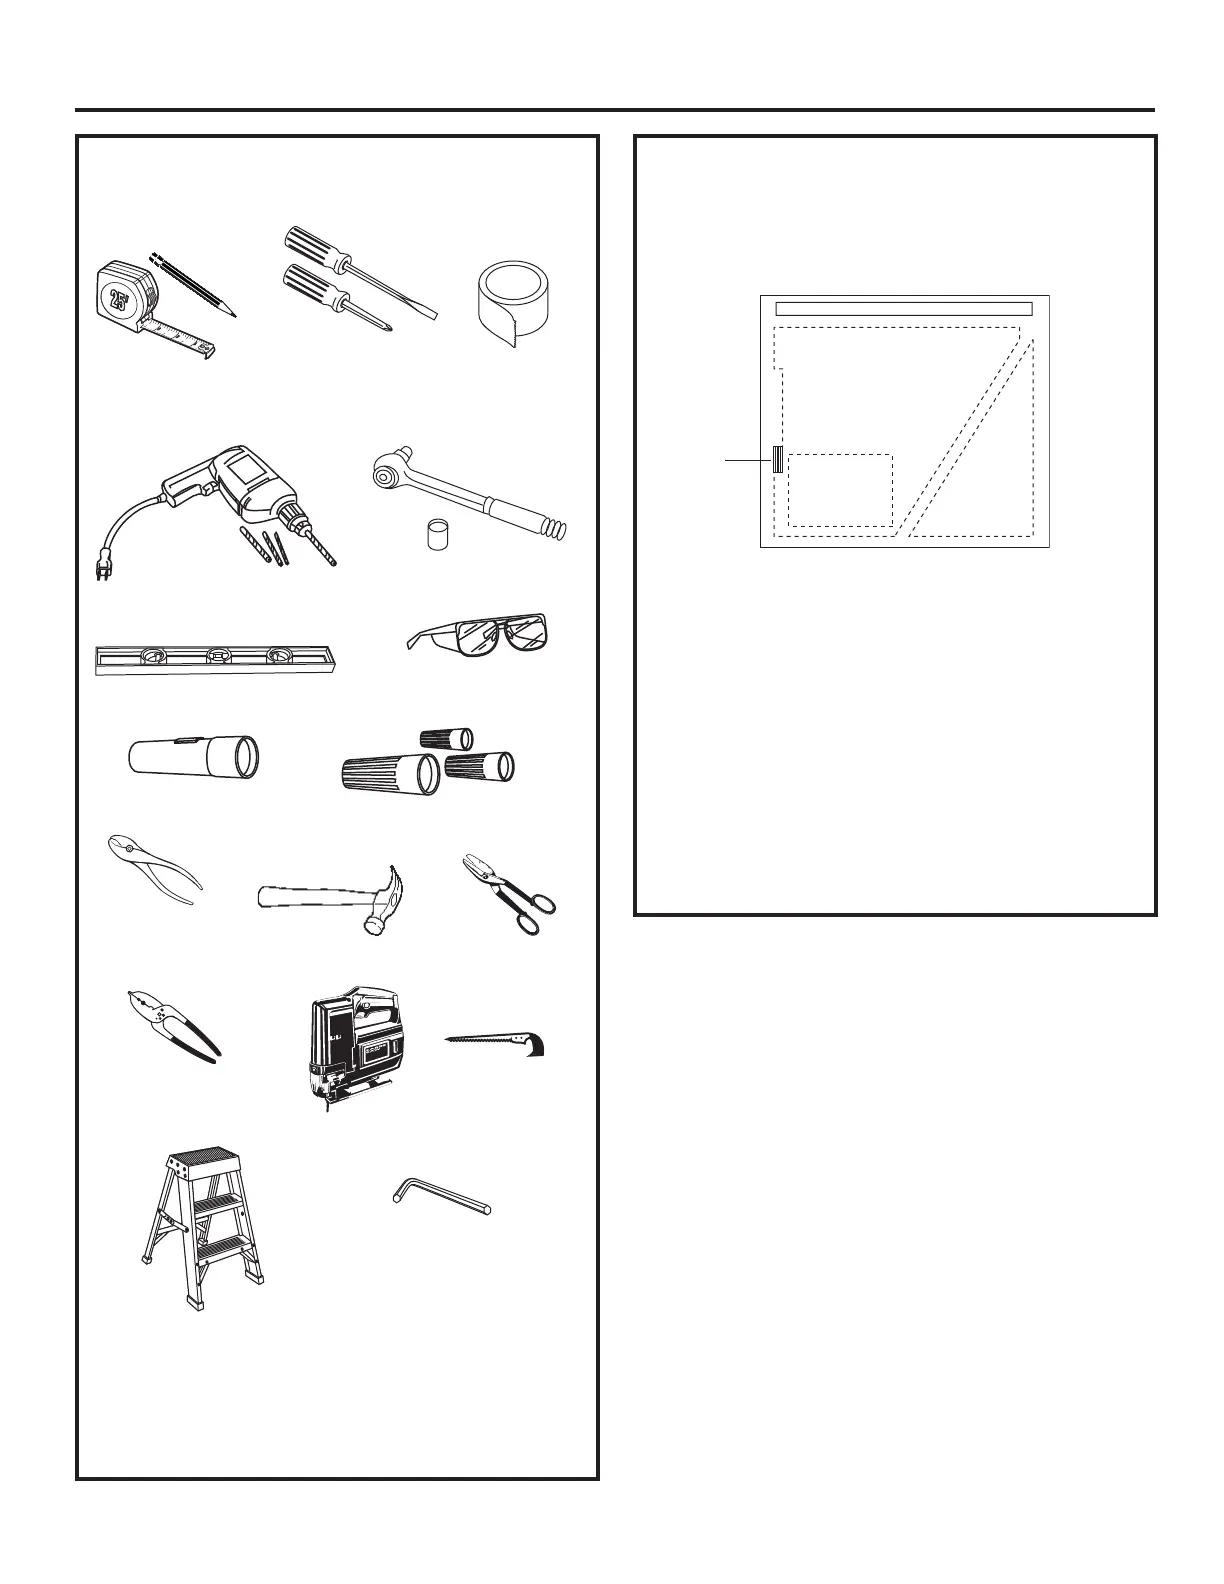
TOOLS AND MATERIALS
REQUIRED
(NOT SUPPLIED)
Pencil and
tape measure
Spirit level
Phillips and
Flat blade screwdrivers
Duct tape
Electric drill with
1/8 and 3/8 bits
1/4 pivoting hex socket
Safety glasses
Flashlight
Saber saw or Key Hole Saw
Tin Snips
Hammer
Pliers
Additional Materials:
• 120V 60Hz. 15 or 20 Amp, 2 wire with ground.
Properly grounded branch circuit.
• Strain relief for junction box.
• 7” round metal duct, 3-1/4” x 10” rectangular duct
or 3-1/4” x 12” rectangular duct length to suit installation.
Wire Cutter/
Stripper
Ladder
Allen
Wrench
REMOVE THE PACKAGING
• Lift the hood out of the box.
• Remove shipping screws holding the wood mounting
piece to the back side of the hood. Set aside wood
mounting piece and screws for later installation. Do not
discard.
• Remove junction box cover and knockout.
• Install strain relief onto back or top of hood.
• Remove all tape and packing material from the
hood, duct transition and motor.
UL Listed Wire nuts
• Remove parts package from the shaped cardboard
insert.
“V”
• Remove the shaped carton insert.
“V”
• Remove the small box housing the motor.
 Loading...