1
31-10829GE10-11
BEFORE YOU BEGIN
Read these in struc tions care ful ly and completely.
•
IMPORTANT —Savetheseinstructionsfor
localinspector’suse.
•
IMPORTANT — Observeallgoverning
codesandordinances.
•
Note to Installer –Besuretoleavethese
instructionswiththeconsumer.
•
Note to Consumer –Keeptheseinstructionsfor
futurereference.
•
Skill level –Installationofthisappliancerequiresa
qualifiedinstallerorelectrician.
•
Properinstallationistheresponsibilityoftheinstaller.
•
ProductfailureduetoimproperinstallationisNOT
coveredunderthewarranty.
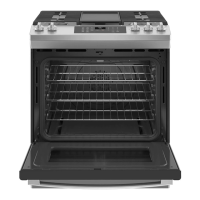
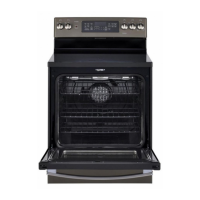
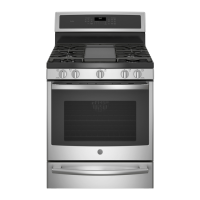
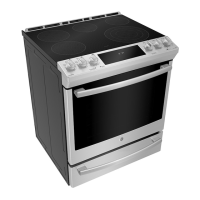
30” Electric
Drop-In Ranges
Installation
Instructions
Questions?Call800.GE.CARES(800.432.2737)orVisitourWebsiteat:www.GEAppliances.com.
InCanada,call1.800.561.3344orvisitwww.GEAppliances.ca.
•ATTENTION INSTALLER: Allelectricdrop-inrangesmustbehardwired(directwired)intoan
approvedjunctionbox.AplugandreceptacleisNOTpermittedontheseproducts
.
FOR YOUR SAFETY
WARNINGBeforebeginningtheinstallation,switchpoweroffattheservicepanelandlockthe
servicedisconnectingmeanstopreventpowerfrombeingswitchedonaccidentally.Whentheservice
disconnectingmeanscannotbelocked,securelyfastenaprominentwarningdevice,suchasatag,totheservice
panel.
WARNINGTheinformationinthismanualmustbefollowedtominimizetheriskoffire,electricshock,
ortopreventpropertydamage,personalinjuryorlossoflife.
MATERIALS YOU MAY NEED
JunctionBox
WireNuts
StrainReliefClampfor1/2”Conduit
TOOLS YOU MAY NEED
1/8”DrillBitandElectricDrill PhillipsScrewdriver
Level FlatheadScrewdriver
TapeMeasure 1/4”NutDriver
StraightedgeorSquare Hammer
HandorSaberSaw Pencil
SafetyGlasses
A child or adult can tip the range and be killed.
Verify the anti-tip bracket has been properly installed
and engaged.
Ensure the anti-tip bracket is re-engaged when the range
is moved.
Do not operate the range without the anti-tip bracket in
place and engaged.
Failure to follow these instructions can result in death or
serious burns to children or adults.
Tip-Over Hazard
Oven
Anti-Tip Bracket
Countertop or
Wood Block
Rear
Wall