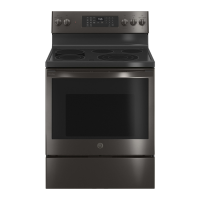
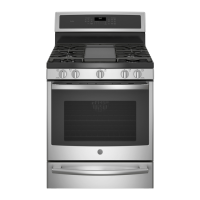
7
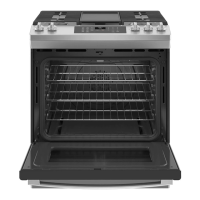
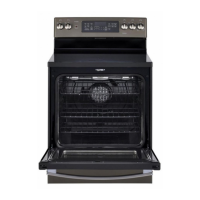
InstallationInstructions
6
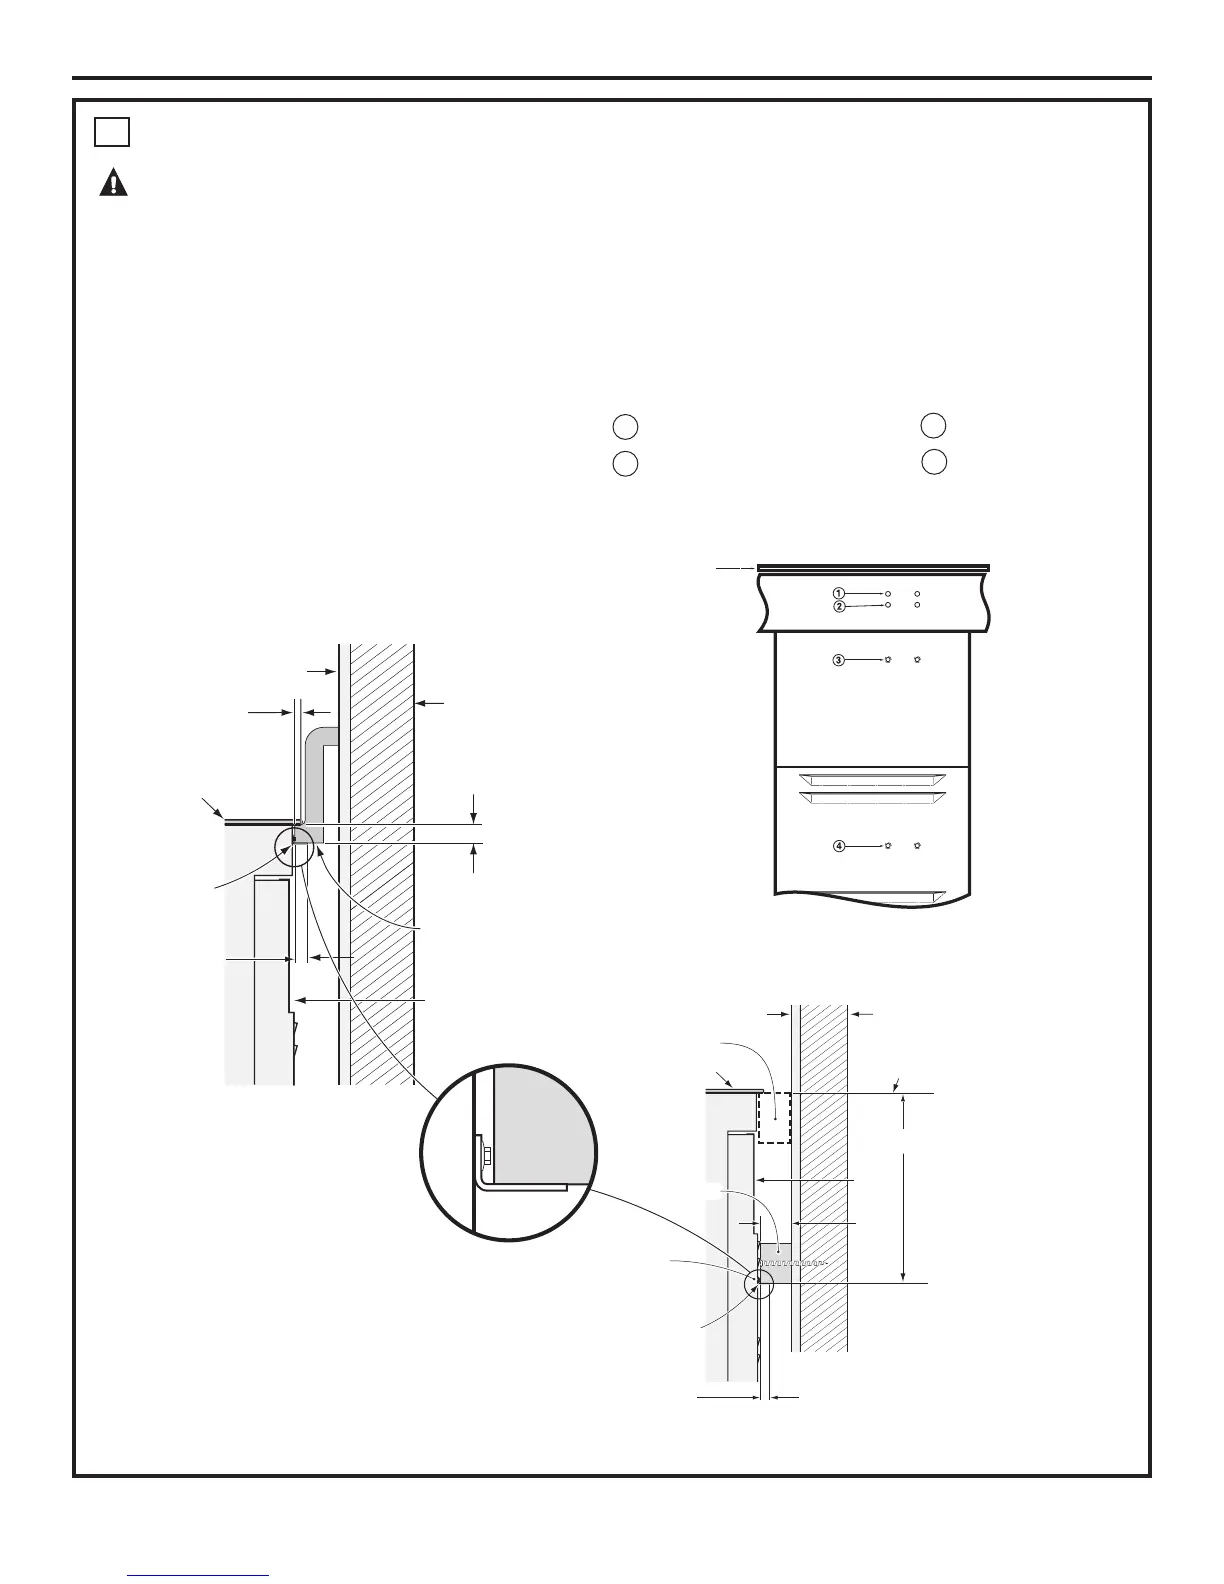
ANTI-TIP DEVICE INSTALLATION
Selecttheproperpositionforthecountertop
thicknessandmovebrackettoproperposition.(Unit
issuppliedwithbracketinposition1.)
1For1.18”(3cm)Counter
2For1.5”Counter
3For3.5”Counter
4Alternate
(shownbelow)
Anti-tipbracketlocation
(rearofrange)
Cooktop
ANTI-TIP INSTALLATION
Interiorwall
1/4”min.flatarea
Wallstud
Countertop
thickness
Bottomof
countertop
Wirecover
Maintop
Anti-tip
bracket
Bottomof
countertop
toengage
bracketby
1/2”min.
Wallstud
10-3/8”
1-1/2”
Countertop
surface
Interiorwall
Wire
cover
Attachment
anchoredtowall
studisrequired
Anti-tipbracket
Attachment
Non-kitapplication
Maintop
Position
#5non-kit
application
*Attachment
toengage
bracketby1/2”min.
WARNING
•Toreducetheriskoftippingtherange,therangemustbeproperlysecuredtothecountertoporrearwall
usingtheanti-tipsuppport.(Seesection3fordetails.)
•Weightonthedoorcouldpotentiallycausetherangetotipandresultininjury.Neverallowanyoneto
climb,sit,stand,orhangontheovendoor.
Installing the Anti-Tip Bracket
Theanti-tipbracketisattachedtothebackofthe
Drop-InRange.Itisdesignedtofitunderthebottom
ofthecountertopopeningattherear.Measure
counterthicknessatbackofcutouttodetermine
correctbracketlocation.
 Loading...